

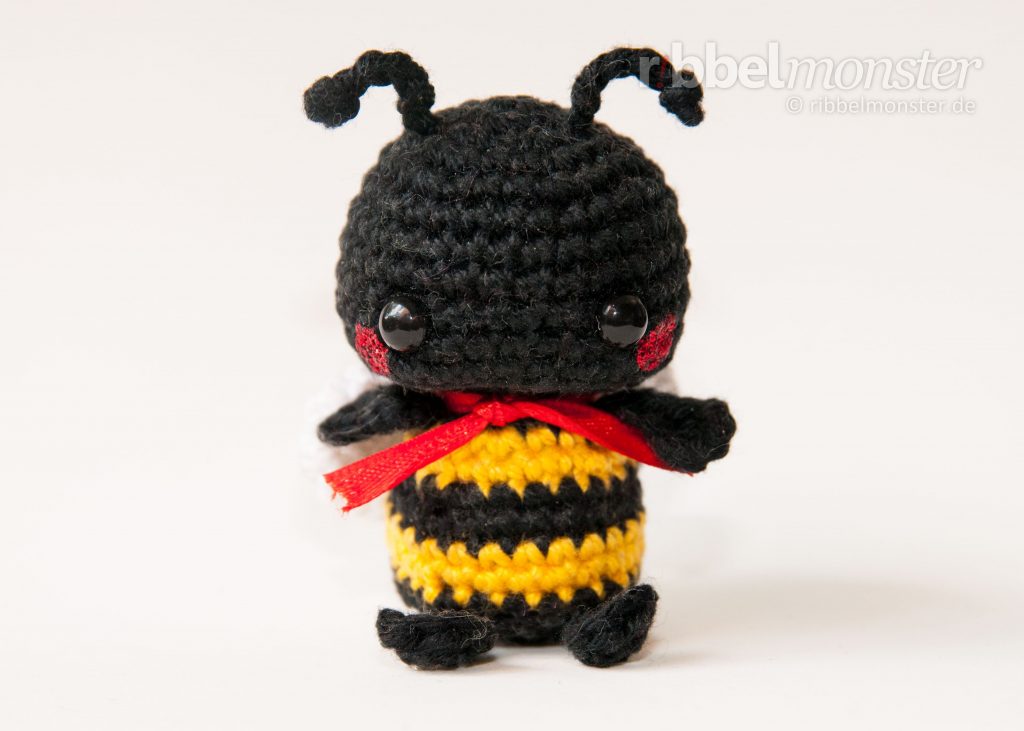
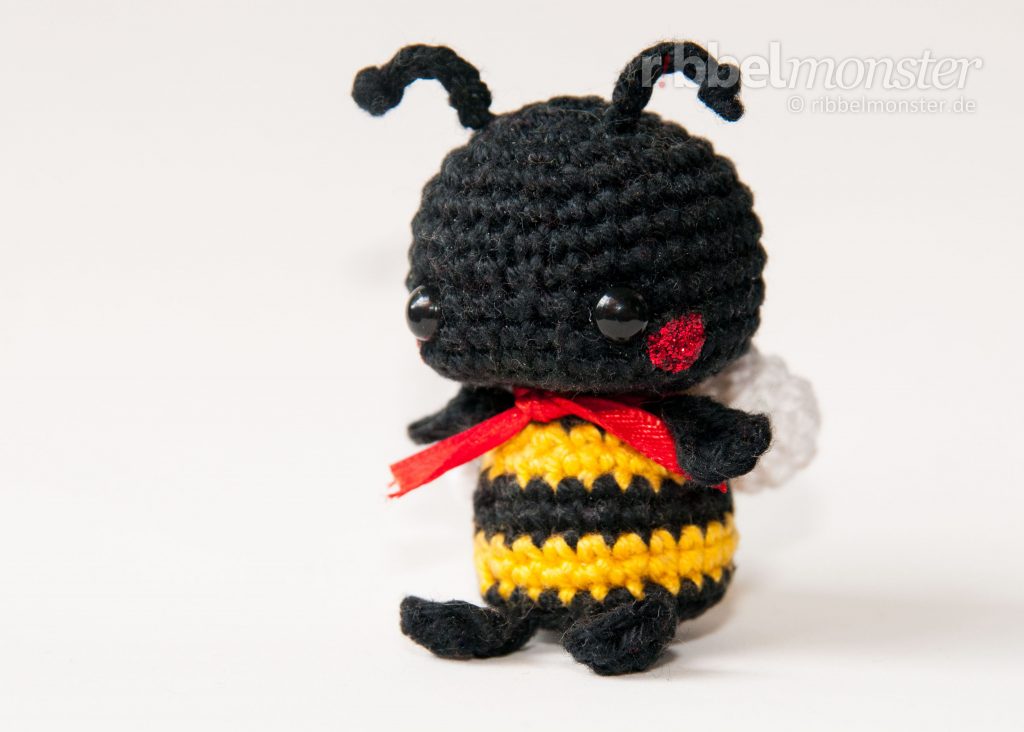
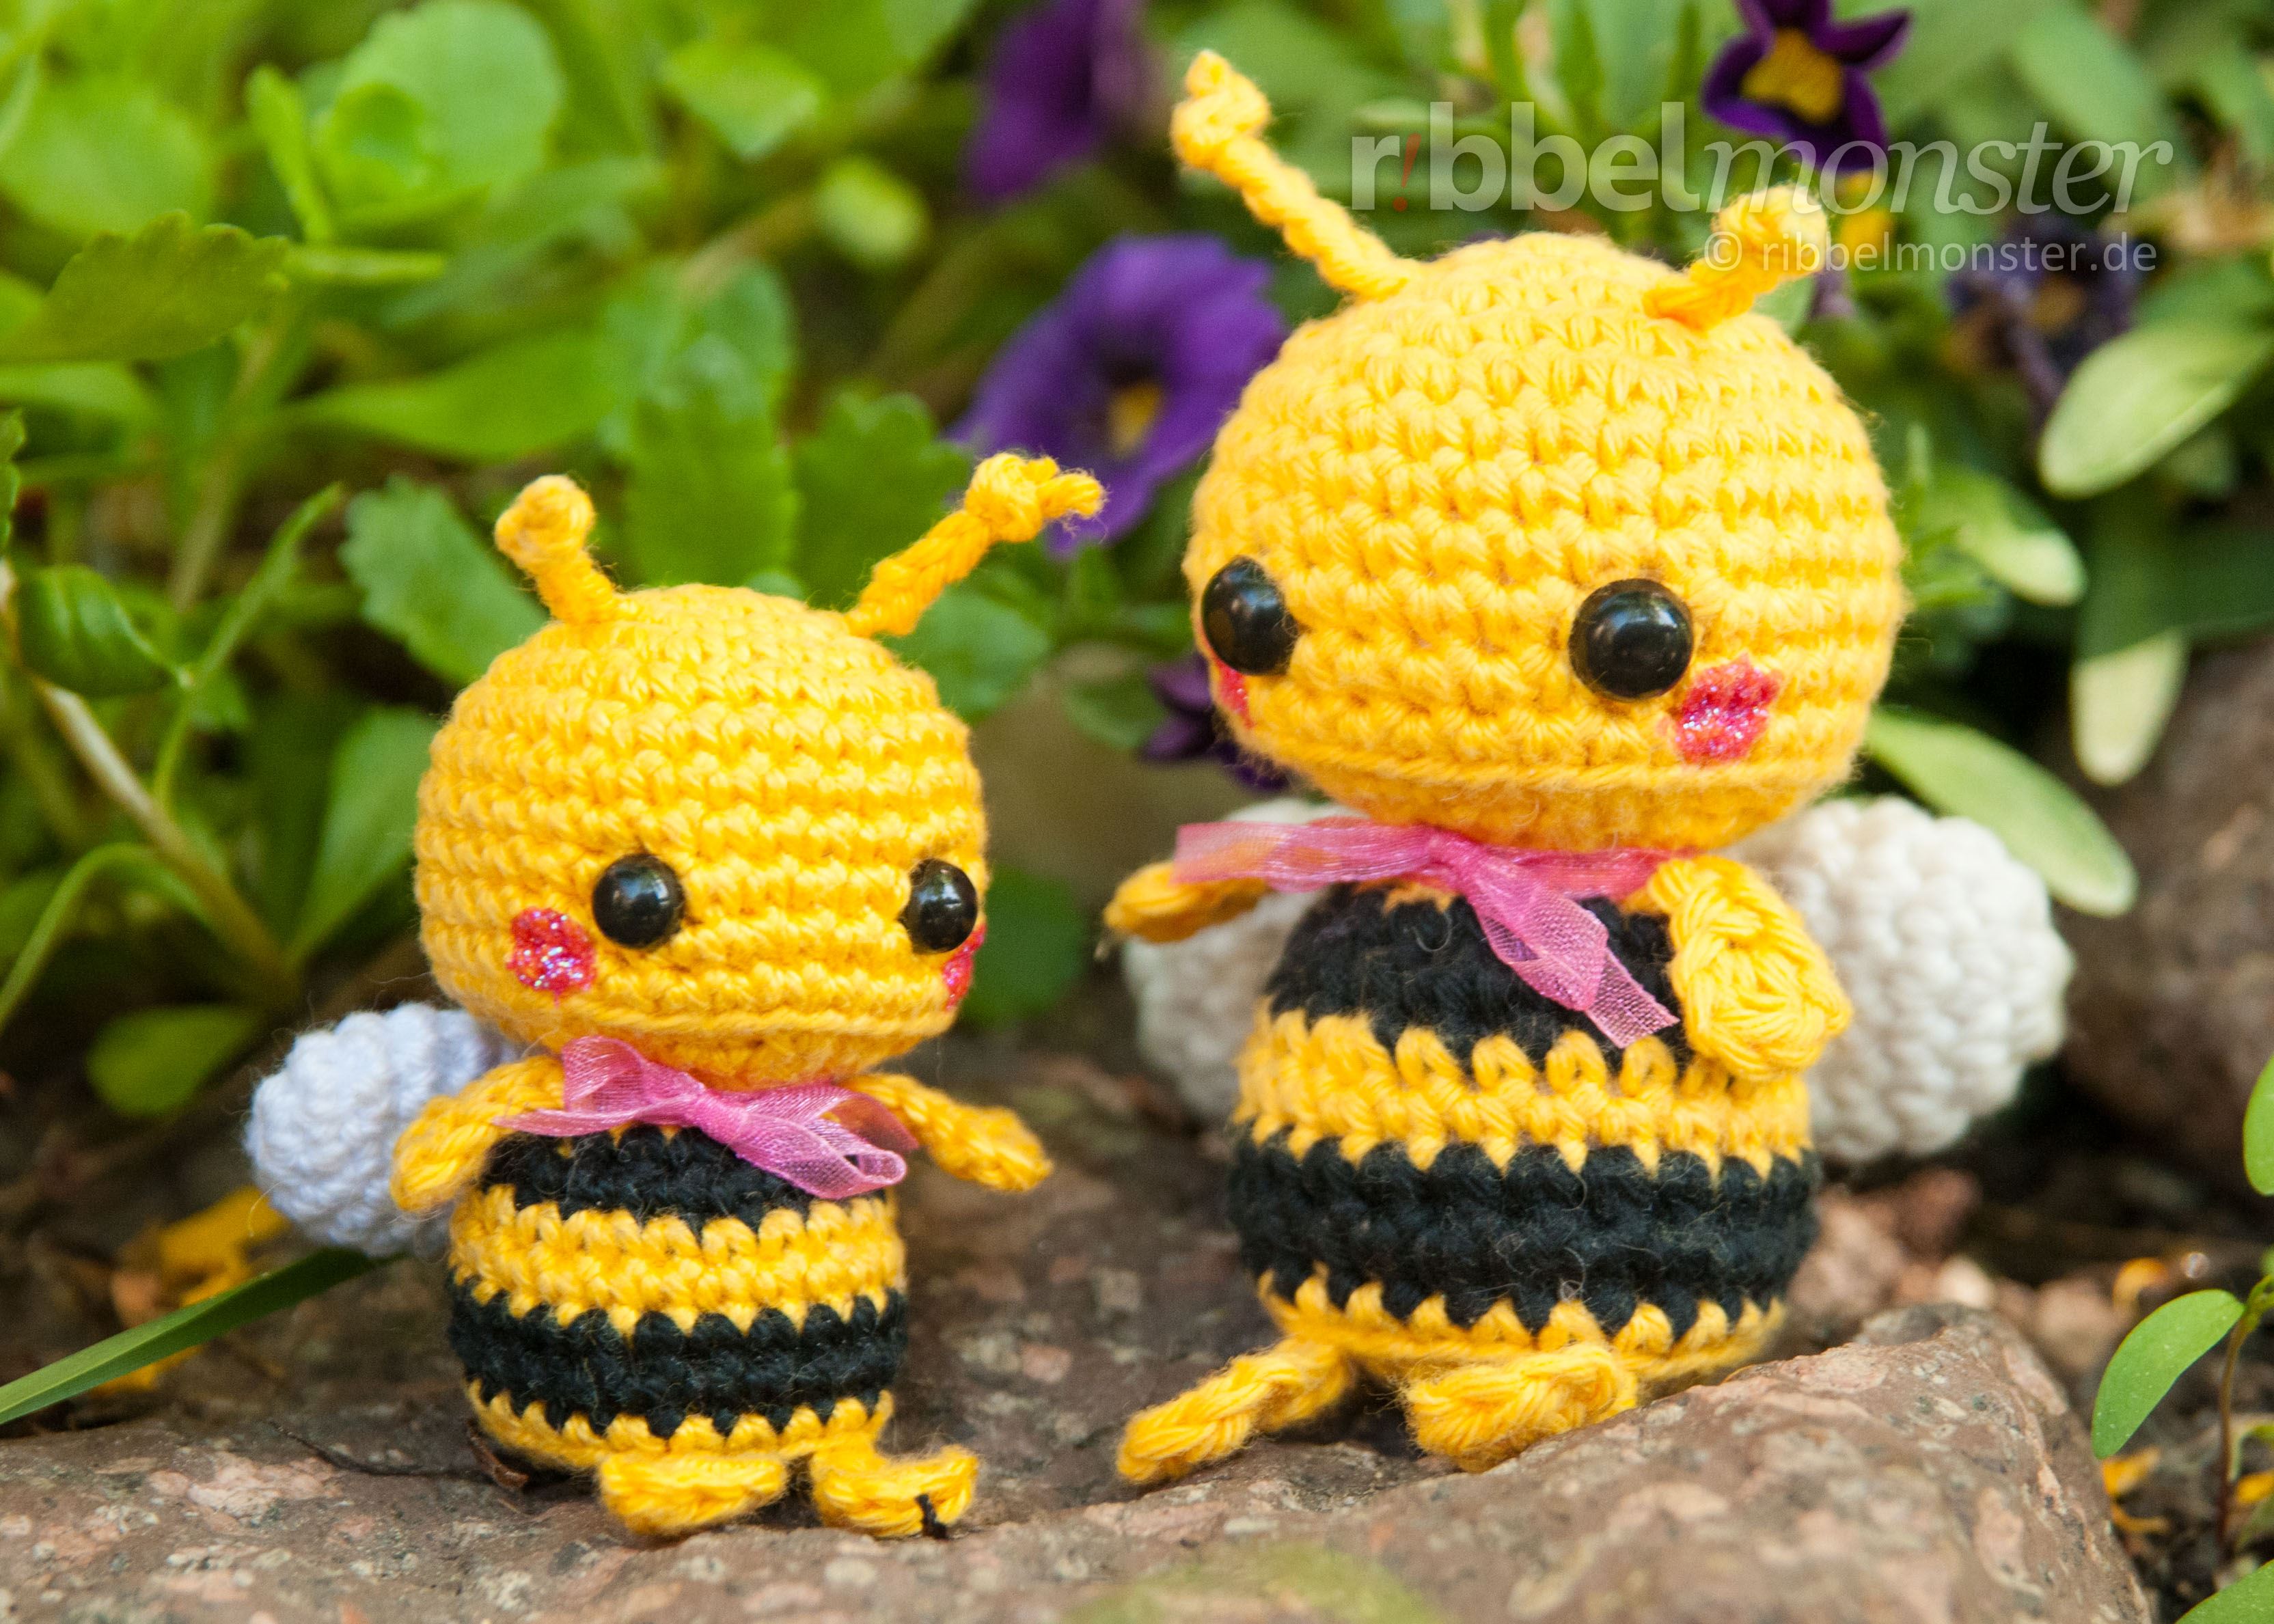
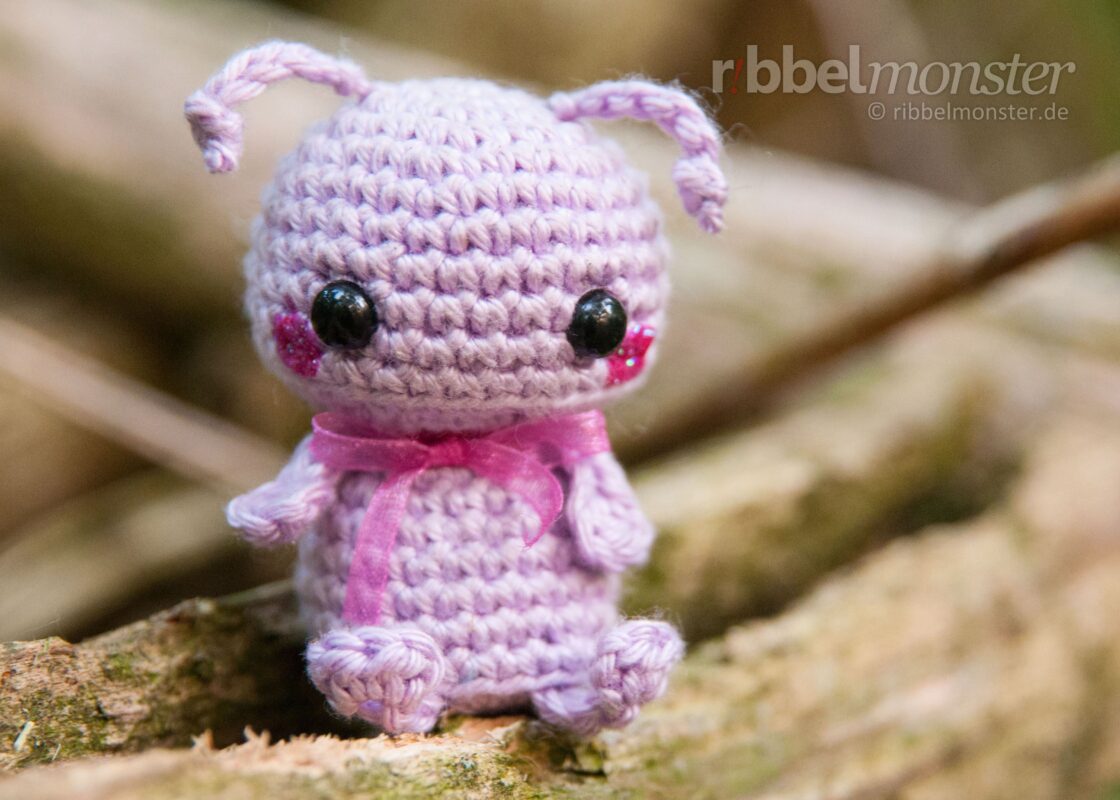
In this free crochet pattern, I’ll show you how to crochet an adorable chubby Bumblebee. The crocheted bumblebee, named Malo, is just the right size for a keychain or as a figure for your flower pot.

Content
Introduction: Amigurumi – Minimee Crochet Bumblebee “Malo”
Before we can start crocheting the Amigurumi Bumblebee, it’s essential to prepare well. Therefore, you will find all information about the required prerequisites, materials, and size here. You can find help through the corresponding additional links.
Attention! Amigurumis are very cute and, therefore, not only popular among adults. Children often see them as toys, so you should be especially careful. Amigurumis that are not intended for play should be kept out of the reach of children. If an Amigurumi is meant to be played with by children, you should strictly adhere to the guidelines for toys. If you plan to give away or sell Amigurumis (license for sellers), you must strictly adhere to the legal requirements for toys and display the required CE marking.
Prerequisites
To follow this crochet pattern for an Amigurumi Bumblebee smoothly, you should already be familiar with the following crochet techniques. For each technique, you will find a detailed tutorial here so that you can quickly learn it yourself.
- Crochet Chain Stitches
- Crochet Magic Ring
- Crochet Slip Stitches
- Decreases
- Half Double Crochet Stitches (US!)
- Increases
- Loops of a Stitch
- Single Crochet Stitches (US!)
- spiral rounds
- Turning Chain Stitches
Note! By offsetting regular increases and decreases, they become almost invisible. You can recognize regular increases by the phrase “double every … stitch,” and regular decreases by the phrase “crochet together every … and … stitch”. The stitch chart for spheres and circles might also be helpful for you.
Note! Using a special technique for invisible decreases makes them nearly invisible. Although this technique requires a bit of practice, it’s worth giving it a try.
Supplies
The Amigurumi Bumblebee shown here was crocheted with the following materials. For the Amigurumi Bumblebee, you can generally use any yarn with an appropriate hook size. For an authentic result, it is recommended to use materials as similar as possible. In addition to the materials, you will also find a list of the necessary tools and supplies here.
Crochet Hook
You will need a crochet hook with a size of B or C (alphabetic) or 1 1/2 (numeric). For converting to other sizes, the crochet hook size converter will help you. I have selected some great crochet hooks for you here.
Filling
For filling, I used wadding made of 100% viscose. However, there are numerous alternatives for filling material. If you’ve run out of filling, I’ve prepared a refill for you here.
Acrylic Paint
I used acrylic paint in the shade of red here. This paint is non-toxic, water-dilutable, waterproof, and adheres to almost any surface. I found a great set of acrylic paints for you to try out here.
Pins
You’ll also need a few pins. The more colorful your collection, the better. If you need more, I’ve found something for you.
Ribbon – 1/5 inches – red
I’ve used organza ribbon or satin ribbon here. The width is 1/5 inches. The color is pink. If you can’t find anything suitable, I’ve selected a set of beautiful ribbons for you here.
Safety Eyes
I used 2 safety eyes with a diameter of 1/4 inches. The eyes are completely black. However, there are countless alternatives for amigurumi eyes. You might prefer other safety eyes as well.
Scissors
You’ll need any scissors. It’s best to use your most beautiful scissors because it brings you joy. If you don’t have really nice scissors, I’ve picked out some lovely ones for you.
Wool Needle
You’ll need a wool needle with a blunt tip. The thickness of the wool needle should match the thickness of your yarn. You might like the set of wool needles I’ve picked out for you.
Yarn – Schachenmayr – Catania – black – 110
I used yarn in the shade Black. The material is 100% cotton. The yardage is 137 yds / 1.75 oz. If you want to replenish your supply, I’ve already picked out the matching yarn for you here.
Yarn – Schachenmayr – Catania – white – 106
I used yarn in the shade White. The material is 100% cotton. The yardage is 137 yds / 1.75 oz. If you want to replenish your supply, I’ve already picked out the matching yarn for you here.
Yarn – Schachenmayr – Catania – yellow – 208
I used yarn in the shade Sun. The material is 100% cotton. The yardage is 137 yds / 1.75 oz. If you want to replenish your supply, I’ve already picked out the matching yarn for you here.
Note! I have used safety eyes here. If you have never attached safety eyes before, you can also find detailed instructions on how to attach safety eyes here. In addition to a wide selection of other safety eyes, there are also numerous alternatives for amigurumi eyes. Simply use the eyes that you like best.
Note! The specified yarn was used for the example shown here. In principle, you can use any yarn and an appropriate needle size. However, the quality of the material also affects the quality of the result, so you should avoid cutting corners in the wrong place. Also, the thickness of the yarn and the needle will influence the size of the outcome, which you can, of course, intentionally take advantage of.
Size
Here are the size specifications for the crocheted Amigurumi Bumblebee. The height was measured standing without antennae. Please note that the actual size depends on the yarn used, the size of the crochet hook, and individual crochet tension.
| Needle Size | Yardage | Size |
|---|---|---|
| Crochet Hook B, C or 1 1/2 | 137 yds / 1.75 oz | 2 2/5 inch |
| Crochet Hook C, D or 2 1/2 | 120 yds / 1.75 oz | 3 inches |
| Crochet Hook E or 4 | 93 yds / 1.75 oz | ? |
Note! If you want to change the size, you can simply use a thicker or thinner yarn with a suitable needle size. Simply doubling the rounds, rows, and stitches, on the other hand, will only result in an uneven outcome.
Crochet Pattern: Amigurumi – Minimee Crochet Bumblebee “Malo”

For the little Minimee Crochet Bumblebee, we first crochet the head and body from top to bottom in spiral rounds. Then, you’ll crochet antennae, arms, legs, and wings for your Amigurumi Bumblebee. Finally, all the parts are assembled, and you can decorate your Amigurumi Bumblebee to your heart’s content.
Crochet Head for Bumblebee (1x)
We start with the head of the Amigurumi Bumblebee and crochet it from top to bottom in spiral rounds. Do not cut the thread when you finish the head because the body will be crocheted right onto it.
Note! If you want to achieve a particularly beautiful result, you can hide regular increases and decreases by offsetting them a little. You can recognize regular increases by the phrase “double every … stitch,” and regular decreases by the phrase “crochet together every … and … stitch”. The stitch chart for spheres and circles might also be helpful for you. Additionally, you can apply a special crochet technique here for invisible decreases.
- black:
- 1st round:
- magic ring
- into the magic ring:
- 6 single crochet stitches (US!)
- = 6 stitches
- 2nd round:
- double every stitch
- = 12 stitches
- 3rd round:
- double every 2nd stitch
- = 18 stitches
- 4th round:
- double every 3rd stitch
- = 24 stitches
- 5th round:
- double every 4th stitch
- = 30 stitches
- 6th – 11th round:
- (= 6 rounds)
- every stitch one stitch
- = 30 stitches
- 12th round:
- into the back loop only:
- crochet together every 4th and 5th stitch
- = 24 stitches
- into the back loop only:
- attach safety eyes, position:
- after the 9th round
- 5 stitches distance
- 13th round:
- crochet together every 3rd and 4th stitch
- = 18 stitches
- 14th round:
- crochet together every 2nd and 3rd stitch
- = 12 stitches
- fill and stuff completely
- do NOT cut yarn, continue with:
- body
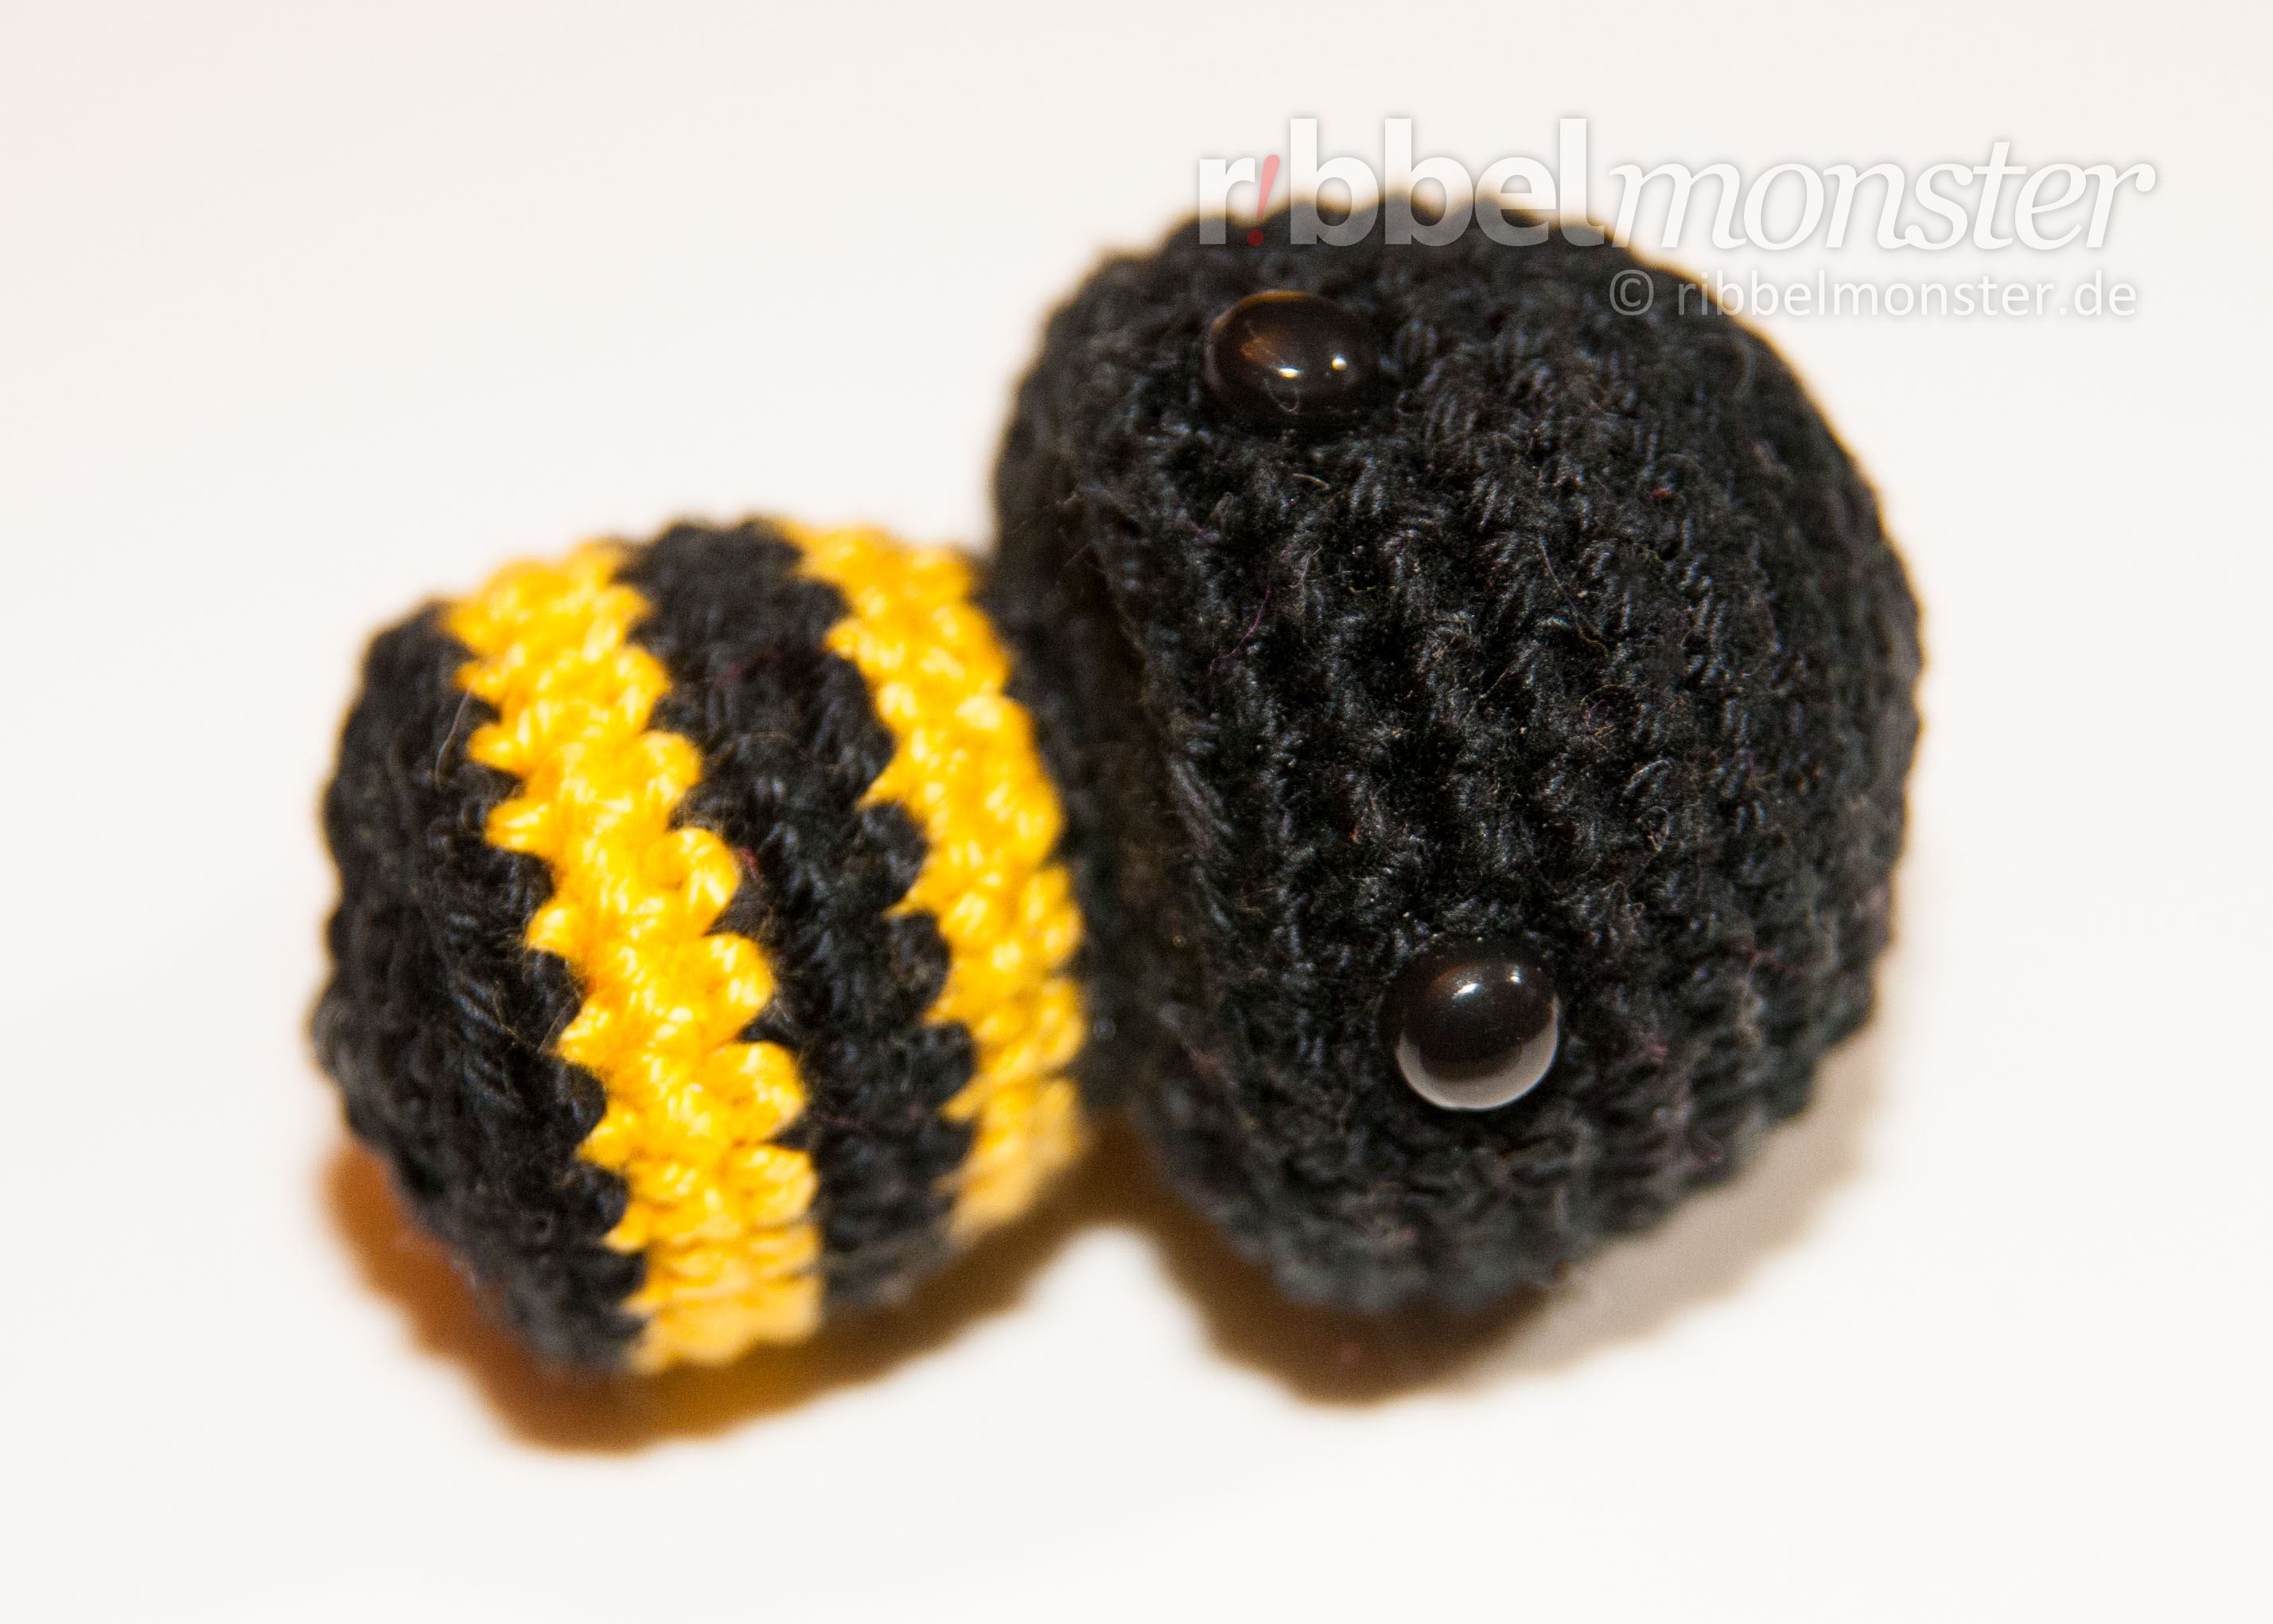
Crochet Body for Bumblebee (1x)
As described earlier, we now crochet the body directly onto the head. If you accidentally cut the thread, you can simply continue as if starting with a new color.
Note! If you want to achieve a particularly beautiful result, you can hide regular increases and decreases by offsetting them a little. You can recognize regular increases by the phrase “double every … stitch,” and regular decreases by the phrase “crochet together every … and … stitch”. The stitch chart for spheres and circles might also be helpful for you. Additionally, you can apply a special crochet technique here for invisible decreases.
- 15th round:
- double every 4th stitch
- = 15 stitches
- yellow:
- 16th round:
- double every 5th stitch
- = 18 stitches
- 17th round:
- double every 6th stitch
- = 21 stitches
- black:
- 18th round:
- double every 7th stitch
- = 24 stitches
- 19th round:
- every stitch one stitch
- = 24 stitches
- yellow:
- 20th – 21st round:
- (= 2 rounds)
- every stitch one stitch
- = 24 stitches
- black:
- 22nd round:
- every stitch one stitch
- = 24 stitches
- 23rd round:
- into the back loop only:
- crochet together every 3rd and 4th stitch
- = 18 stitches
- into the back loop only:
- fill and stuff completely
- 24th round:
- crochet together every 2nd and 3rd stitch
- = 12 stitches
- 25th round:
- crochet together every 1st and 2nd stitch
- = 6 stitches
- cut yarn generously, pull through loop, close the remaining opening, secure and weave in the yarn end
Crochet Antennae for Bumblebee (2x)
The small antennae of the Bumblebee are crocheted quite simply. Finally, you can add a few knots to the antennae of the little Bumblebee.
Note! If you want to create several nearly identical parts, it’s advisable to work on them consecutively on the same day. For larger parts, it’s even recommended to work on them simultaneously in stages. Our tension and tightness can vary from day to day, leading to visible differences.
- black:
- 1st row:
- 10 chain stitches
- = 10 stitches
- cut yarn generously, pull through loop, do NOT cut the yarn end, it will be used later for sewing
Once your antennae are finished, simply tie a knot at the beginning of the chain of stitches. The thread end from the beginning is useful for this, so you don’t hurt your fingers. However, be careful that the knot sits on the chain of stitches and not on the thread end. When you’re done, you can carefully cut the thread end at the knot. But do not cut into the knot or the chain of stitches, or it will literally vanish into thin air.
Crochet Arms for Bumblebee (2x)

The arms of the Minimee Crochet Bumblebee are crocheted in just two rows, once forward and once backward. It’s very easy and quick to do.
Note! If you want to create several nearly identical parts, it’s advisable to work on them consecutively on the same day. For larger parts, it’s even recommended to work on them simultaneously in stages. Our tension and tightness can vary from day to day, leading to visible differences.
- black:
- 1st row:
- 4 chain stitches
- 2 turning chain stitches
- = 4 stitches
- 2nd row:
- into one stitch:
- 1 half double crochet stitch (US!)
- 2 turning chain stitches
- 1 slip stitch
- 3x one slip stitch into one stitch
- = 5 stitches
- into one stitch:
- cut yarn generously, pull through loop, do NOT cut the yarn end, it will be used later for sewing
Legs for Bumblebee (2x)
Once you’ve mastered the arms, it should be no problem to crochet a few legs for the Bumblebee as well. But be attentive because there is a small difference in the second row.
Note! If you want to create several nearly identical parts, it’s advisable to work on them consecutively on the same day. For larger parts, it’s even recommended to work on them simultaneously in stages. Our tension and tightness can vary from day to day, leading to visible differences.
- black:
- 1st row:
- 4 chain stitches
- 2 turning chain stitches
- = 4 stitches
- 2nd row:
- into one stitch:
- 2 half double crochet stitches (US!)
- 2 turning chain stitches
- 1 slip stitch
- 3x one slip stitch into one stitch
- = 6 stitches
- into one stitch:
- cut yarn generously, pull through loop, do NOT cut the yarn end, it will be used later for sewing
Wings for Bumblebee (2x)
Next, we crochet the wings for the Mini Bumblebee in spiral rounds. We start at the outer curve and work our way to the base. Since the crocheted Bumblebee has 2 wings, you should, of course, crochet 2 wings.
Note! If you want to achieve a particularly beautiful result, you can hide regular increases and decreases by offsetting them a little. You can recognize regular increases by the phrase “double every … stitch,” and regular decreases by the phrase “crochet together every … and … stitch”. The stitch chart for spheres and circles might also be helpful for you. Additionally, you can apply a special crochet technique here for invisible decreases.
Note! If you want to create several nearly identical parts, it’s advisable to work on them consecutively on the same day. For larger parts, it’s even recommended to work on them simultaneously in stages. Our tension and tightness can vary from day to day, leading to visible differences.
- white:
- 1st round:
- magic ring
- into the magic ring:
- 6 single crochet stitches (US!)
- = 6 stitches
- 2nd round:
- double every stitch
- = 12 stitches
- 3rd – 5th round:
- (= 3 rounds)
- every stitch one stitch
- = 12 stitches
- 6th round:
- crochet together every 3rd and 4th stitch
- = 9 stitches
- 7th round:
- crochet together every 2nd and 3rd stitch
- = 6 stitches
- cut yarn generously, pull through loop, do NOT cut the yarn end, it will be used later for sewing
Finish Minimee Hummel
Now you’re almost there because all the parts are now finished. Before you start assembling the little Amigurumi Bumblebee, you can do a little fitting. To do this, first fix the individual parts with pins to see if the positions are correct. This way, you can easily correct any mistakes, and the result will be a beautiful little Bumblebee.
Attach Arms, Legs, and Antennae

Attach the antennae to the top of the head. They are placed, when viewed from above, in a line through the center of the head and parallel to the eyes. The arms are attached about 4 stitches apart after the 15th round, and the legs are attached about 3 stitches apart after the 22nd round.

It helps if you first find the center based on the eyes and attach the arms and legs on each side. It is more important to maintain the same distance from the center than to maintain the distance between both parts exactly. As support, you can also find a pattern here that shows you how to attach small parts to an Amigurumi.
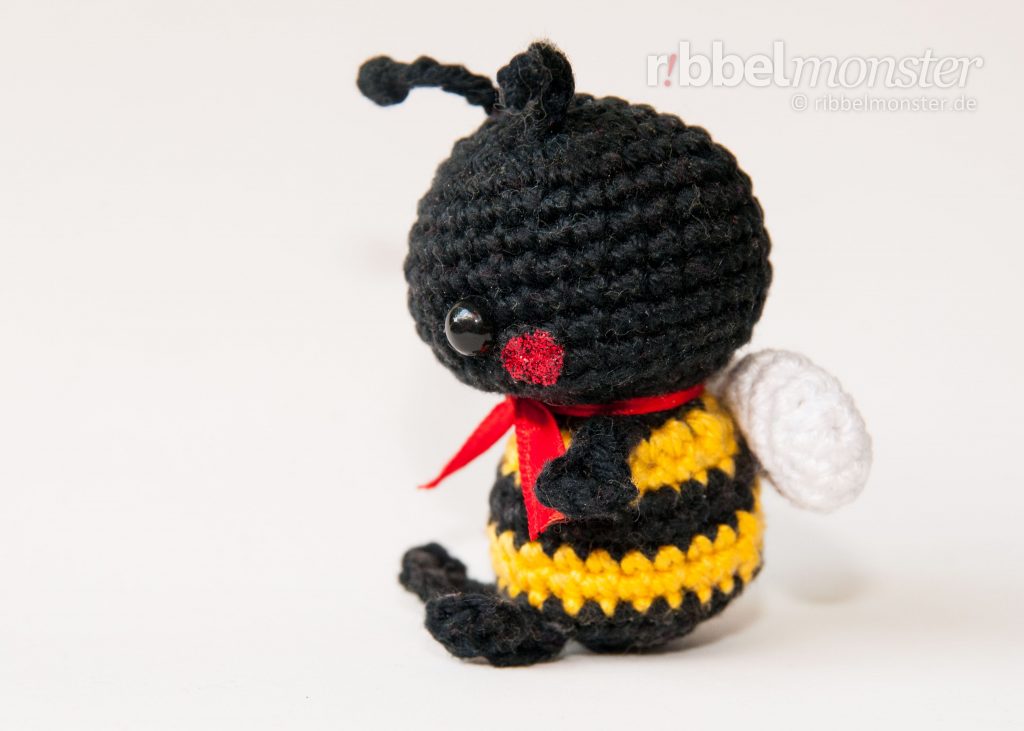
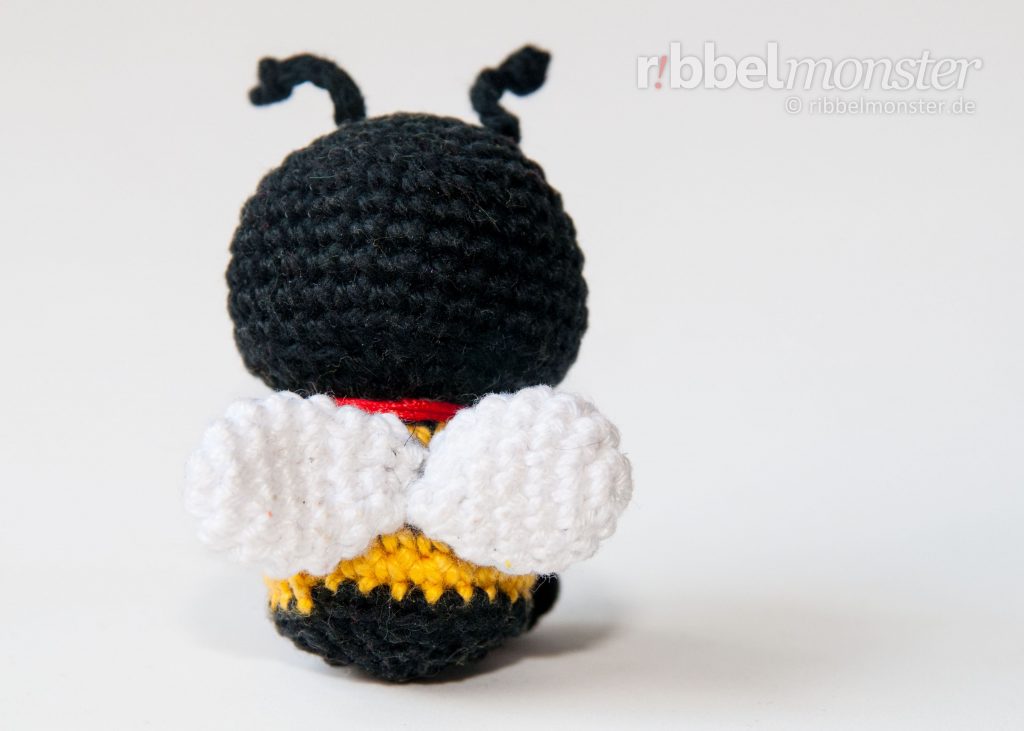
Sew Wings to Body

The two wings of the Bumblebee are folded flat and sewn to the back of the Bumblebee with the thread ends. The open sides of the wings run vertically to the center of the back, with one side pointing to the right and the other to the left.
Create Details
Finally, you can give your little Bumblebee its own character. I tied a stylish scarf around its neck and painted red cheeks on it.
Done!
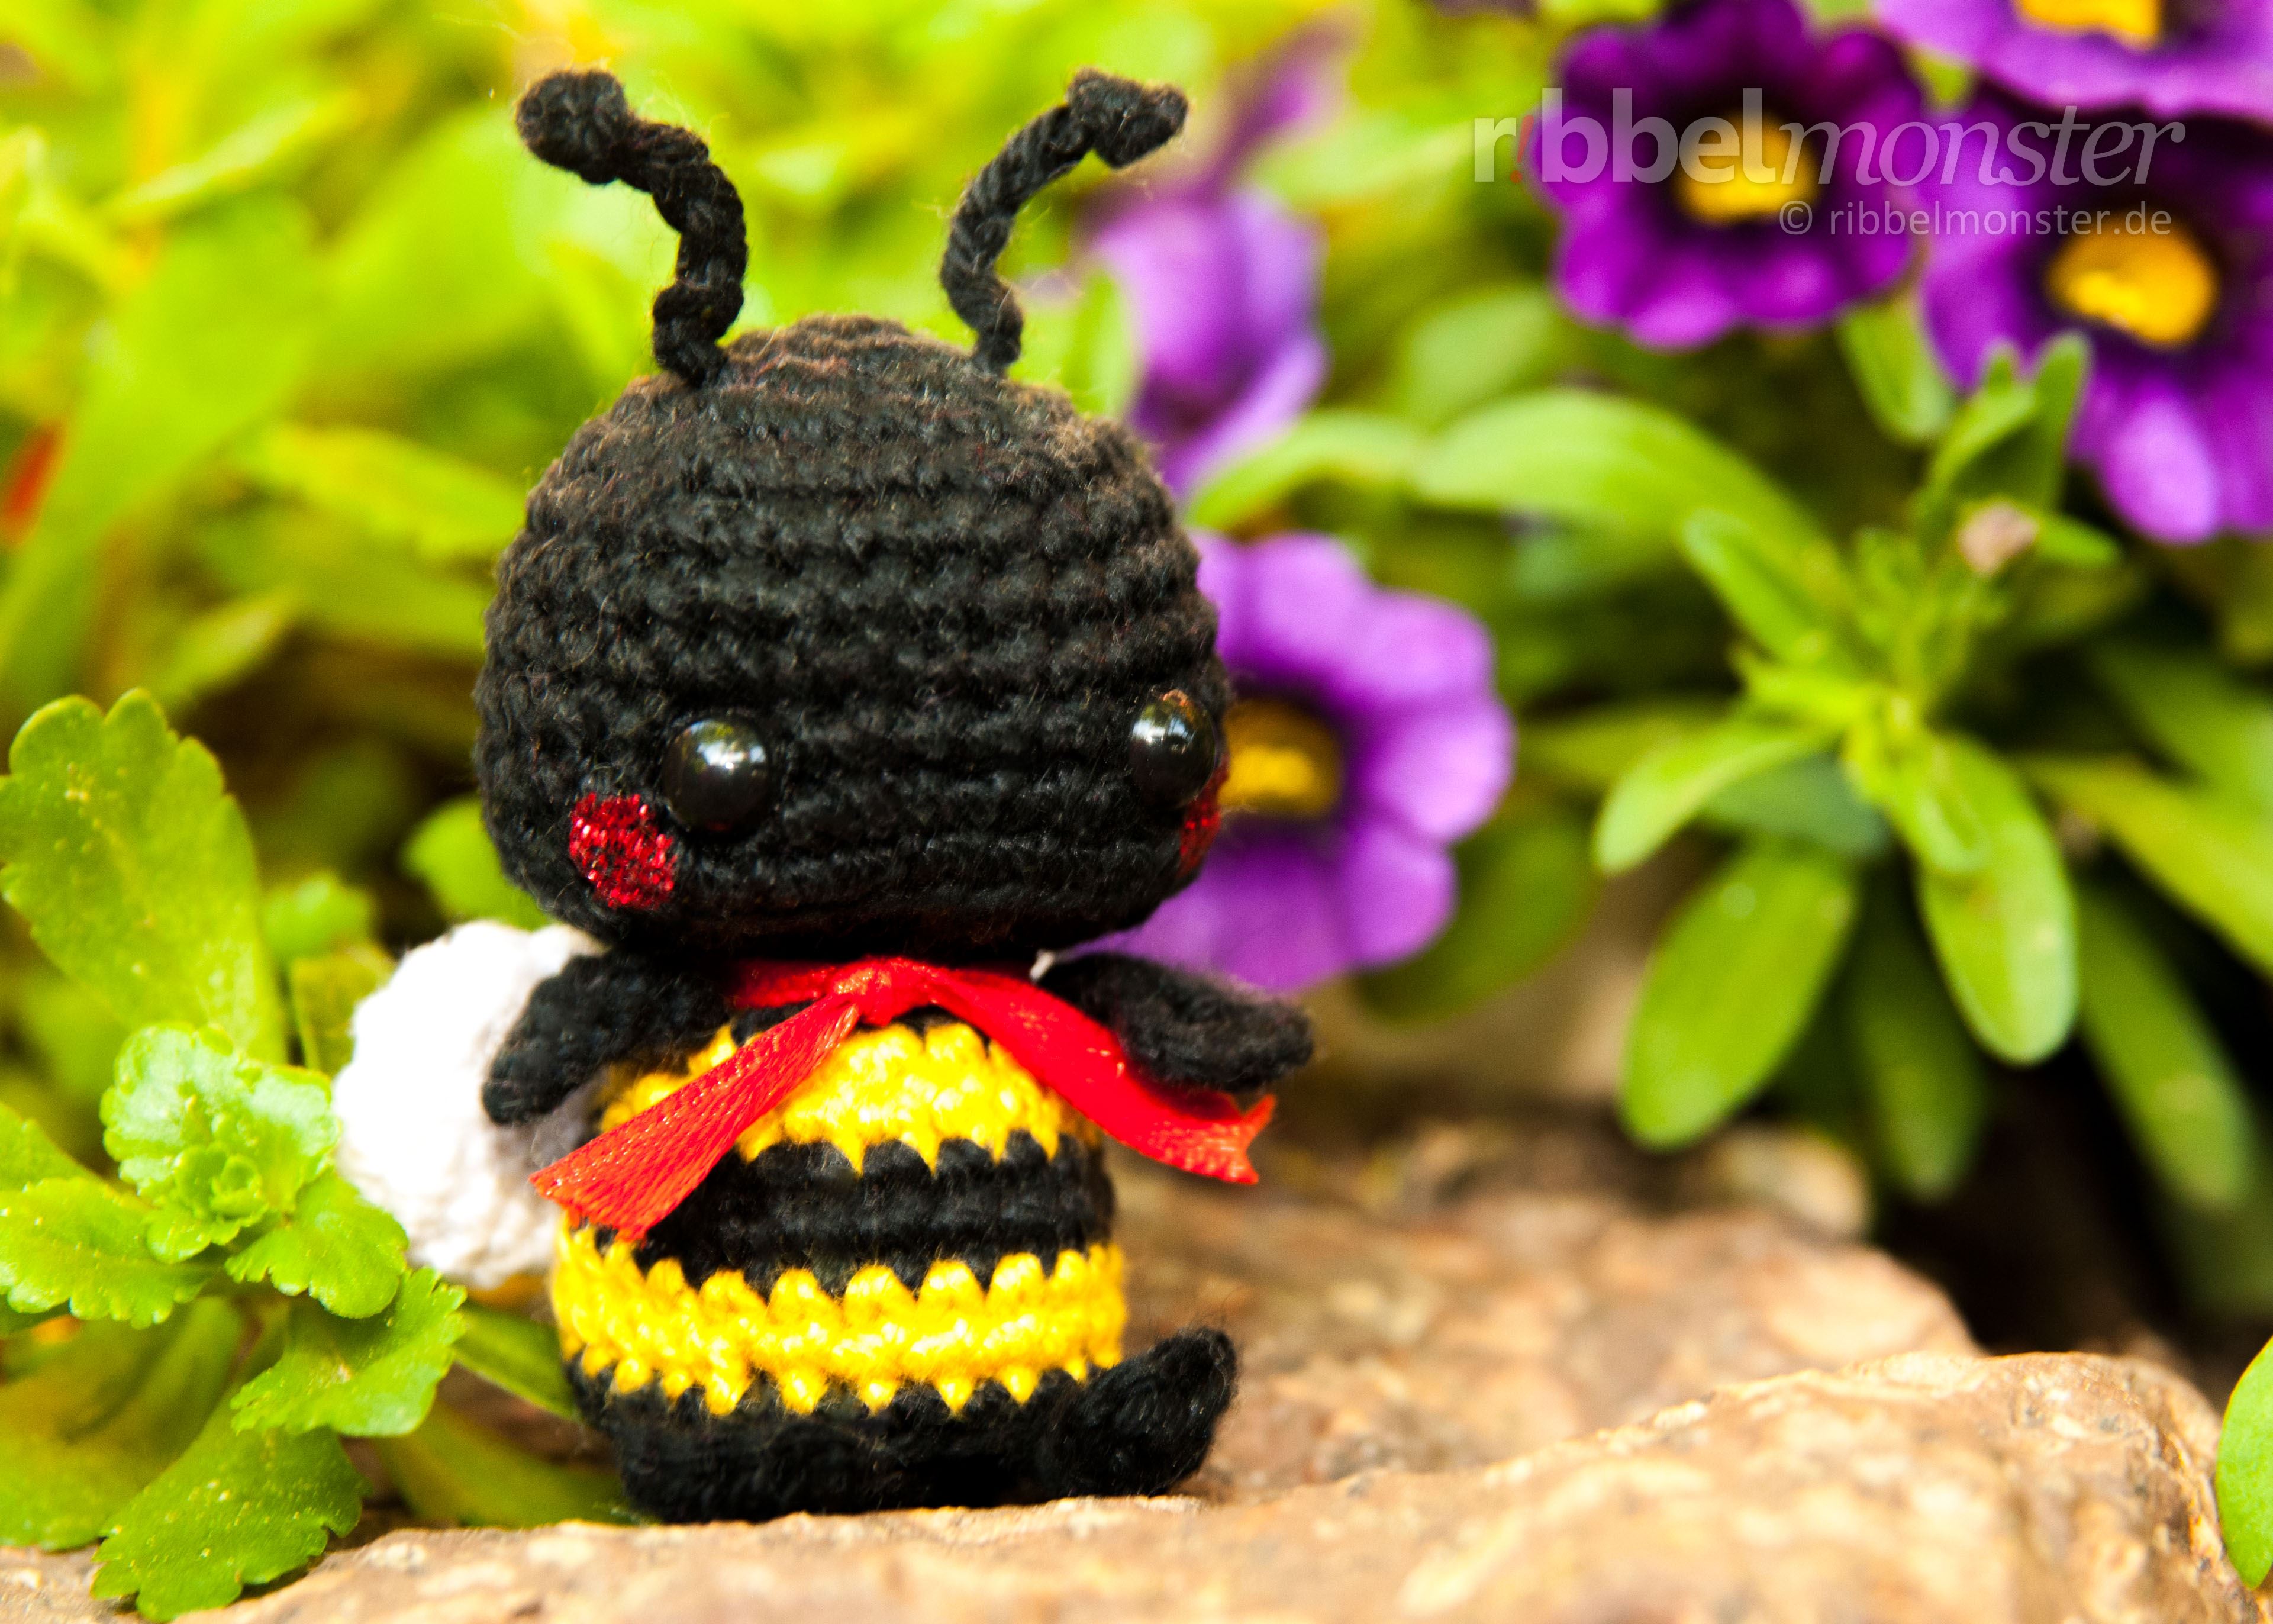
Tadaaa! Now you can admire your little Amigurumi Bumblebee because it’s already finished. Did you know that the little bumblebee and the little bee are best friends?
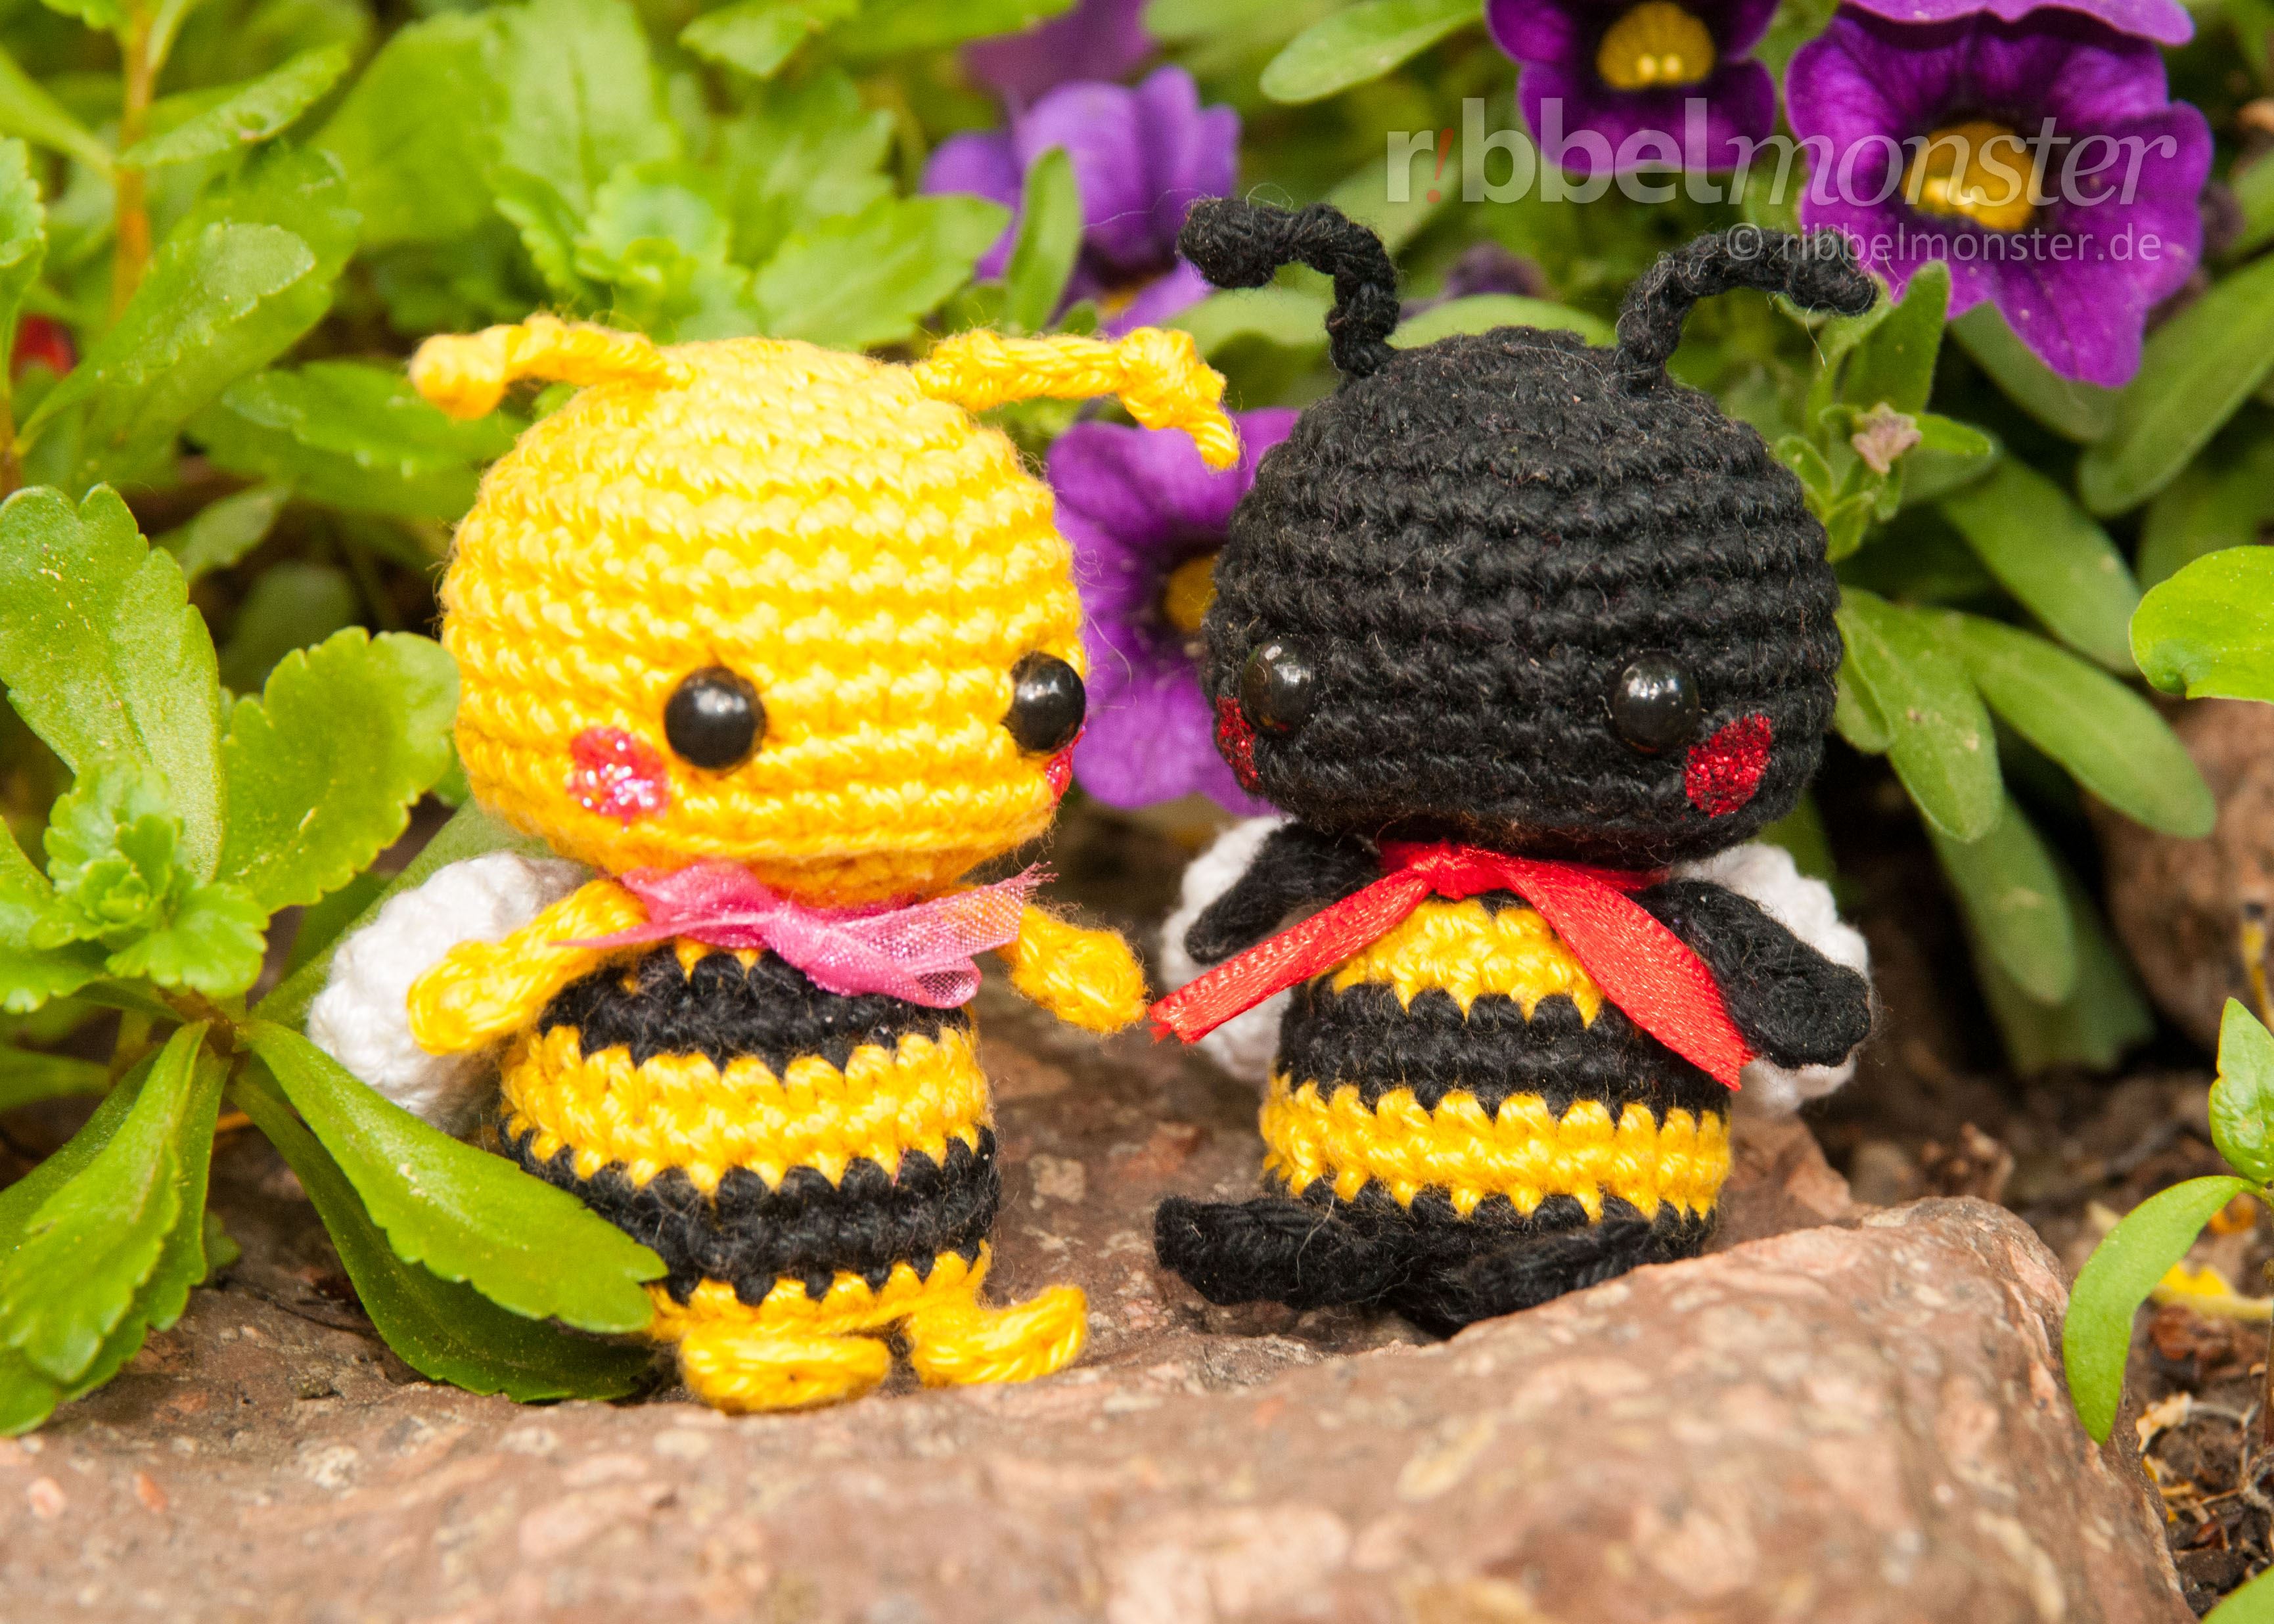
You could also crochet the small cute Bee. The two of them make an absolutely adorable pair!
If you’re up for it, you might want to crochet the other amigurumis from the Minimee series; just take a look at the patterns.

Do you feel like crocheting these two industrious friends? Here’s a pattern for the amigurumi bee Mika and a pattern for the amigurumi bumblebee Malo.
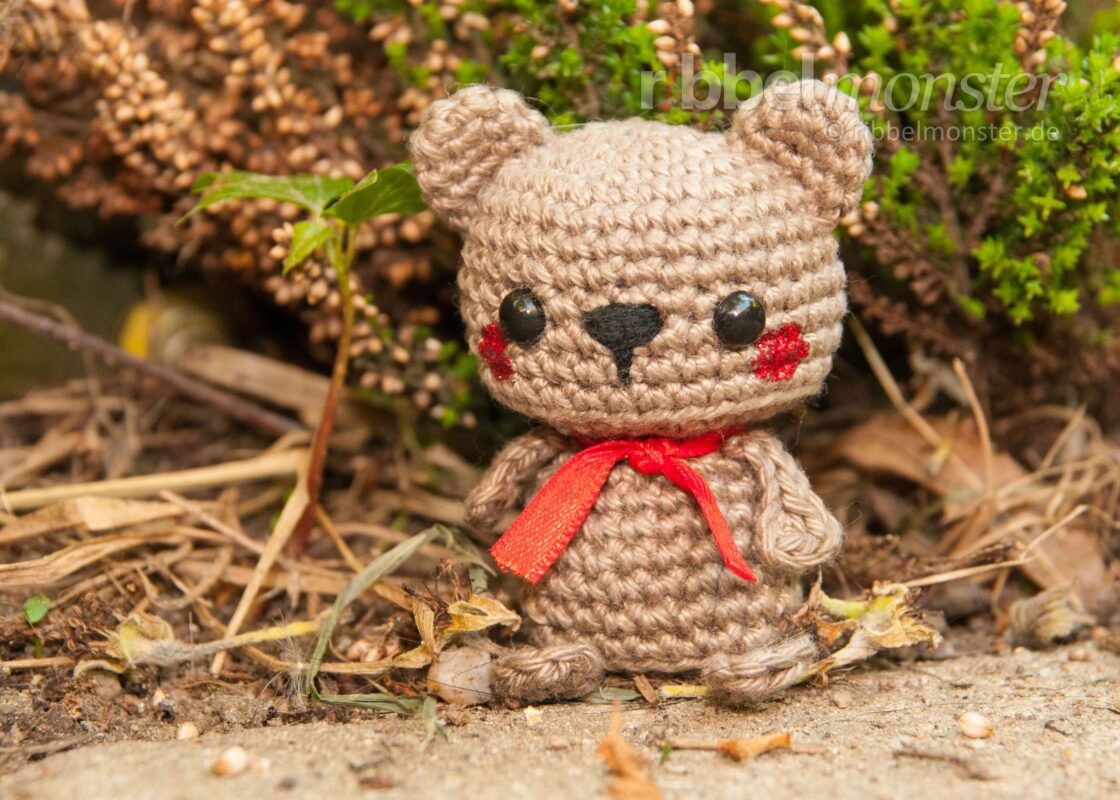
If you enjoy walking in the woods, I have a great companion for you. The amigurumi brown bear Balu is quick to crochet.
If your bed is sometimes too empty, this little crocheted amigurumi bug would love to spend a few nights there.
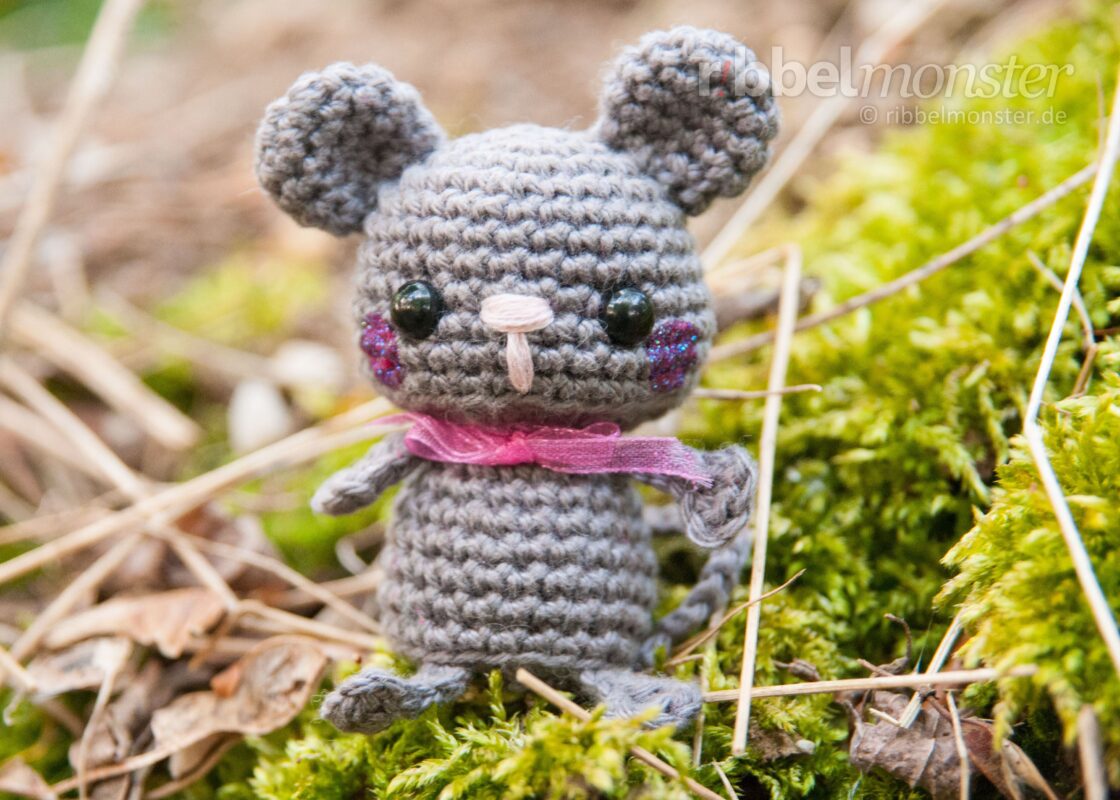
If you have some cheese left, the sweet amigurumi mouse Lina could enjoy it for you so that it doesn’t go bad.
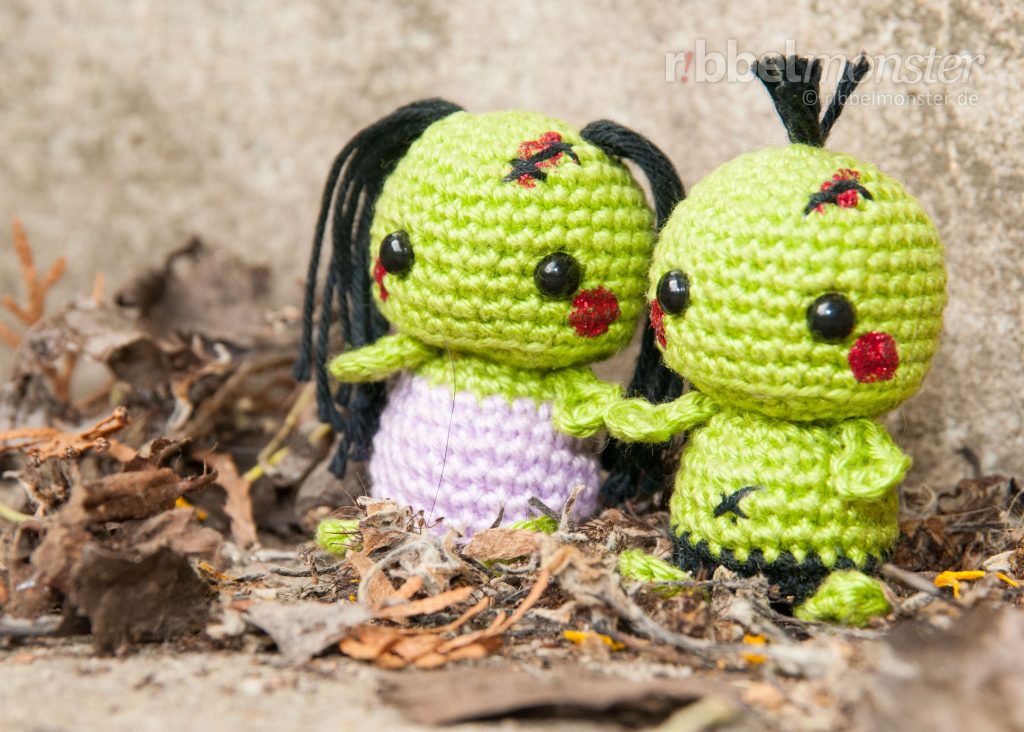
A genuinely spooky pair can be found here. Why not try the patterns for the zombie girl Ouka and the zombie boy Ouk?
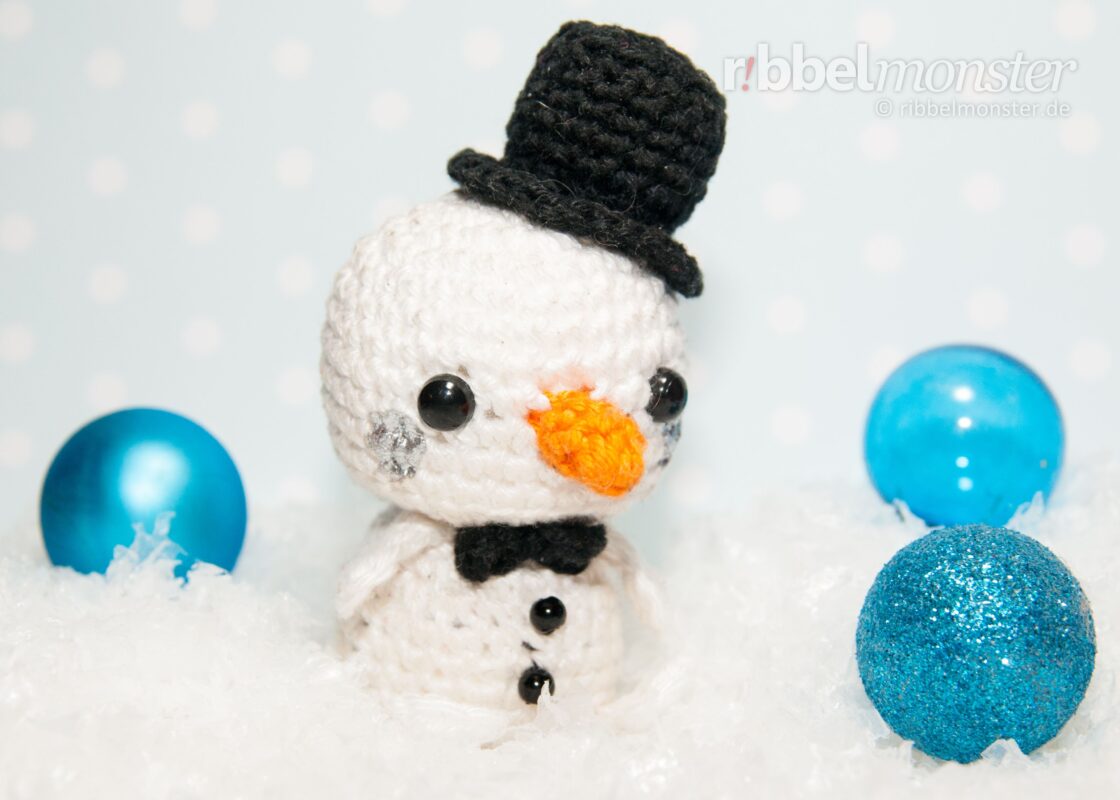
Also, we are urgently looking for a cool place for our charming amigurumi snowman Erik.

Our little amigurumi polar bear Ole urgently needs someone to cuddle within the cold season. Do you know someone?
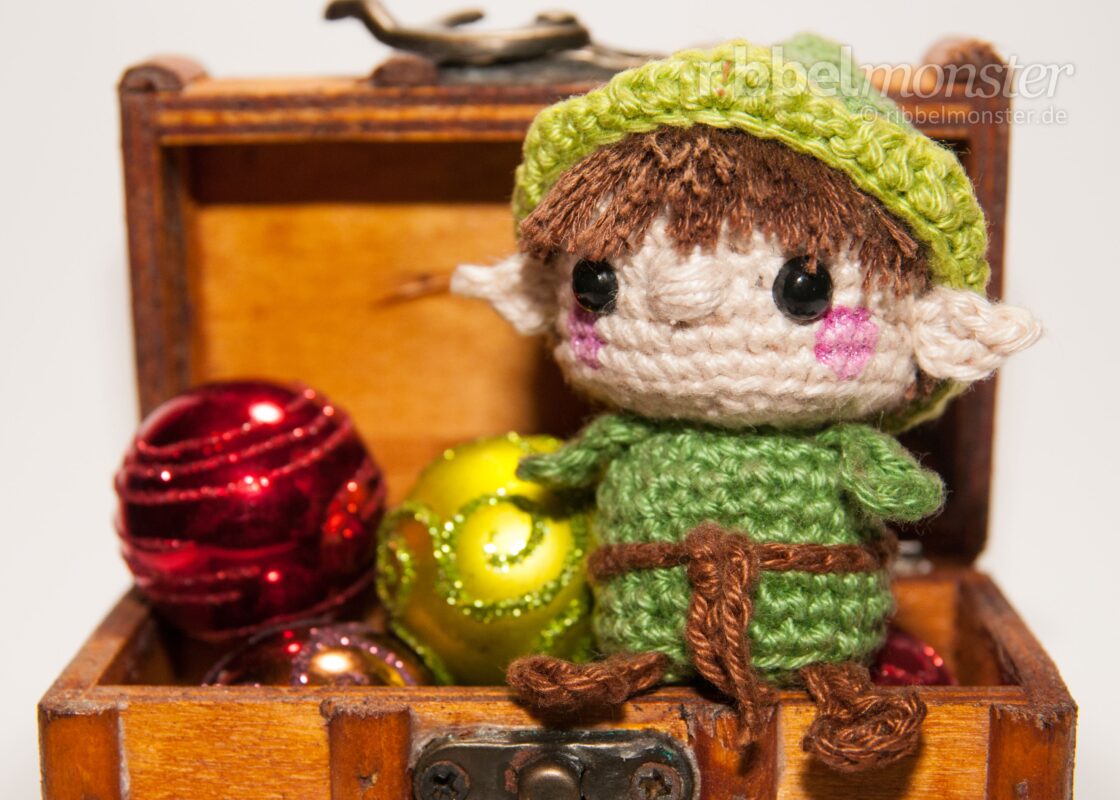
With this simple crochet pattern for an amigurumi elf, you’ll surely have much less household work soon!
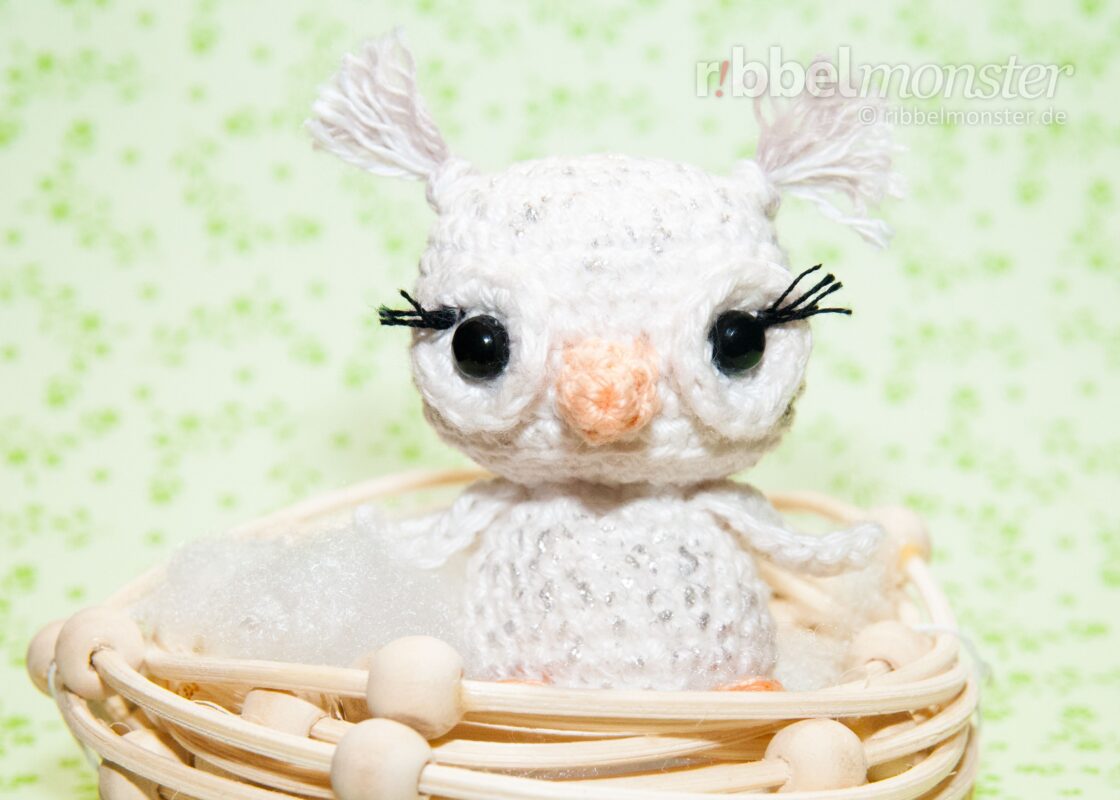
Snowy owls are quite rare, but we have diligently searched and found this great pattern for an amigurumi snowy owl for you.
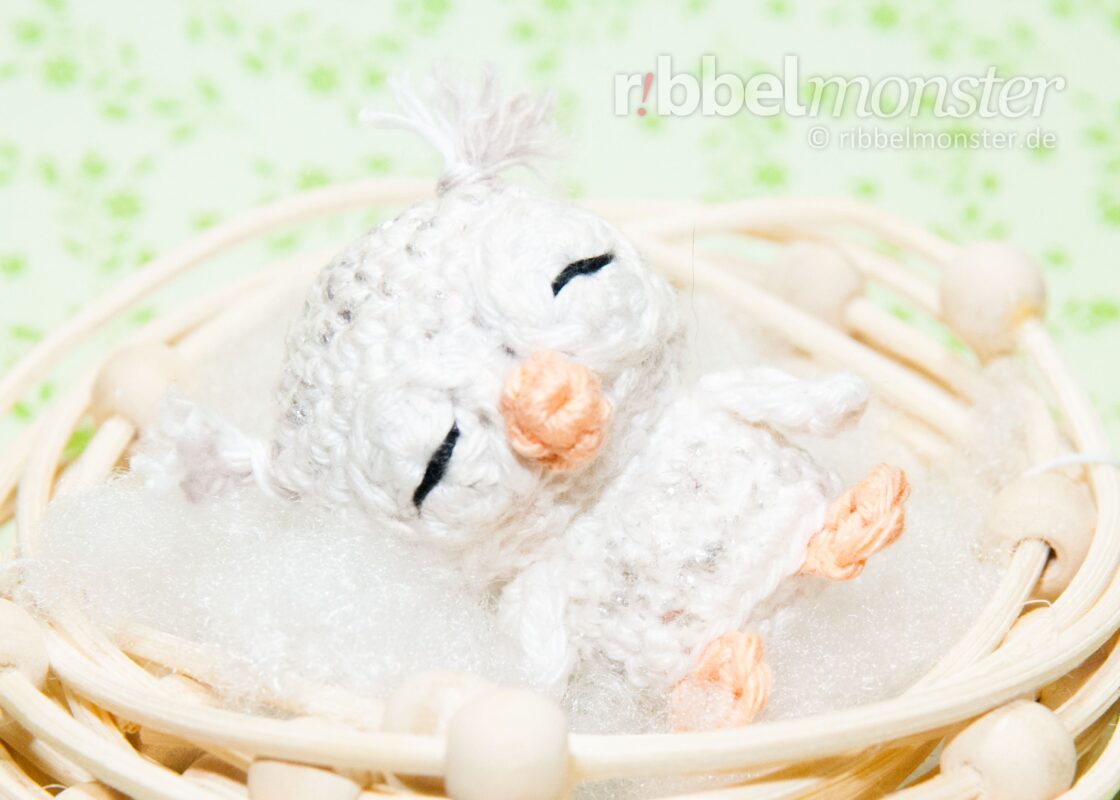
Oh, how cute! I think a very adorable little baby snowy owl has just hatched. You definitely need to take a closer look.
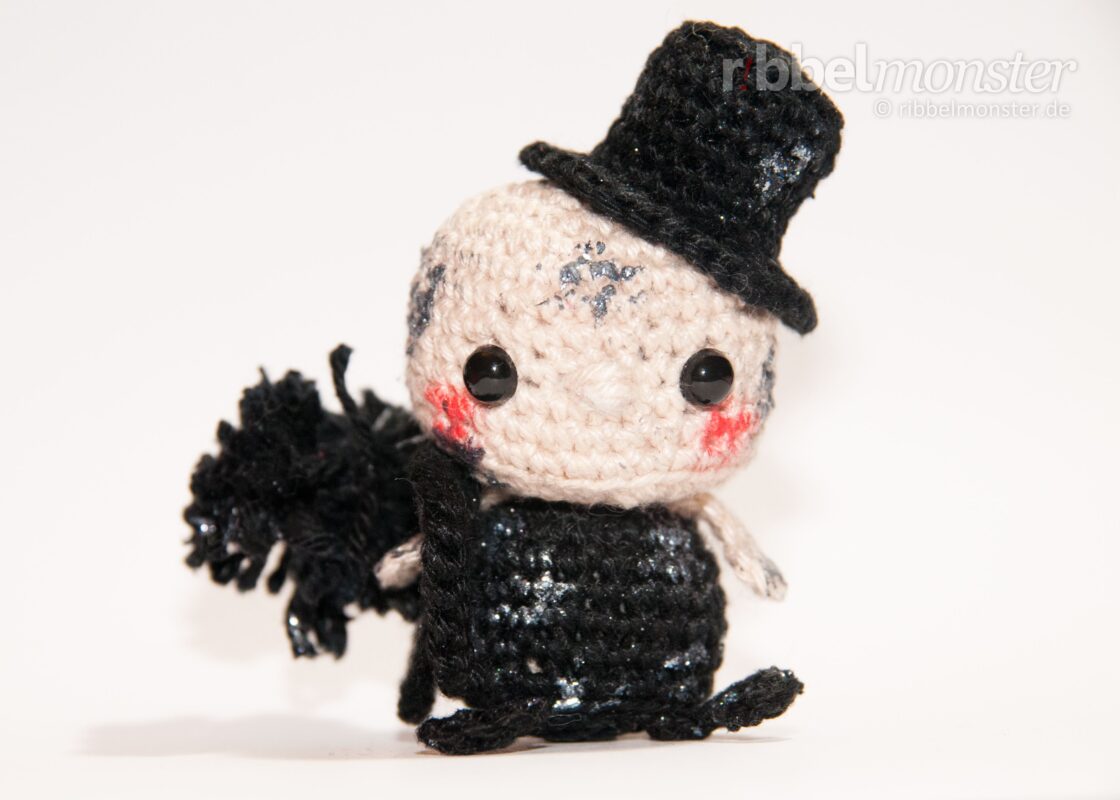
If you urgently need a bit more luck, then you can simply shake hands with our amigurumi chimney sweep.
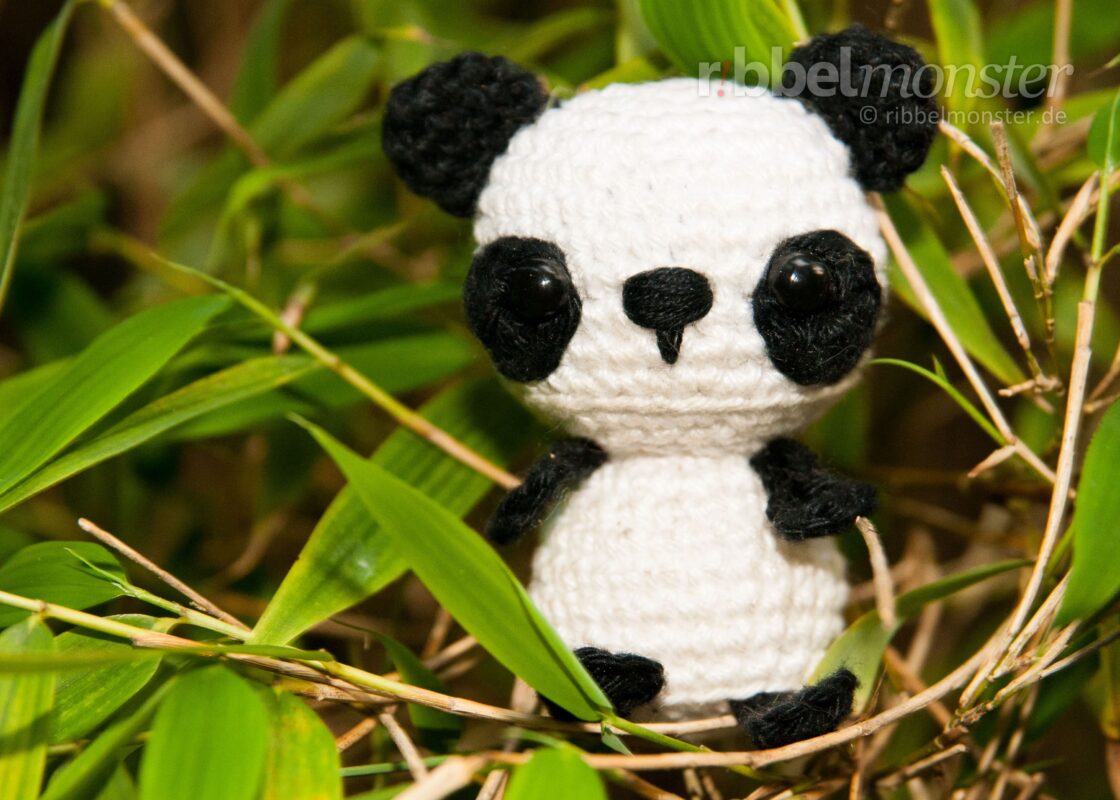
Do you have a spot in your bamboo forest? Our little amigurumi panda bear is still urgently looking for a new home.
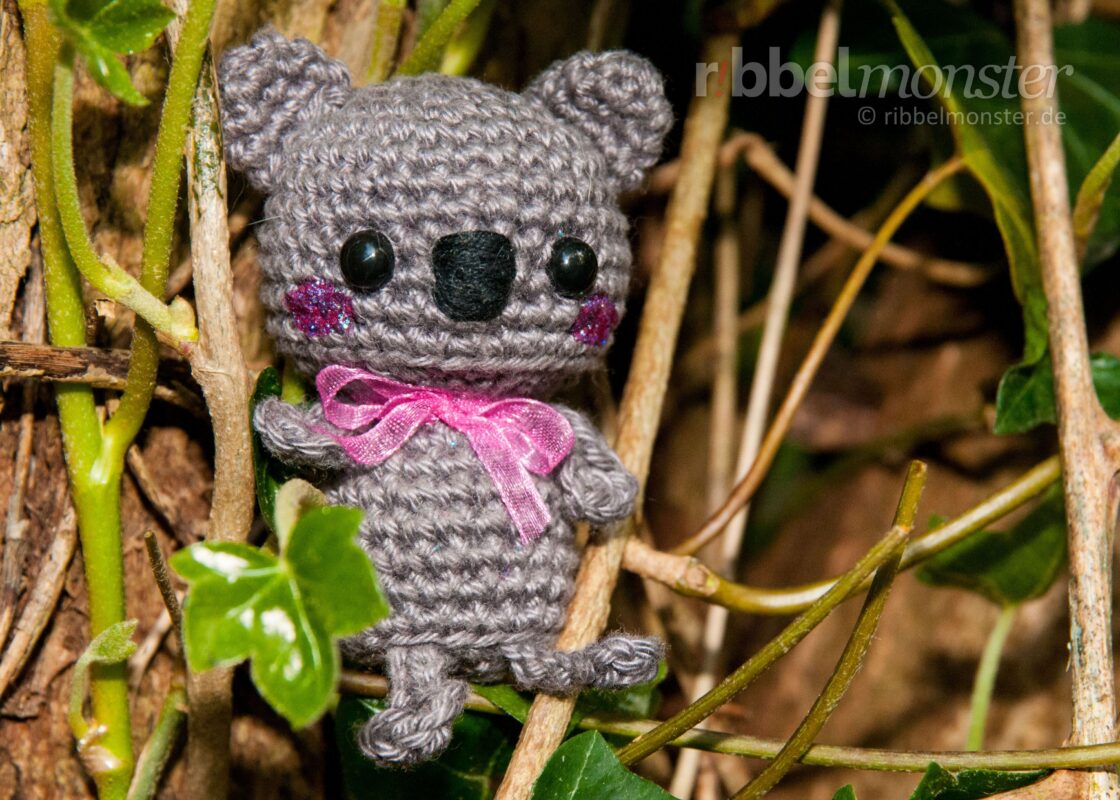
Maybe a cute koala bear also fits into your in-house jungle? With this simple crochet guide, you can crochet the amigurumi koala bear Sina.

If you’re in the mood for some horror stories, a terrifying amigurumi Frankenstein might share his experiences with you.