
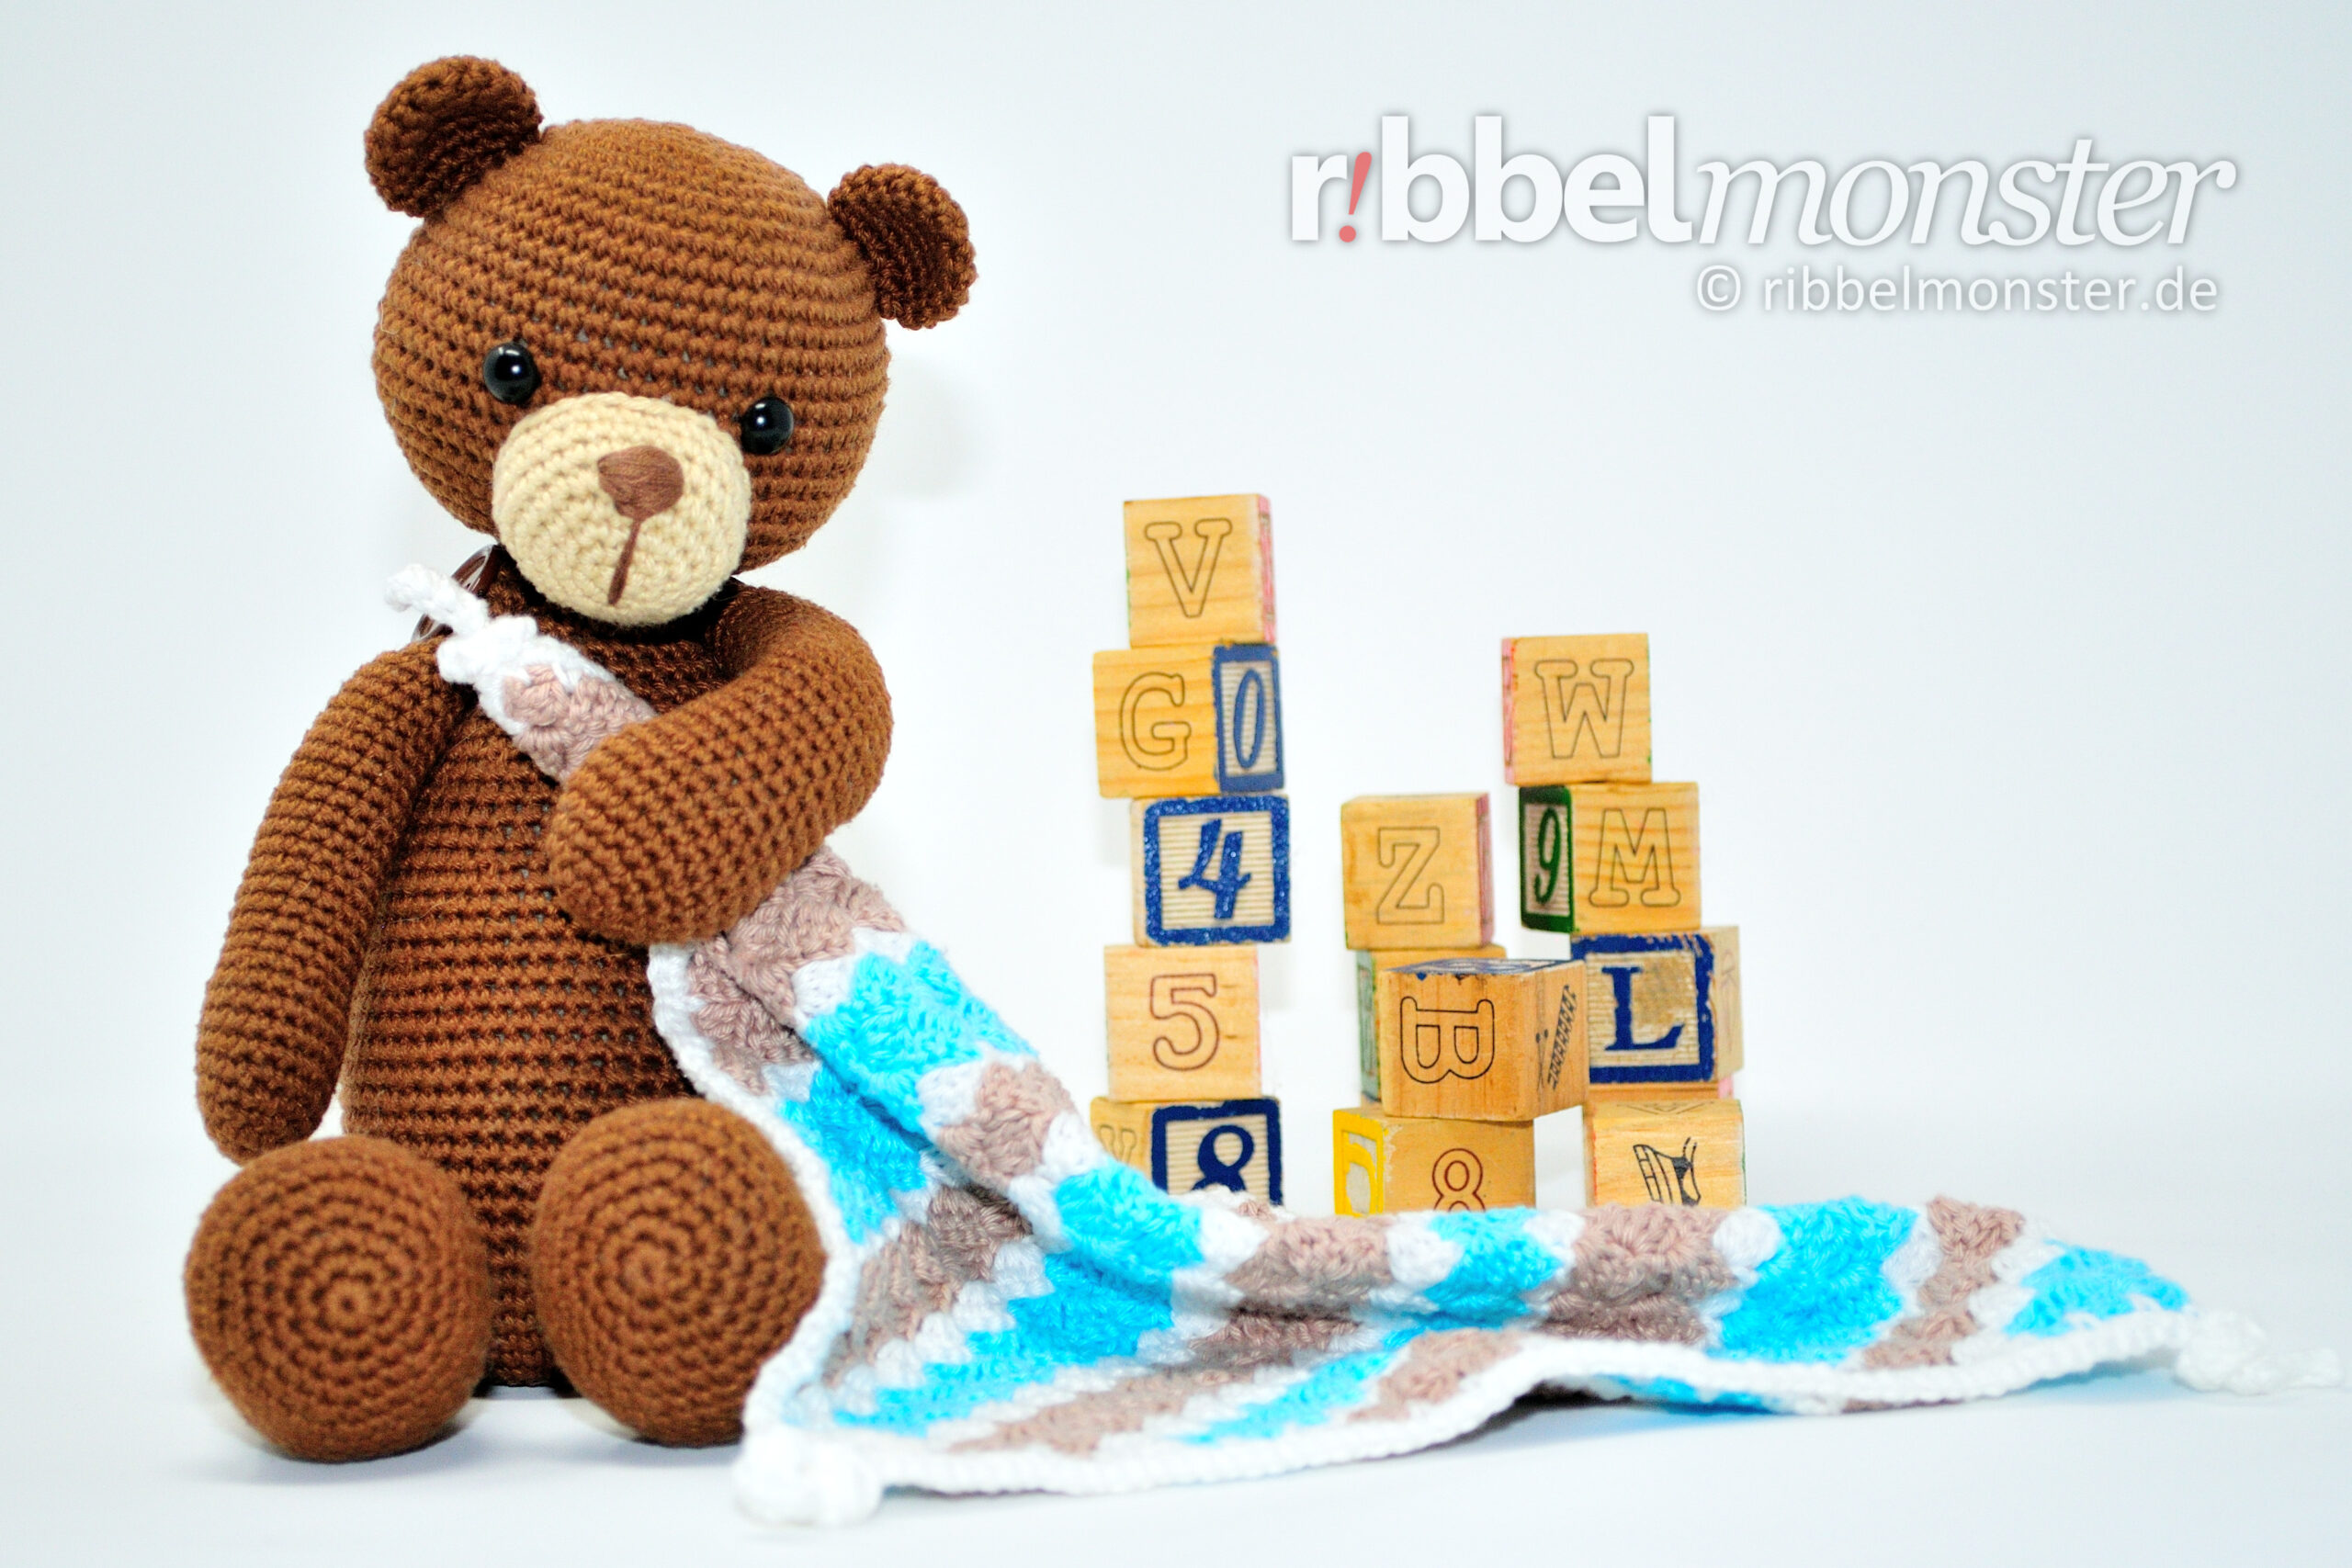
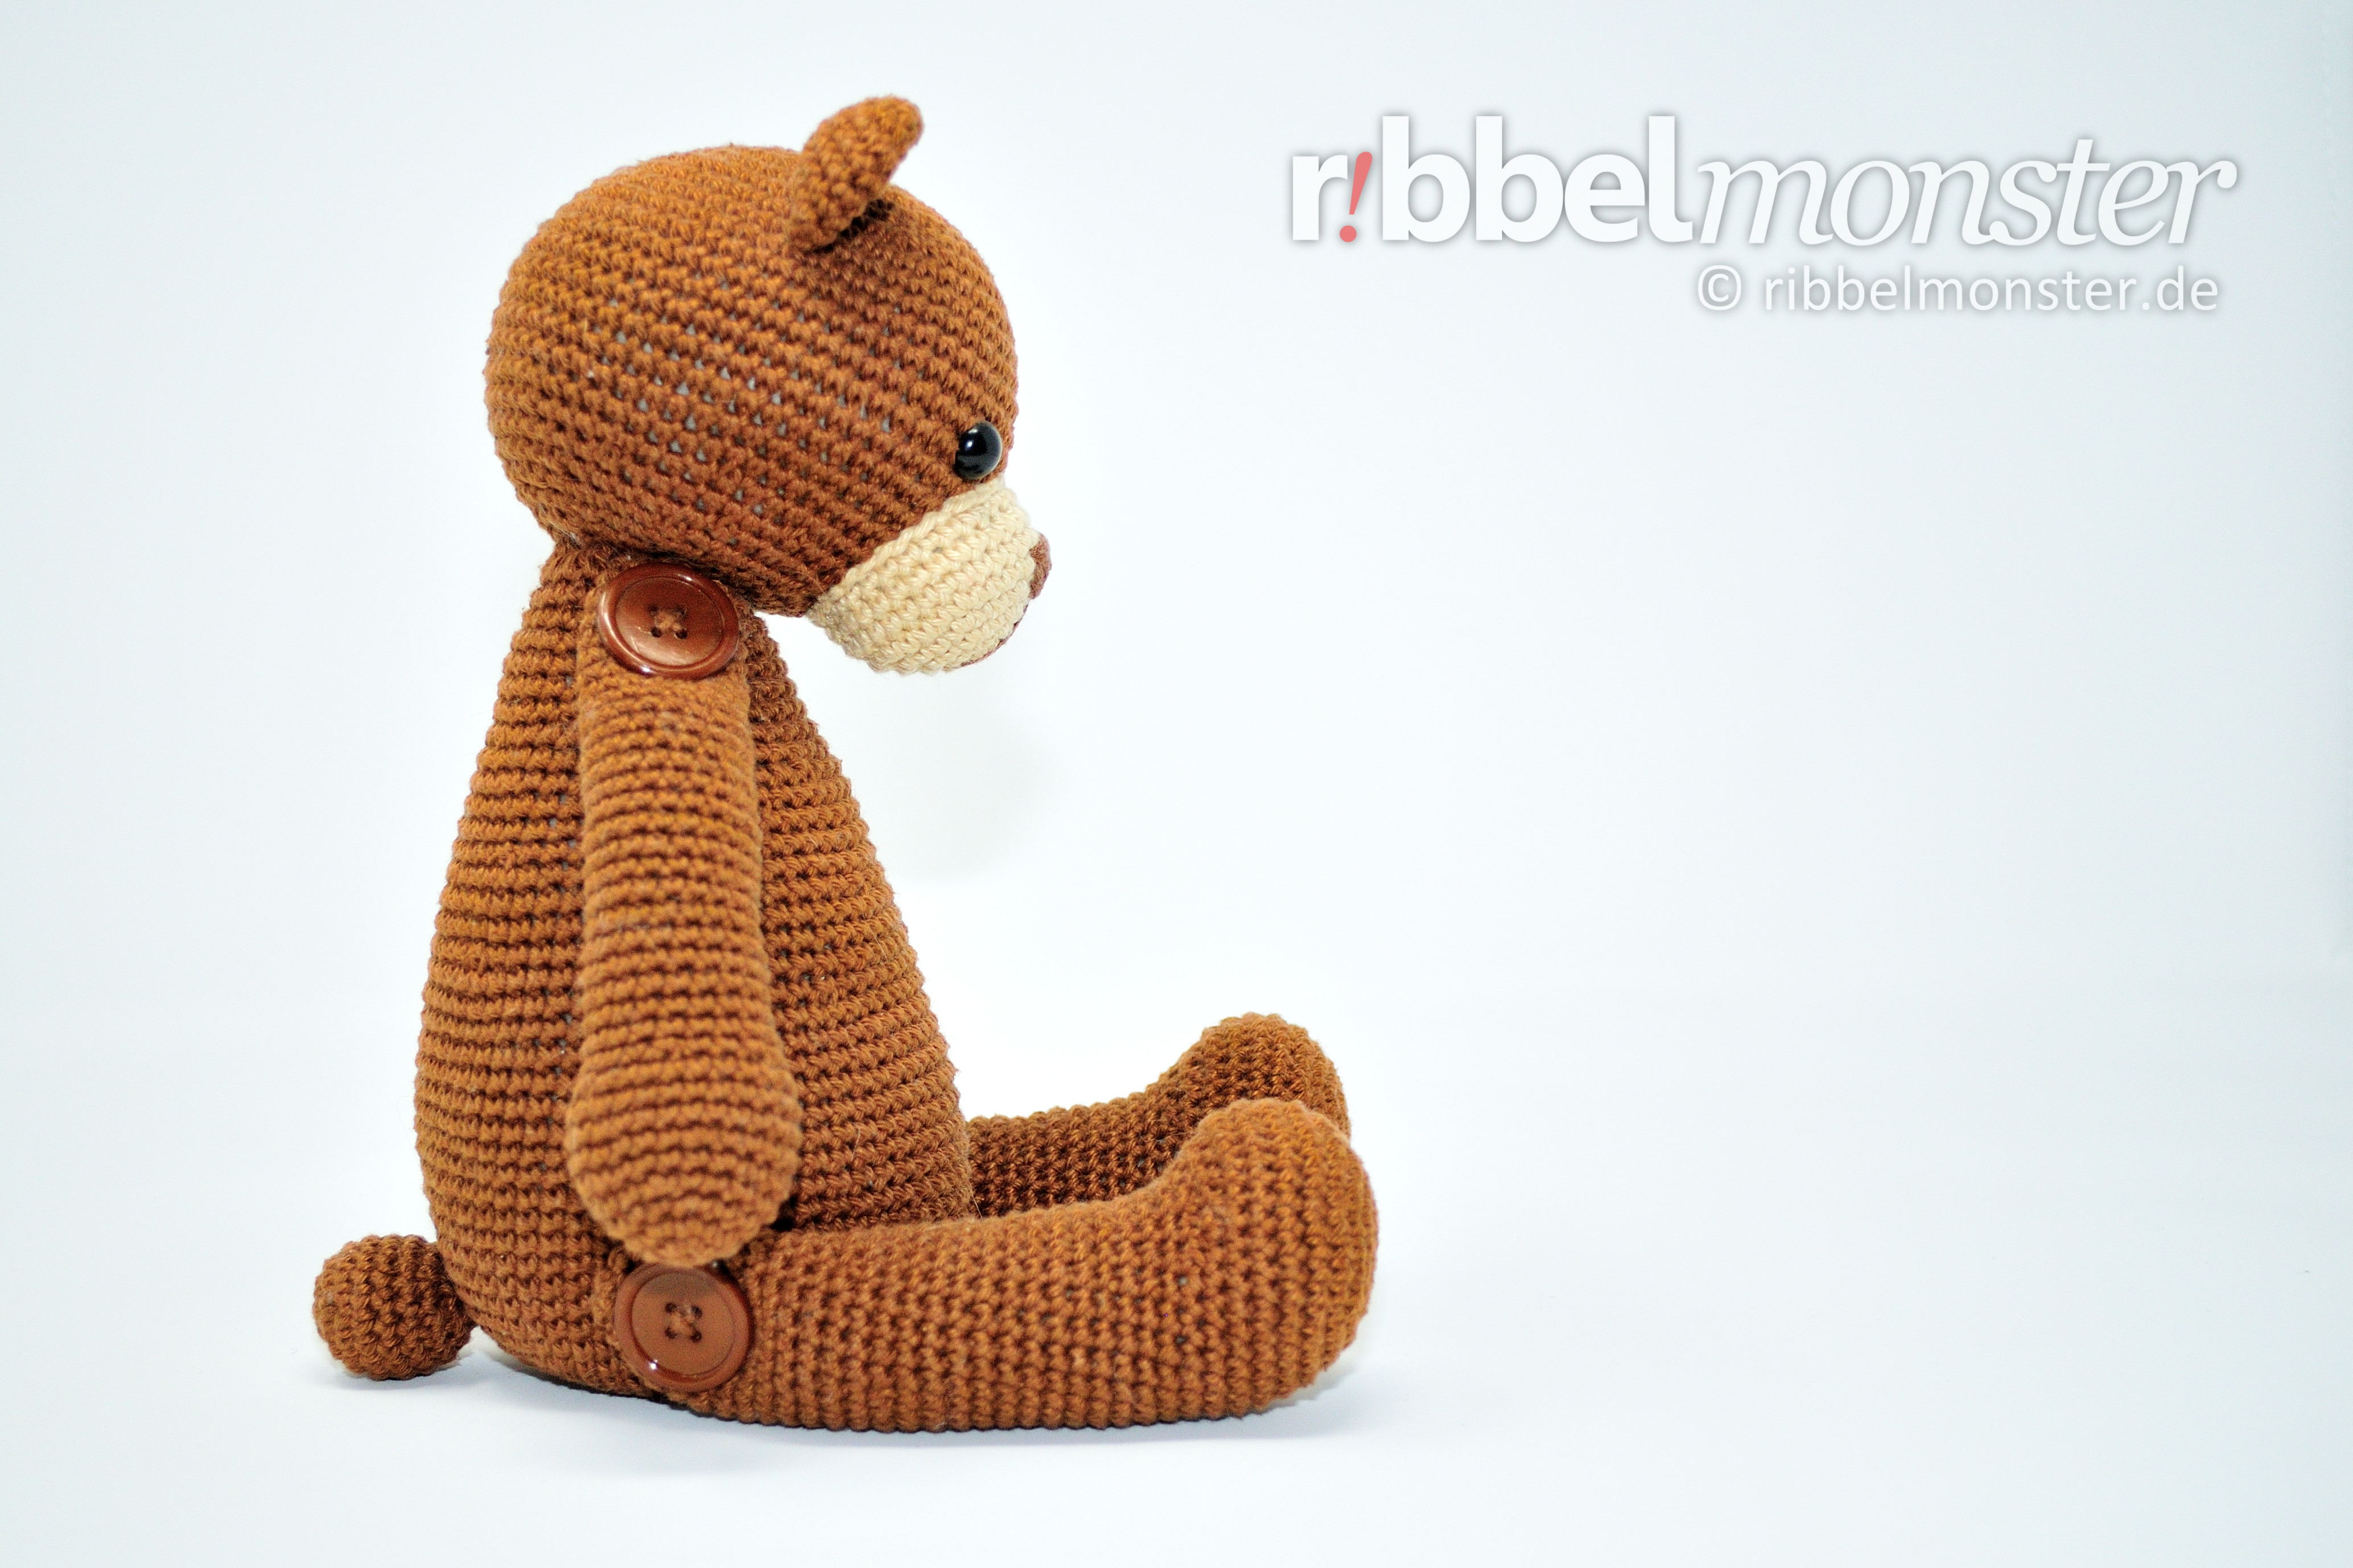
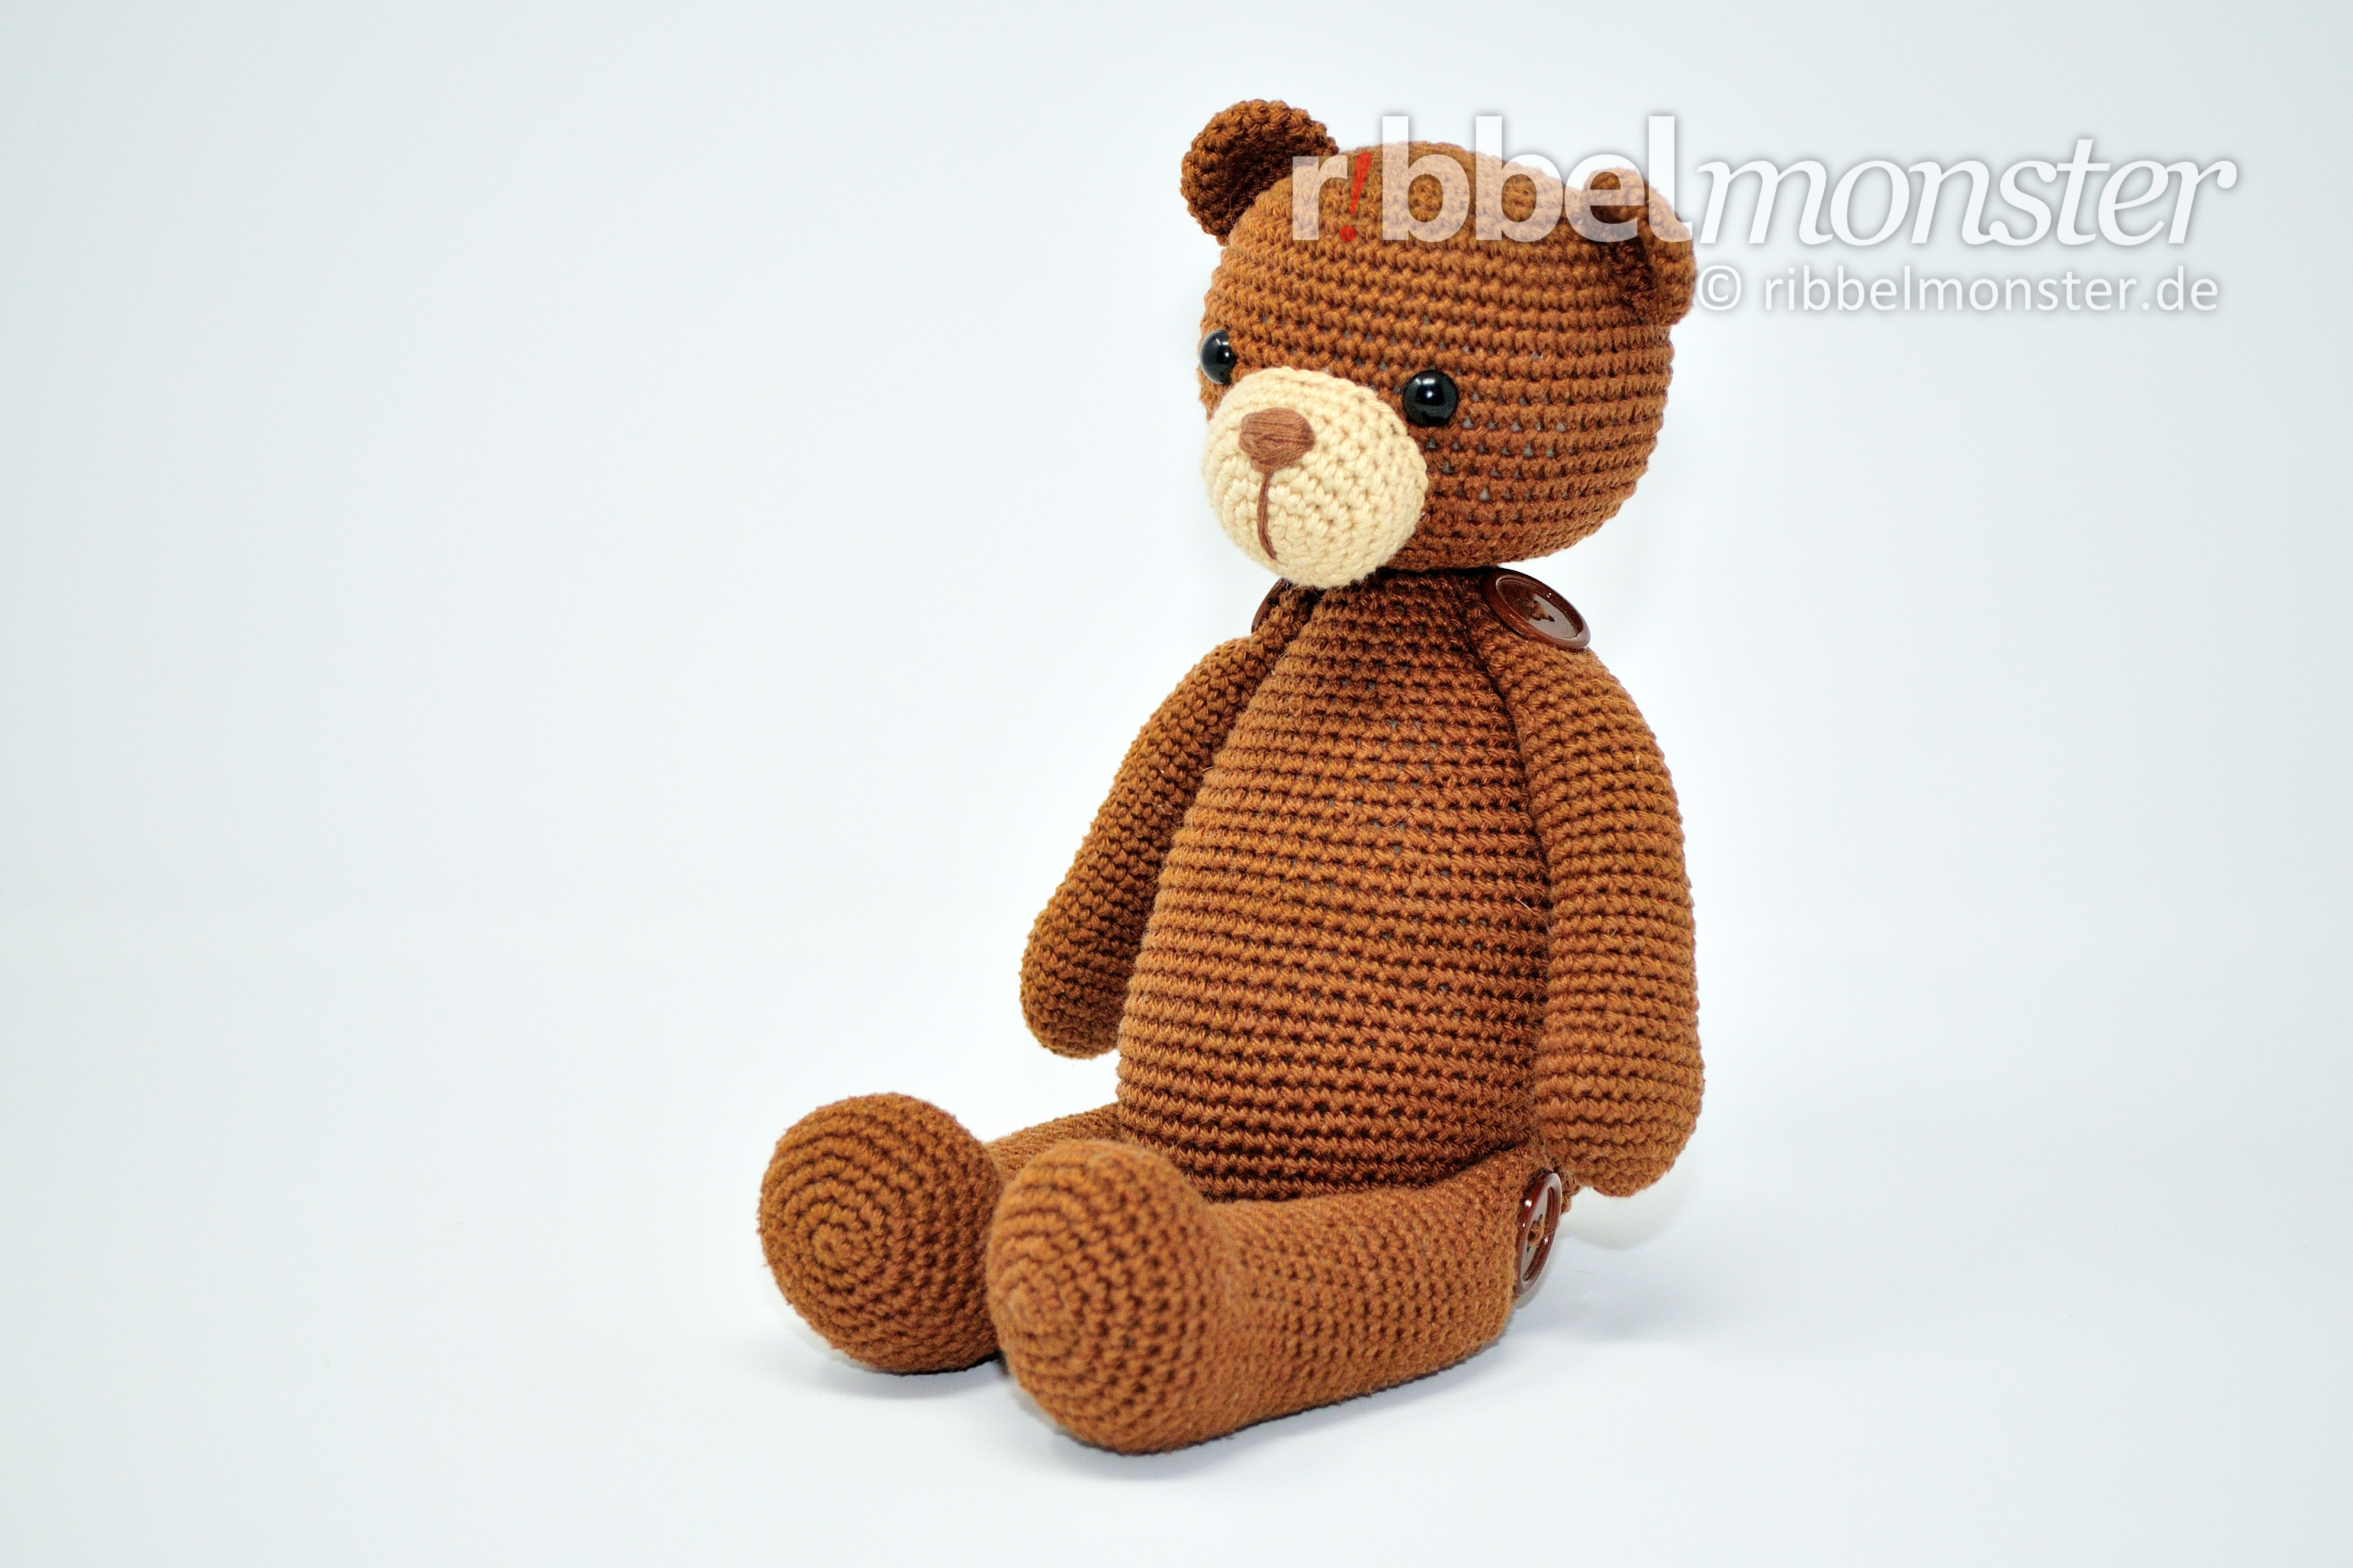
With this simple crochet pattern you can crochet an Amigurumi bear. The crocheted Amigurumi bear “Bruno” is a great cuddly toy for big and small children. This crochet bear can be worked with button joints, which give a nostalgic look and make it particularly movable.

Bruno likes bricks so much,
but without his Comforter he would be alone.
Sometimes his eyes become heavy,
then he just falls asleep!

Knowledge: Amigurumi – Crochet Bear “Bruno”
- magic ring
- slip stitch
- single crochet stitch (US!)
- half double crochet stitches (US!)
- double crochet stitches (US!)
Supplies: Amigurumi – Crochet Bear “Bruno”
Note: The Amigurumis of the Zamzarak series can be made with or without button joints. What button joints are and how to make them, you can look up in the Tutorial for Button Joints. If you decide to make button joints you will also need 4 buttons whose size should fit exactly so you should choose them only after the crochet.
- Crochet Yarn:
- Braun:
- Size: 125m / 50g
- Supplies: 100% Cotton
- Example: Schachenmayr Catania
- Crochet Hook: 2,5 mm (metric, Help? Needle Size Translator)
- Consumption: ca. 100g
- Hellbrown:
- Size: 125m / 50g
- Supplies: 100% Cotton
- Example: Schachenmayr Catania
- Crochet Hook: 2,5 mm (metric, Help? Needle Size Translator)
- Consumption: ca. 5g
- Braun:
- Wool Needle
- Scissors
- Filling:
- Example: Synthetische Füllwatte (100% Polyester)
- Alternatives? Amigurumi Filling
- Eyes:
- Example: 2 Safety Eyes (black, 10mm)
- Alternatives? Amigurumi Eyes
- Nose:
- Example: Darning Yarn (brown)
Size: Amigurumi – Crochet Bear “Bruno”
Here you find the size specifications for the crochet bear Bruno without ears.
| Needle Size | Yarn | Sitting |
Standing |
| 2,5 mm (shown example) | 125m / 50g, 100% Cotton | 20cm | 30cm |
Pattern: Amigurumi – Crochet Bear “Bruno”
 For the bear “Bruno” we crochet head, body, ears, arms, legs, snout and a tail at first. Then all parts are sewn together and then your bear “Bruno” is already finished.
Crochet Bear Head (1x)
 The head for the bear we crochet from top down with single crochet stitches (US!) in spiral rounds.
- brown:
- 1st round: magic ring + 6 single crochet stitches (US!) = 6 stitches
- 2nd round: double every stitch = 12 stitches
- 3rd round: double every 2nd stitch = 18 stitches
- 4th round: double every 3rd stitch = 24 stitches
- 5th round: double every 4th stitch = 30 stitches
- 6th round: double every 5th stitch = 36 stitches
- 7th round: double every 6th stitch = 42 stitches
- 8th round: double every 7th stitch = 48 stitches
- 9th round: double every 8th stitch = 54 stitches
- 10th round: double every 9th stitch = 60 stitches
- 11th – 21st round: (= 11 rounds) each stitch one stitch = 60 stitches
- Attach Safety Eyes, position: after the 16th round, 9 stitches distance
- 22nd round: crochet together every 9th and 10th stitch = 54 stitches
- 23rd round: crochet together every 8th and 9th stitch = 48 stitches
- 24th round: crochet together every 7th and 8th stitch = 42 stitches
- 25th round: crochet together every 6th and 7th stitch = 36 stitches
- 26th round: crochet together every 5th and 6th stitch = 30 stitches
- 27th round: crochet together every 4th and 5th stitch = 24 stitches
- fill and stuff completely
- cut the thread, pull off the loop
Crochet Bear Body (1x)
 The body for the bear we crochet from bottom up in spiral rounds with single crochet stitches (US!). The body will be filled and stuffed completely, but not closed yet so we can sew it to the head later.
- brown:
- 1st round: magic ring + 6 single crochet stitches (US!) = 6 stitches
- 2nd round: double every stitch = 12 stitches
- 3rd round: double every 2nd stitch = 18 stitches
- 4th round: double every 3rd stitch = 24 stitches
- 5th round: double every 4th stitch = 30 stitches
- 6th round: double every 5th stitch = 36 stitches
- 7th round: double every 6th stitch = 42 stitches
- 8th round: double every 7th stitch = 48 stitches
- 9th round: double every 8th stitch = 54 stitches
- 10th round: double every 9th stitch = 60 stitches
- 11th – 25th round: (= 15 rounds) each stitch one stitch = 60 stitches
- 26th round: crochet together every 29th and 30th stitch = 58 stitches
- 27th round: crochet together every 28th and 29th stitch = 56 stitches
- 28th round: crochet together every 27th and 28th stitch = 54 stitches
- 29th round: crochet together every 26th and 27th stitch = 52 stitches
- 30th round: crochet together every 25th and 26th stitch = 50 stitches
- 31st round: crochet together every 24th and 25th stitch = 48 stitches
- 32nd round: crochet together every 23th and 24th stitch = 46 stitches
- 33rd round: crochet together every 22th and 23th stitch = 44 stitches
- 34th round: crochet together every 21th and 22th stitch = 42 stitches
- 35th round: crochet together every 20th and 21th stitch = 40 stitches
- 36th round: crochet together every 19th and 20th stitch = 38 stitches
- 37th round: crochet together every 18th and 19th stitch = 36 stitches
- 38th round: crochet together every 17th and 18th stitch = 34 stitches
- 39th round: crochet together every 16th and 17th stitch = 32 stitches
- 40th round: crochet together every 15th and 16th stitch = 30 stitches
- 41st round: crochet together every 14th and 15th stitch = 28 stitches
- 42nd round: crochet together every 13th and 14th stitch = 26 stitches
- 43rd round: crochet together every 12th and 13th stitch = 24 stitches
- 44th round: 10x 1 single crochet stitch (US!) into one stitch, 3x 1 half double crochet stitch (US!) into one stitch, 6x 1 double crochet stitch (US!) into one stitch, 3x 1 half double crochet stitch (US!) into one stitch, 1x 1 single crochet stitch (US!) into one stitch, 1x 1 slip stitch into one stitch = 24 stitches
- fill and stuff completely
- cut the thread generous, pull off the loop, DONT cut the thread end, will be needed for sewing later
Crochet Bear Ears (2x)
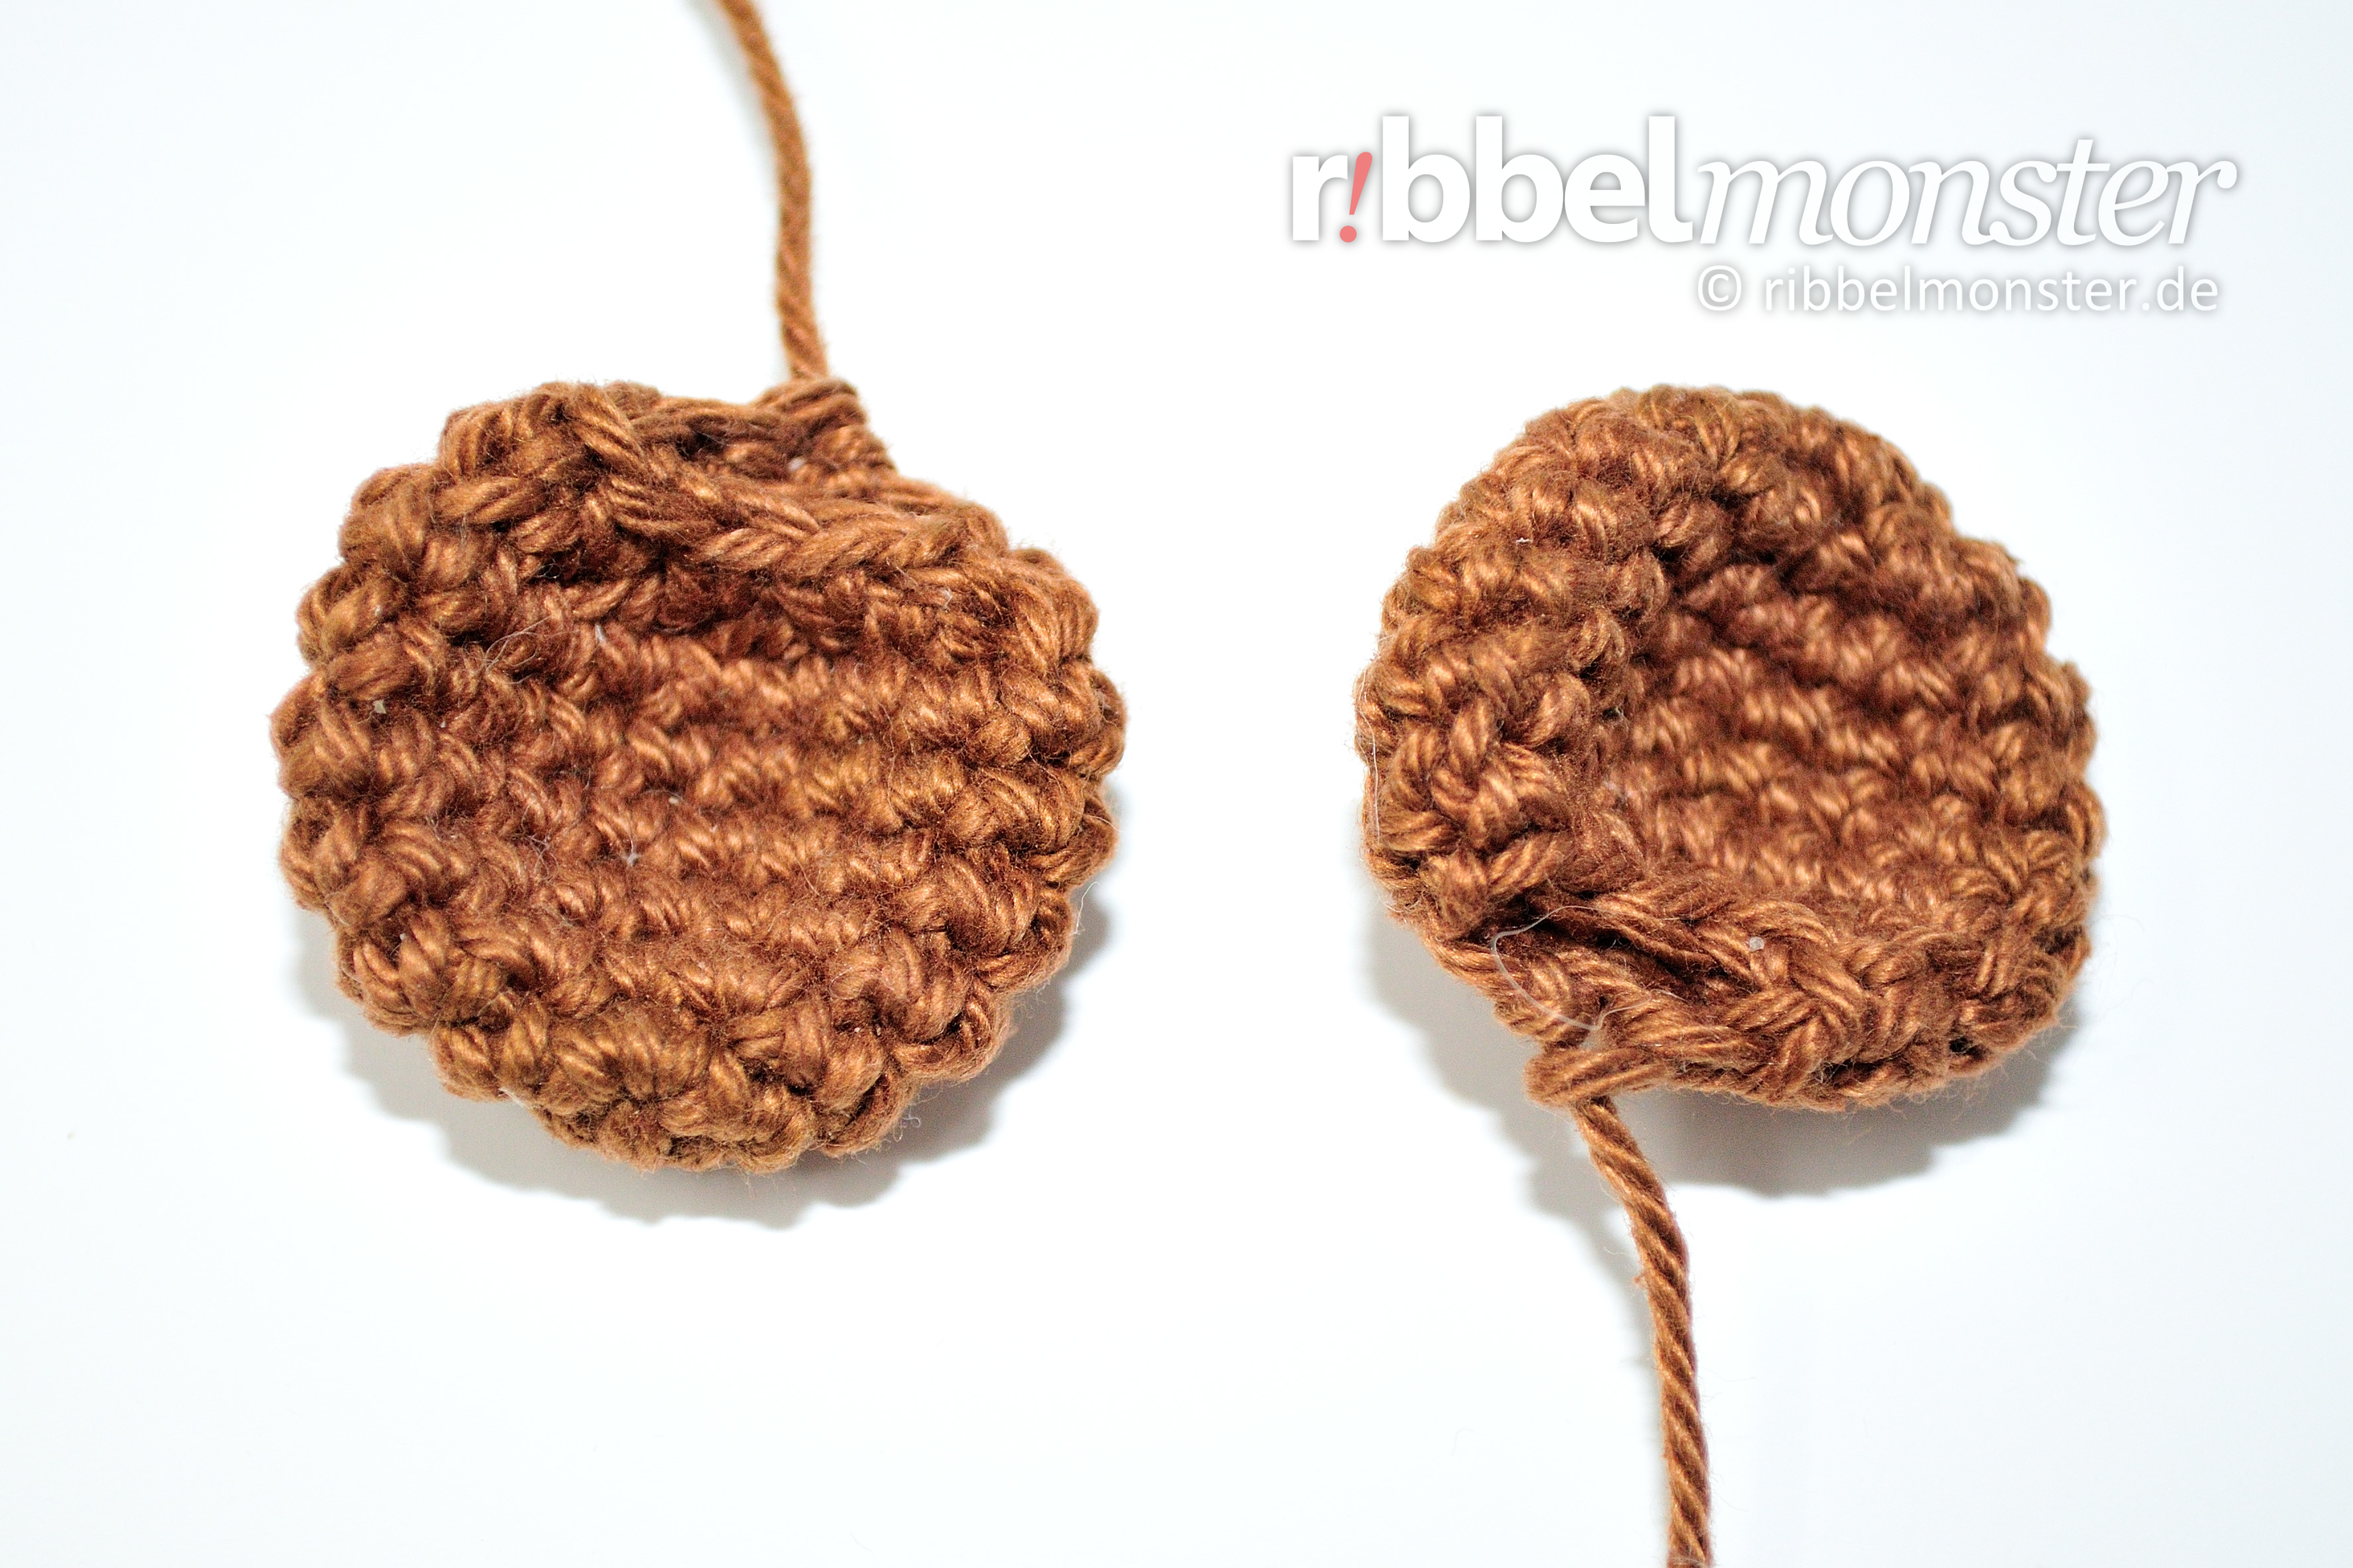 The ears for the bear we crochet from the tip to the base in spiral rounds with single crochet stitches (US!). The ears wont be filled but folded flat and sewn with the thread end with the opening to the head.
- brown:
- 1st round: magic ring + 6 single crochet stitches (US!) = 6 stitches
- 2nd round: double every stitch = 12 stitches
- 3rd round: double every 2nd stitch = 18 stitches
- 4th – 7th round: (= 4 rounds) each stitch one stitch = 18 stitches
- 8th round: crochet together every 1st and 2nd stitch = 9 stitches
- cut the thread generous, pull off the loop, DONT cut the thread end, will be needed for sewing later
Crochet Bear Tail (1x)
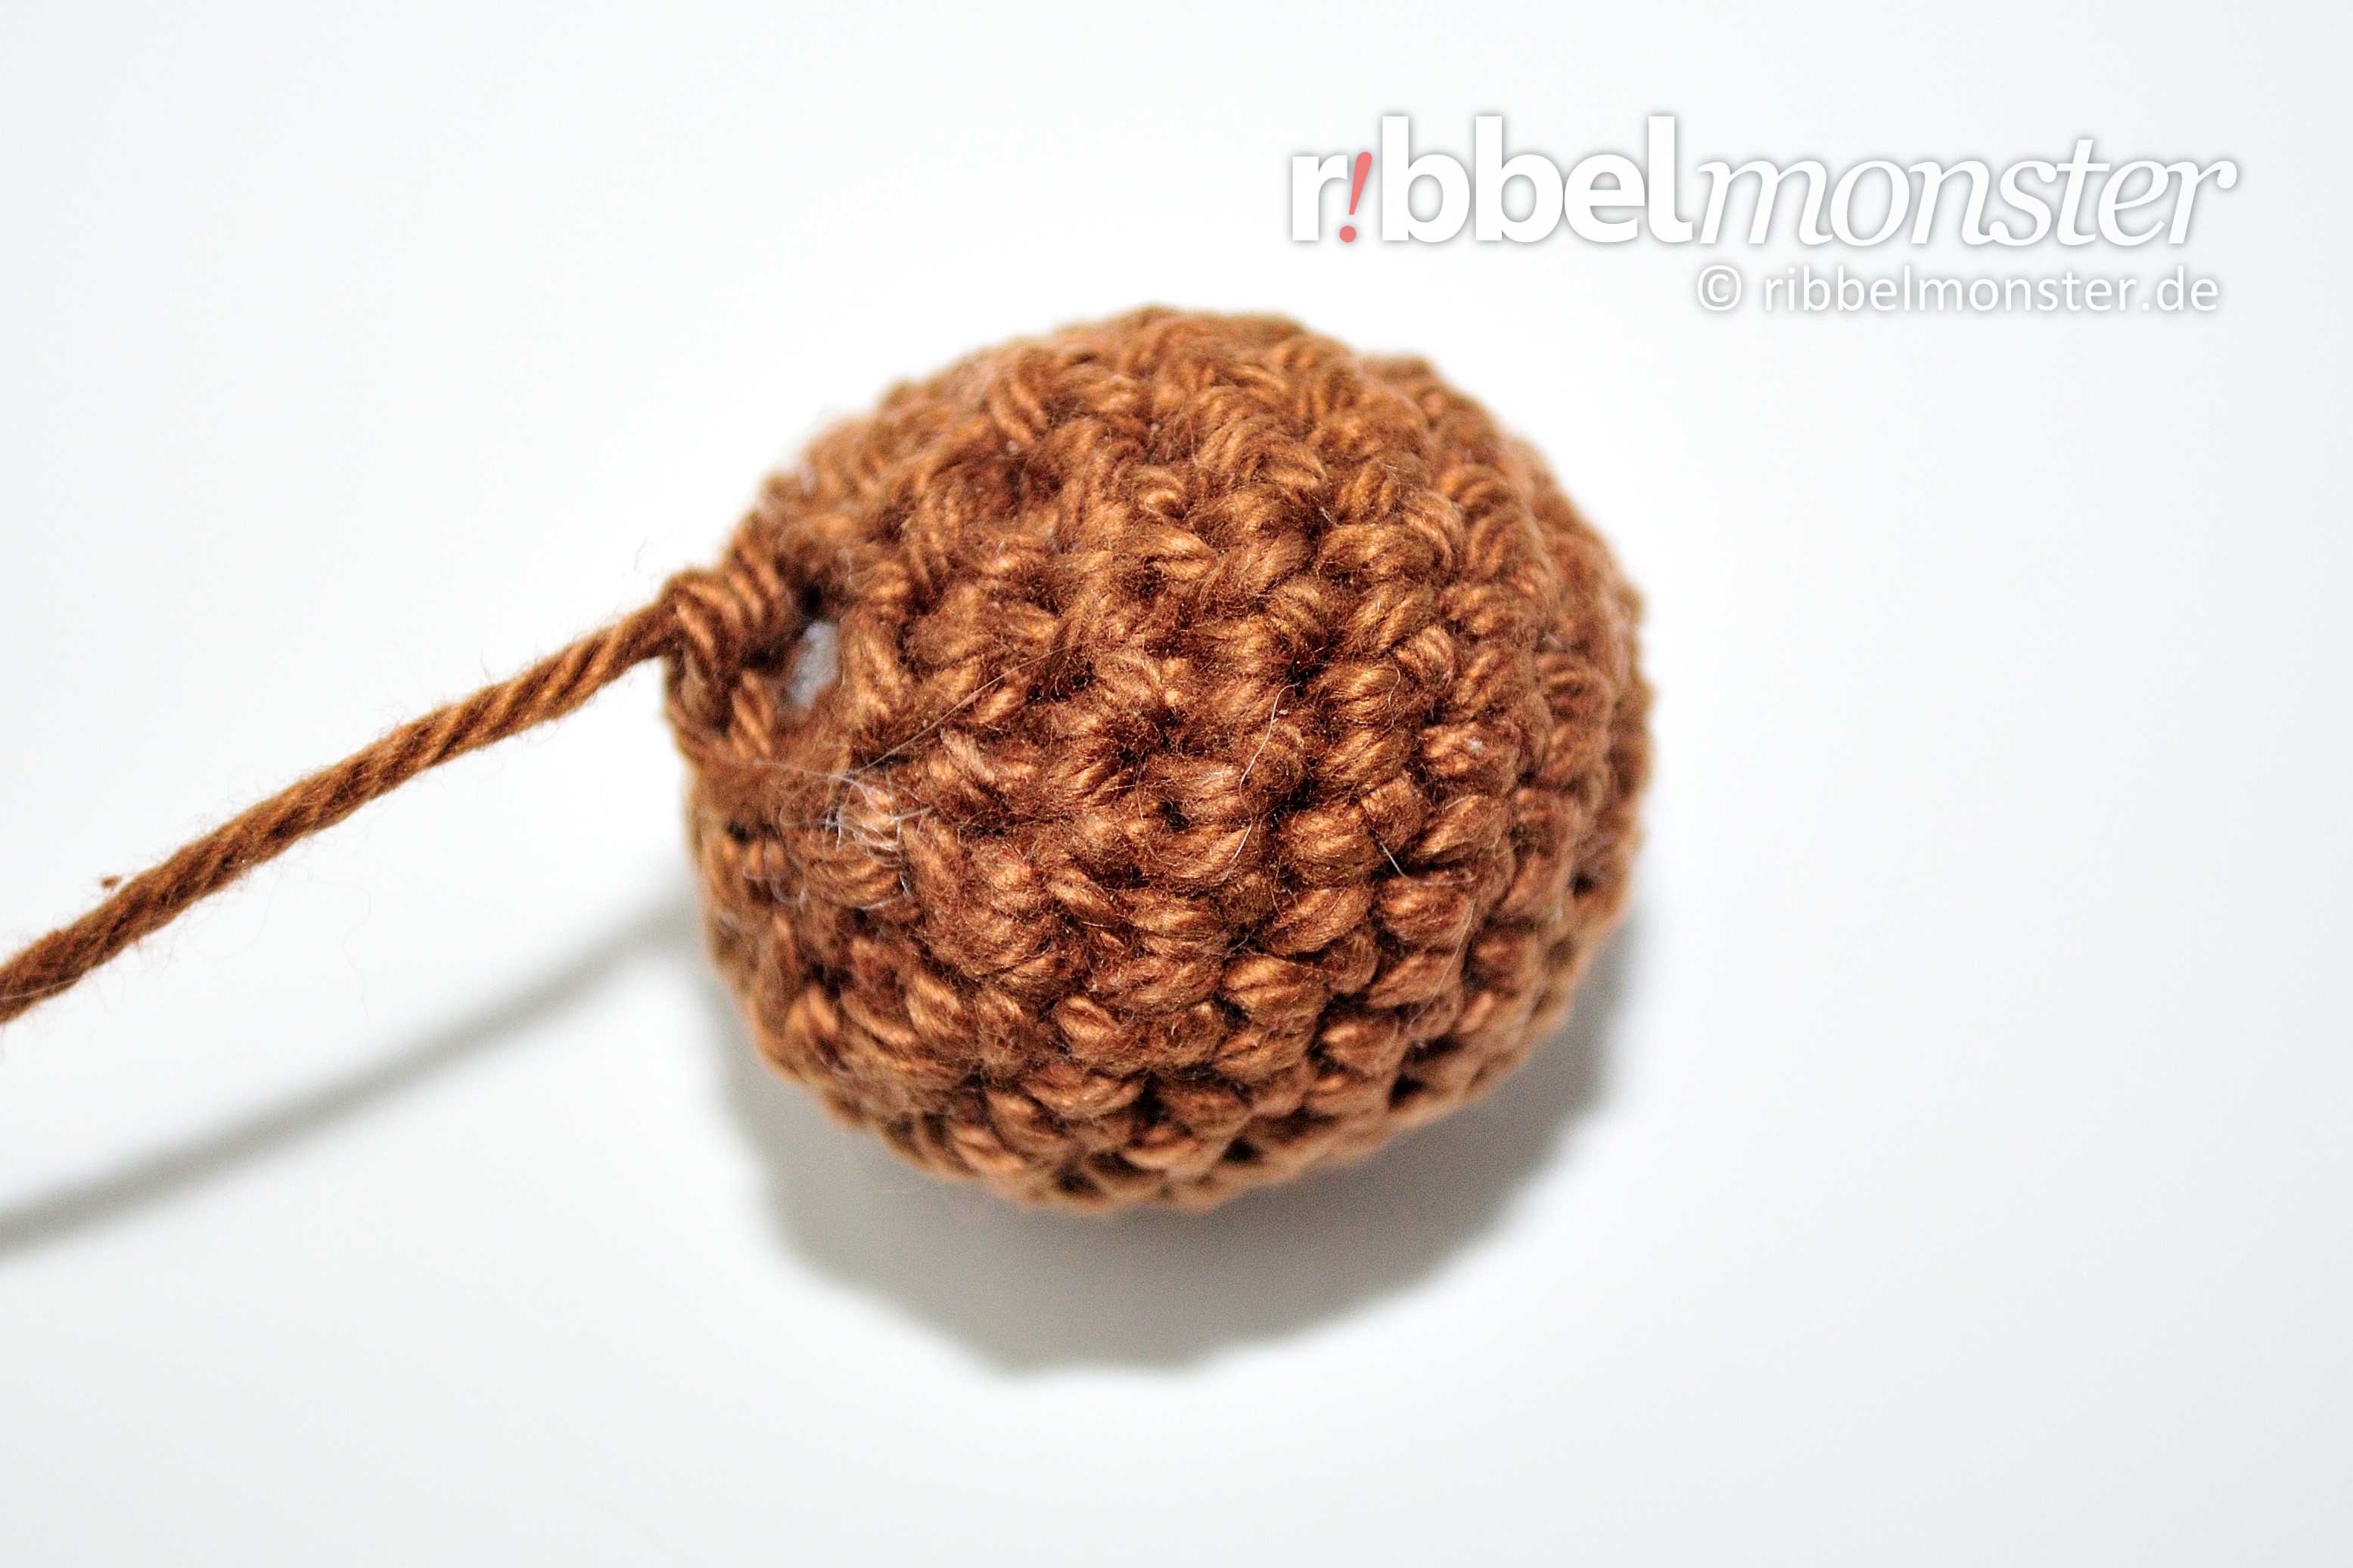 The tail for the bear we crochet from the tip to the base in spiral rounds with single crochet stitches (US!).
- brown:
- 1st round: magic ring + 6 single crochet stitches (US!) = 6 stitches
- 2nd round: double every stitch = 12 stitches
- 3rd round: double every 2nd stitch = 18 stitches
- 4th – 7th round: (= 4 rounds) each stitch one stitch = 18 stitches
- 8th round: crochet together every 2nd and 3rd stitch = 12 stitches
- fill and stuff completely
- 9th round: crochet together every 1st and 2nd stitch = 6 stitches
- cut the thread generous, pull off the loop, DONT cut the thread end, will be needed for sewing later
Crochet Bear Arms (2x)
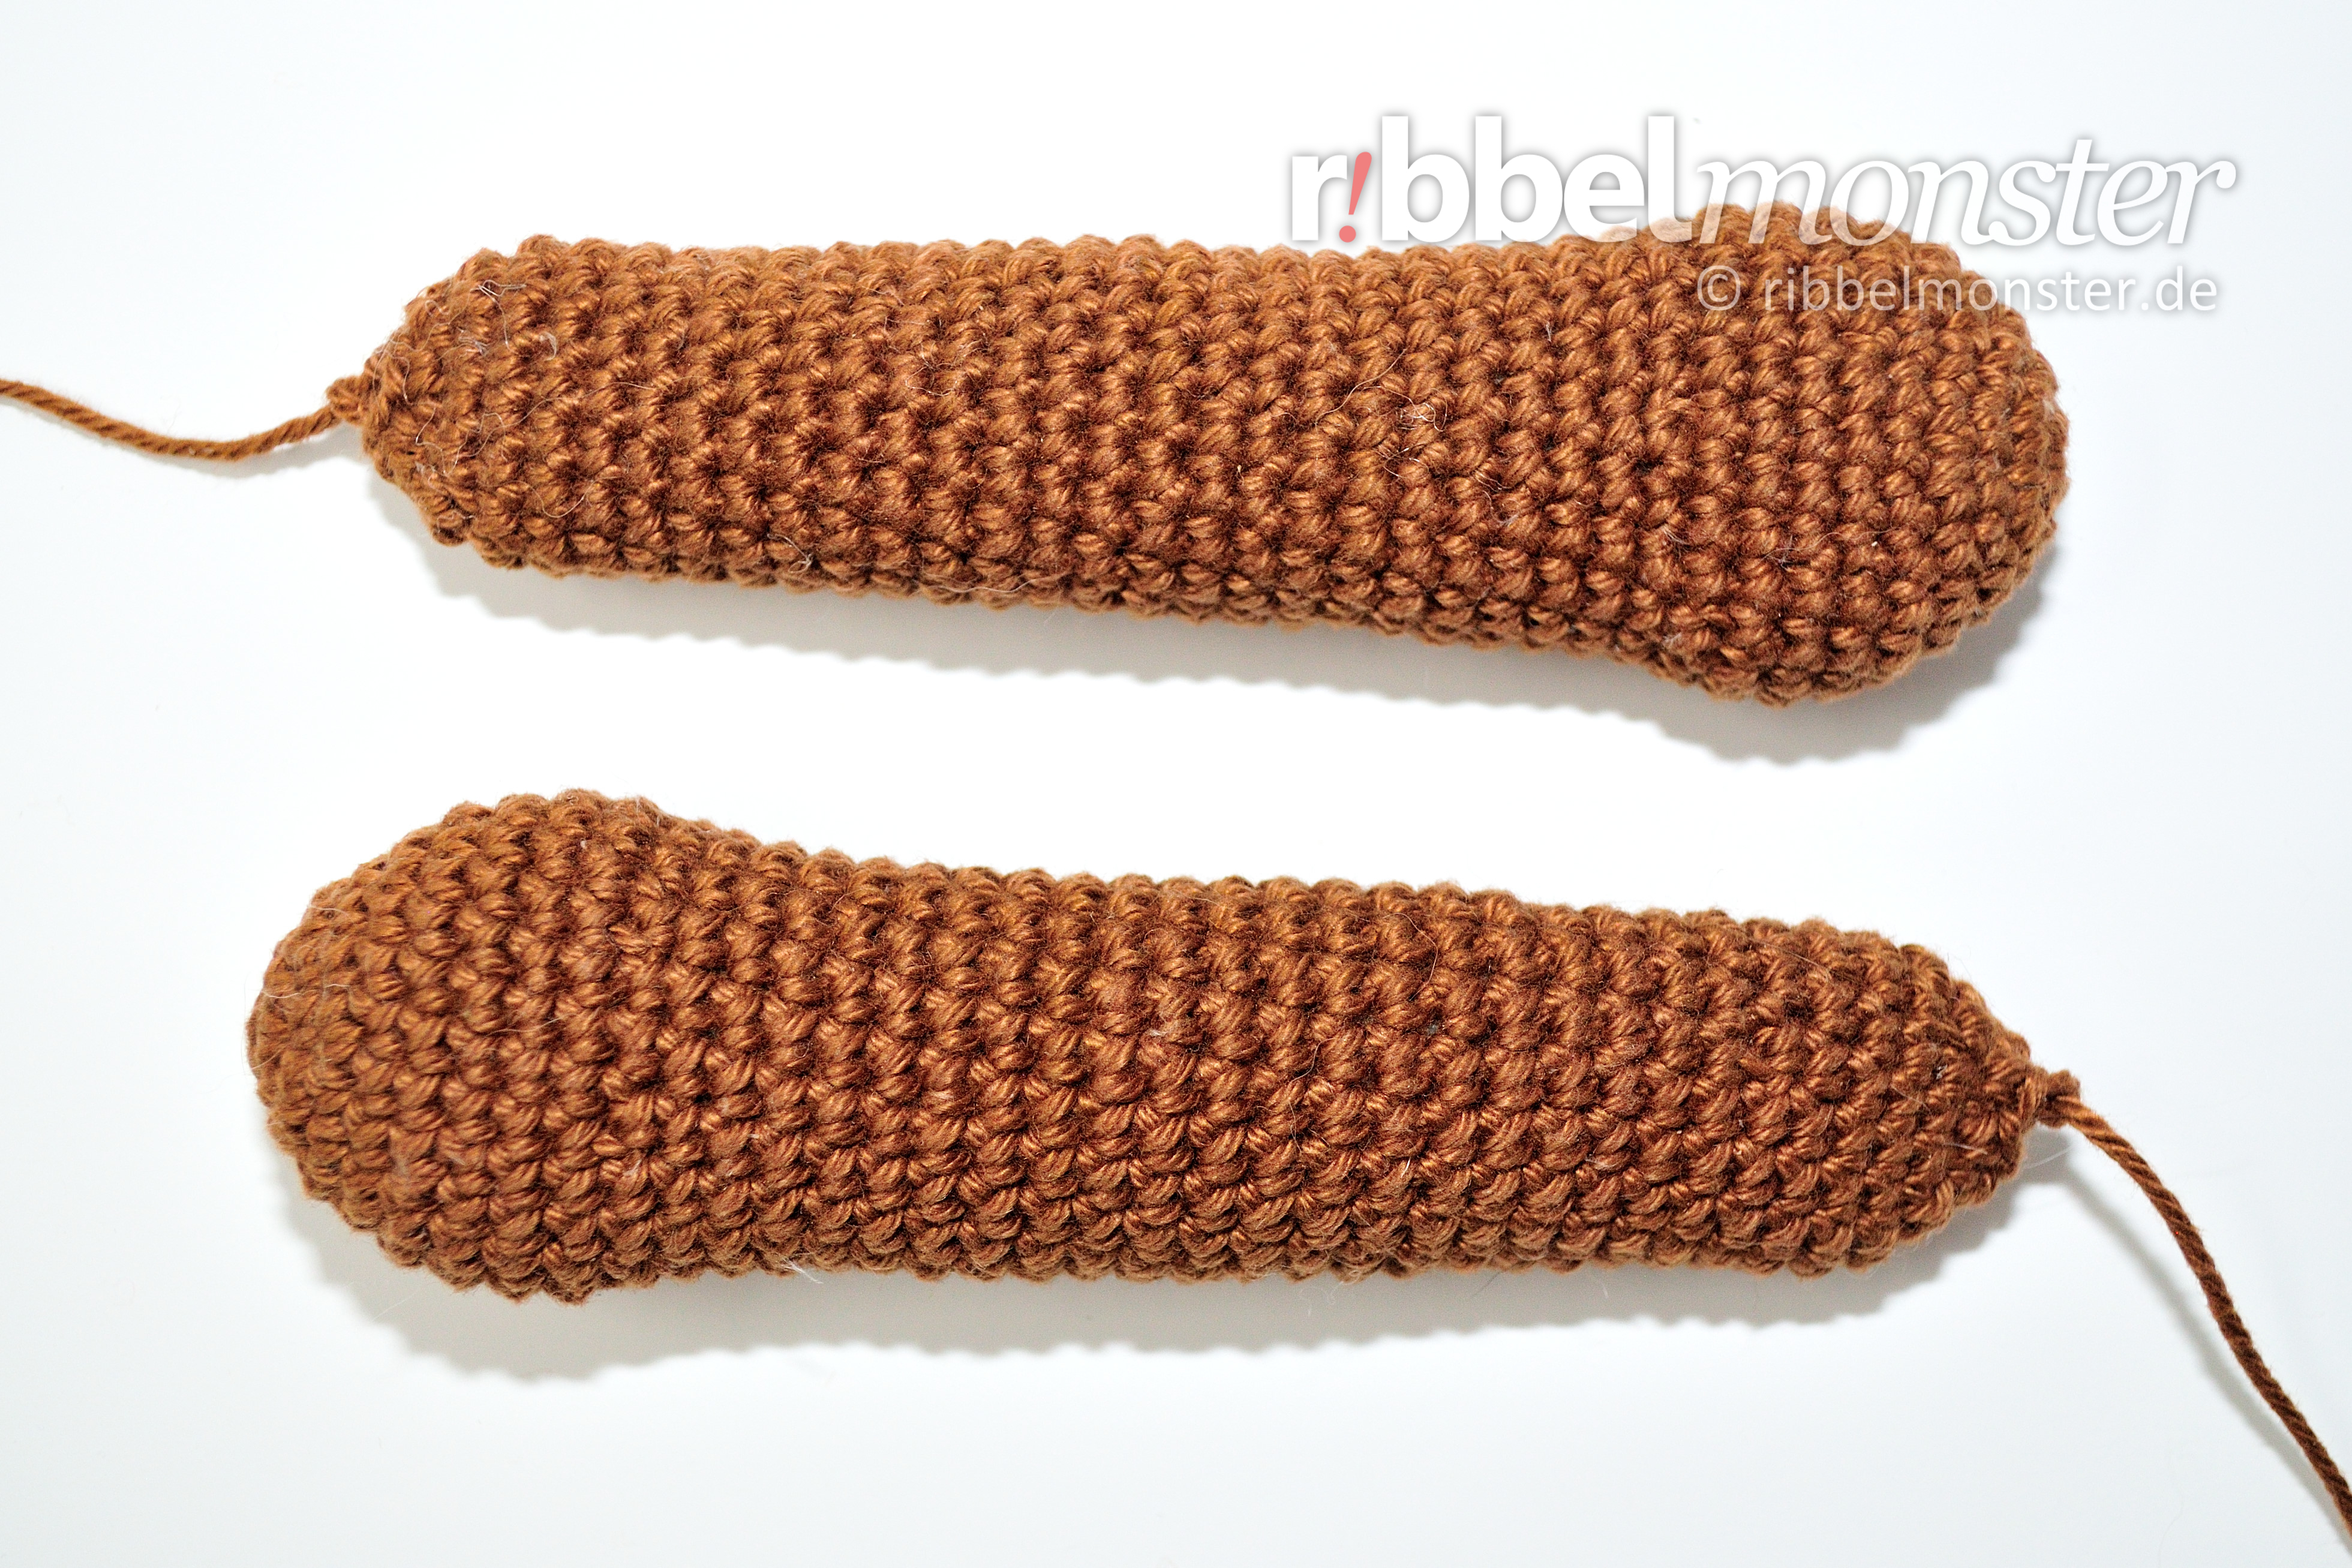 The arms for the bear we crochet from the finger tips to the shoulder in spiral rounds with single crochet stitches (US!). The arms will be filled and stuffed and sewn with the thread ends to the body or attached with button joints later.
- brown:
- 1st round: magic ring + 6 single crochet stitches (US!) = 6 stitches
- 2nd round: double every stitch = 12 stitches
- 3rd round: double every 4th stitch = 15 stitches
- 4th round: double every 5th stitch = 18 stitches
- 5th round: double every 6th stitch = 21 stitches
- 6th round: double every 7th stitch = 24 stitches
- 7th – 9th round: (= 3 rounds) each stitch one stitch = 24 stitches
- 10th round: crochet together every 3rd and 4th stitch = 18 stitches
- 11th – 22nd round: (= 12 rounds) each stitch one stitch = 18 stitches
- 23rd round: crochet together every 17th and 18th stitch = 17 stitches
- 24th – 26th round: (= 3 rounds) each stitch one stitch = 17 stitches
- 27th round: crochet together every 16th and 17th stitch = 16 stitches
- 28th – 30th round: (= 3 rounds) each stitch one stitch = 16 stitches
- 31st round: crochet together every 15th and 16th stitch = 15 stitches
- 32nd – 34th round: (= 3 rounds) each stitch one stitch = 15 stitches
- fill and stuff completely
- 35th round: crochet together every 4th and 5th stitch = 12 stitches
- without button joints:
- cut the thread generous, pull off the loop, DONT cut the thread end, will be needed for sewing later
- with button joints:
Crochet Bear Legs (2x)
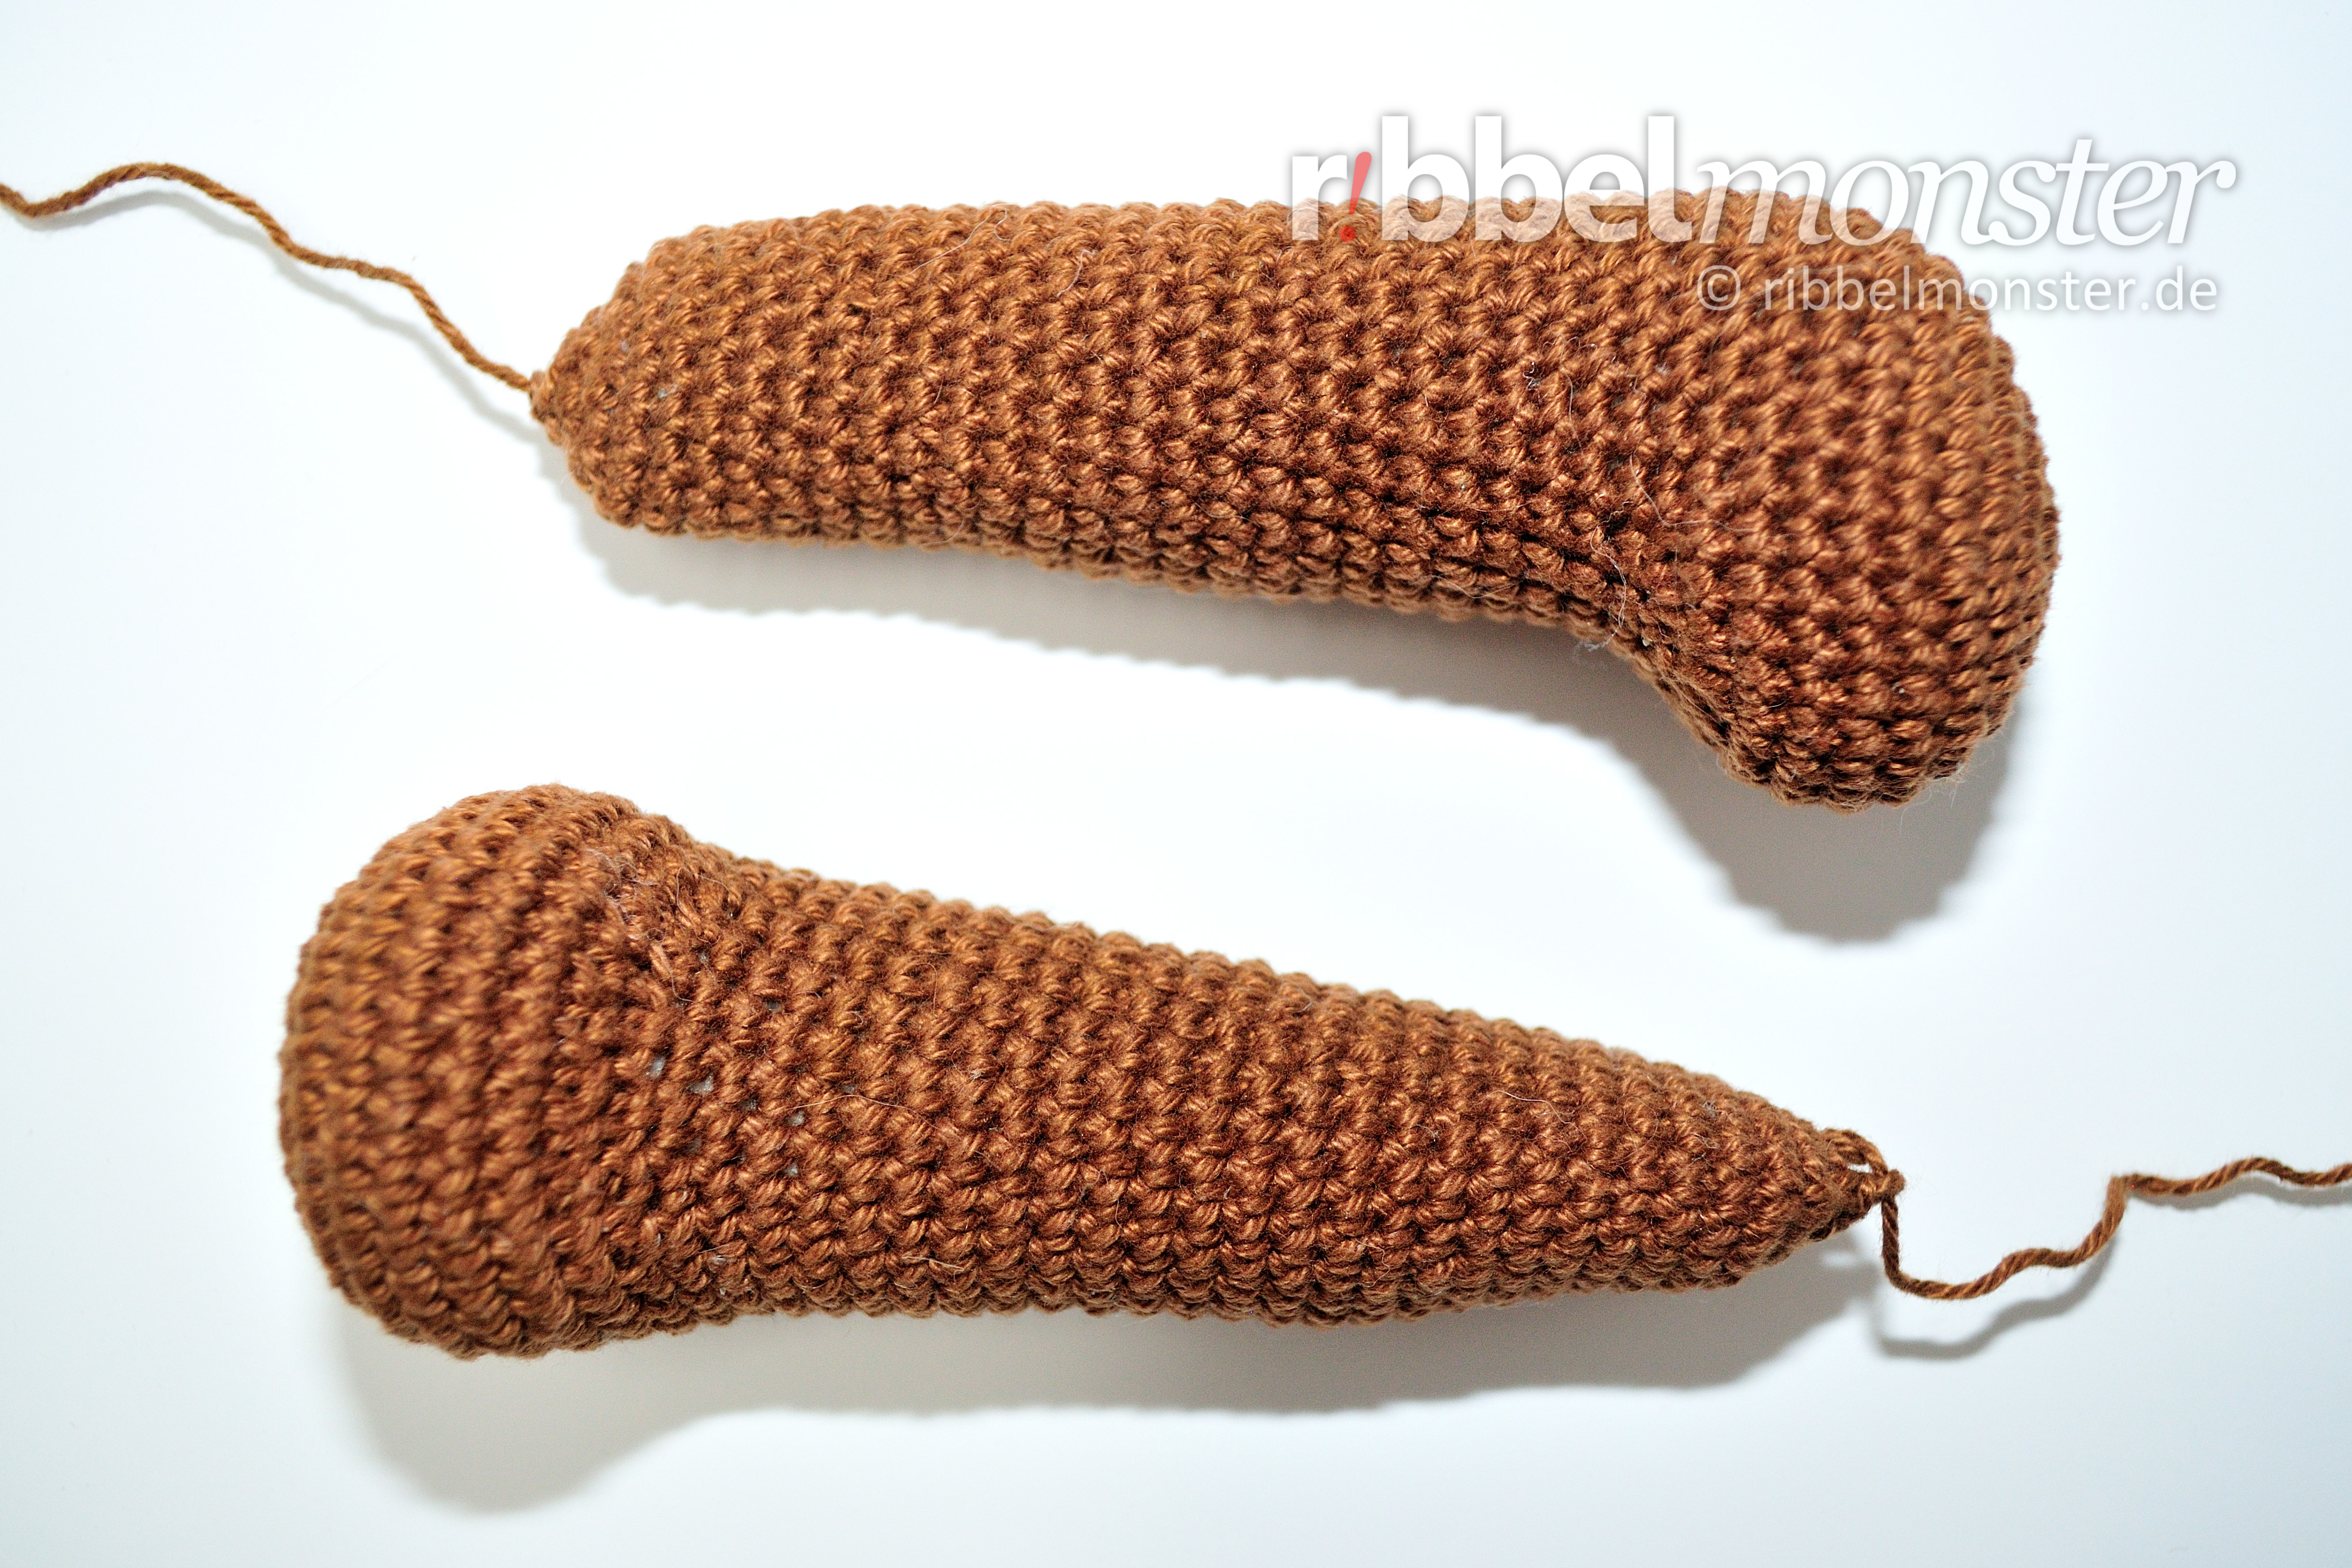 The legs for the bear we crochet from the toe tips to the hips with single crochet stitches (US!) in spiral rounds. The legs will be filled and stuffed and sewn with the thread ends to the body or attached with button joints later.
- brown:
- 1st round: magic ring + 6 single crochet stitches (US!) = 6 stitches
- 2nd round: double every stitch = 12 stitches
- 3rd round: double every 2nd stitch = 18 stitches
- 4th round: double every 3rd stitch = 24 stitches
- 5th round: double every 4th stitch = 30 stitches
- 6th round: double every 5th stitch = 36 stitches
- 7th + 10th round: (= 4 rounds) each stitch one stitch = 36 stitches
- 11th round: 12x 1 single crochet stitch (US!) into one stitch, 6x crochet together two stitches with 1 single crochet stitch (US!), 12x 1 single crochet stitch (US!) into one stitch = 30 stitches
- 12th round: 9x 1 single crochet stitch (US!) into one stitch, 6x crochet together two stitches with 1 single crochet stitch (US!), 9x 1 single crochet stitch (US!) into one stitch = 24 stitches
- 13th – 24th round: (= 12 rounds) each stitch one stitch = 24 stitches
- 25th round: crochet together every 23th and 24th stitch = 23 stitches
- 26th round: each stitch one stitch = 23 stitches
- 27th round: crochet together every 22th and 23th stitch = 22 stitches
- 28th round: each stitch one stitch = 22 stitches
- 29th round: crochet together every 21th and 22th stitch = 21 stitches
- 30th round: each stitch one stitch = 21 stitches
- 31st round: crochet together every 20th and 21th stitch = 20 stitches
- 32nd round: each stitch one stitch = 20 stitches
- 33rd round: crochet together every 19th and 20th stitch = 19 stitches
- 34th round: each stitch one stitch =19 stitches
- 35th round: crochet together every 18th and 19th stitch = 18 stitches
- 36th round: each stitch one stitch = 18 stitches
- fill and stuff completely
- 37th round: crochet together every 2nd and 3rd stitch = 12 stitches
- without button joints:
- cut the thread generous, pull off the loop, DONT cut the thread end, will be needed for sewing later
- with button joints:
Crochet Bear Snout (1x)
 The snout for the bear we crochet from the nose tip to the outer side with single crochet stitches (US!) in spiral rounds. Later the snout will be sewn once around to the head and filled before we end up.
- light brown:
- 1st round: magic ring + 6 single crochet stitches (US!) = 6 stitches
- 2nd round: double every stitch = 12 stitches
- 3rd round: double every 2nd stitch = 18 stitches
- 4th round: double every 3rd stitch = 24 stitches
- 5th round: double every 4th stitch = 30 stitches
- 6th – 8th round: (= 3 rounds) each stitch one stitch = 30 stitches
- beyond the end of the round: 1 slip stitch
- cut the thread generous, pull off the loop, DONT cut the thread end, will be needed for sewing later
Finish Crochet Bear “Bruno”
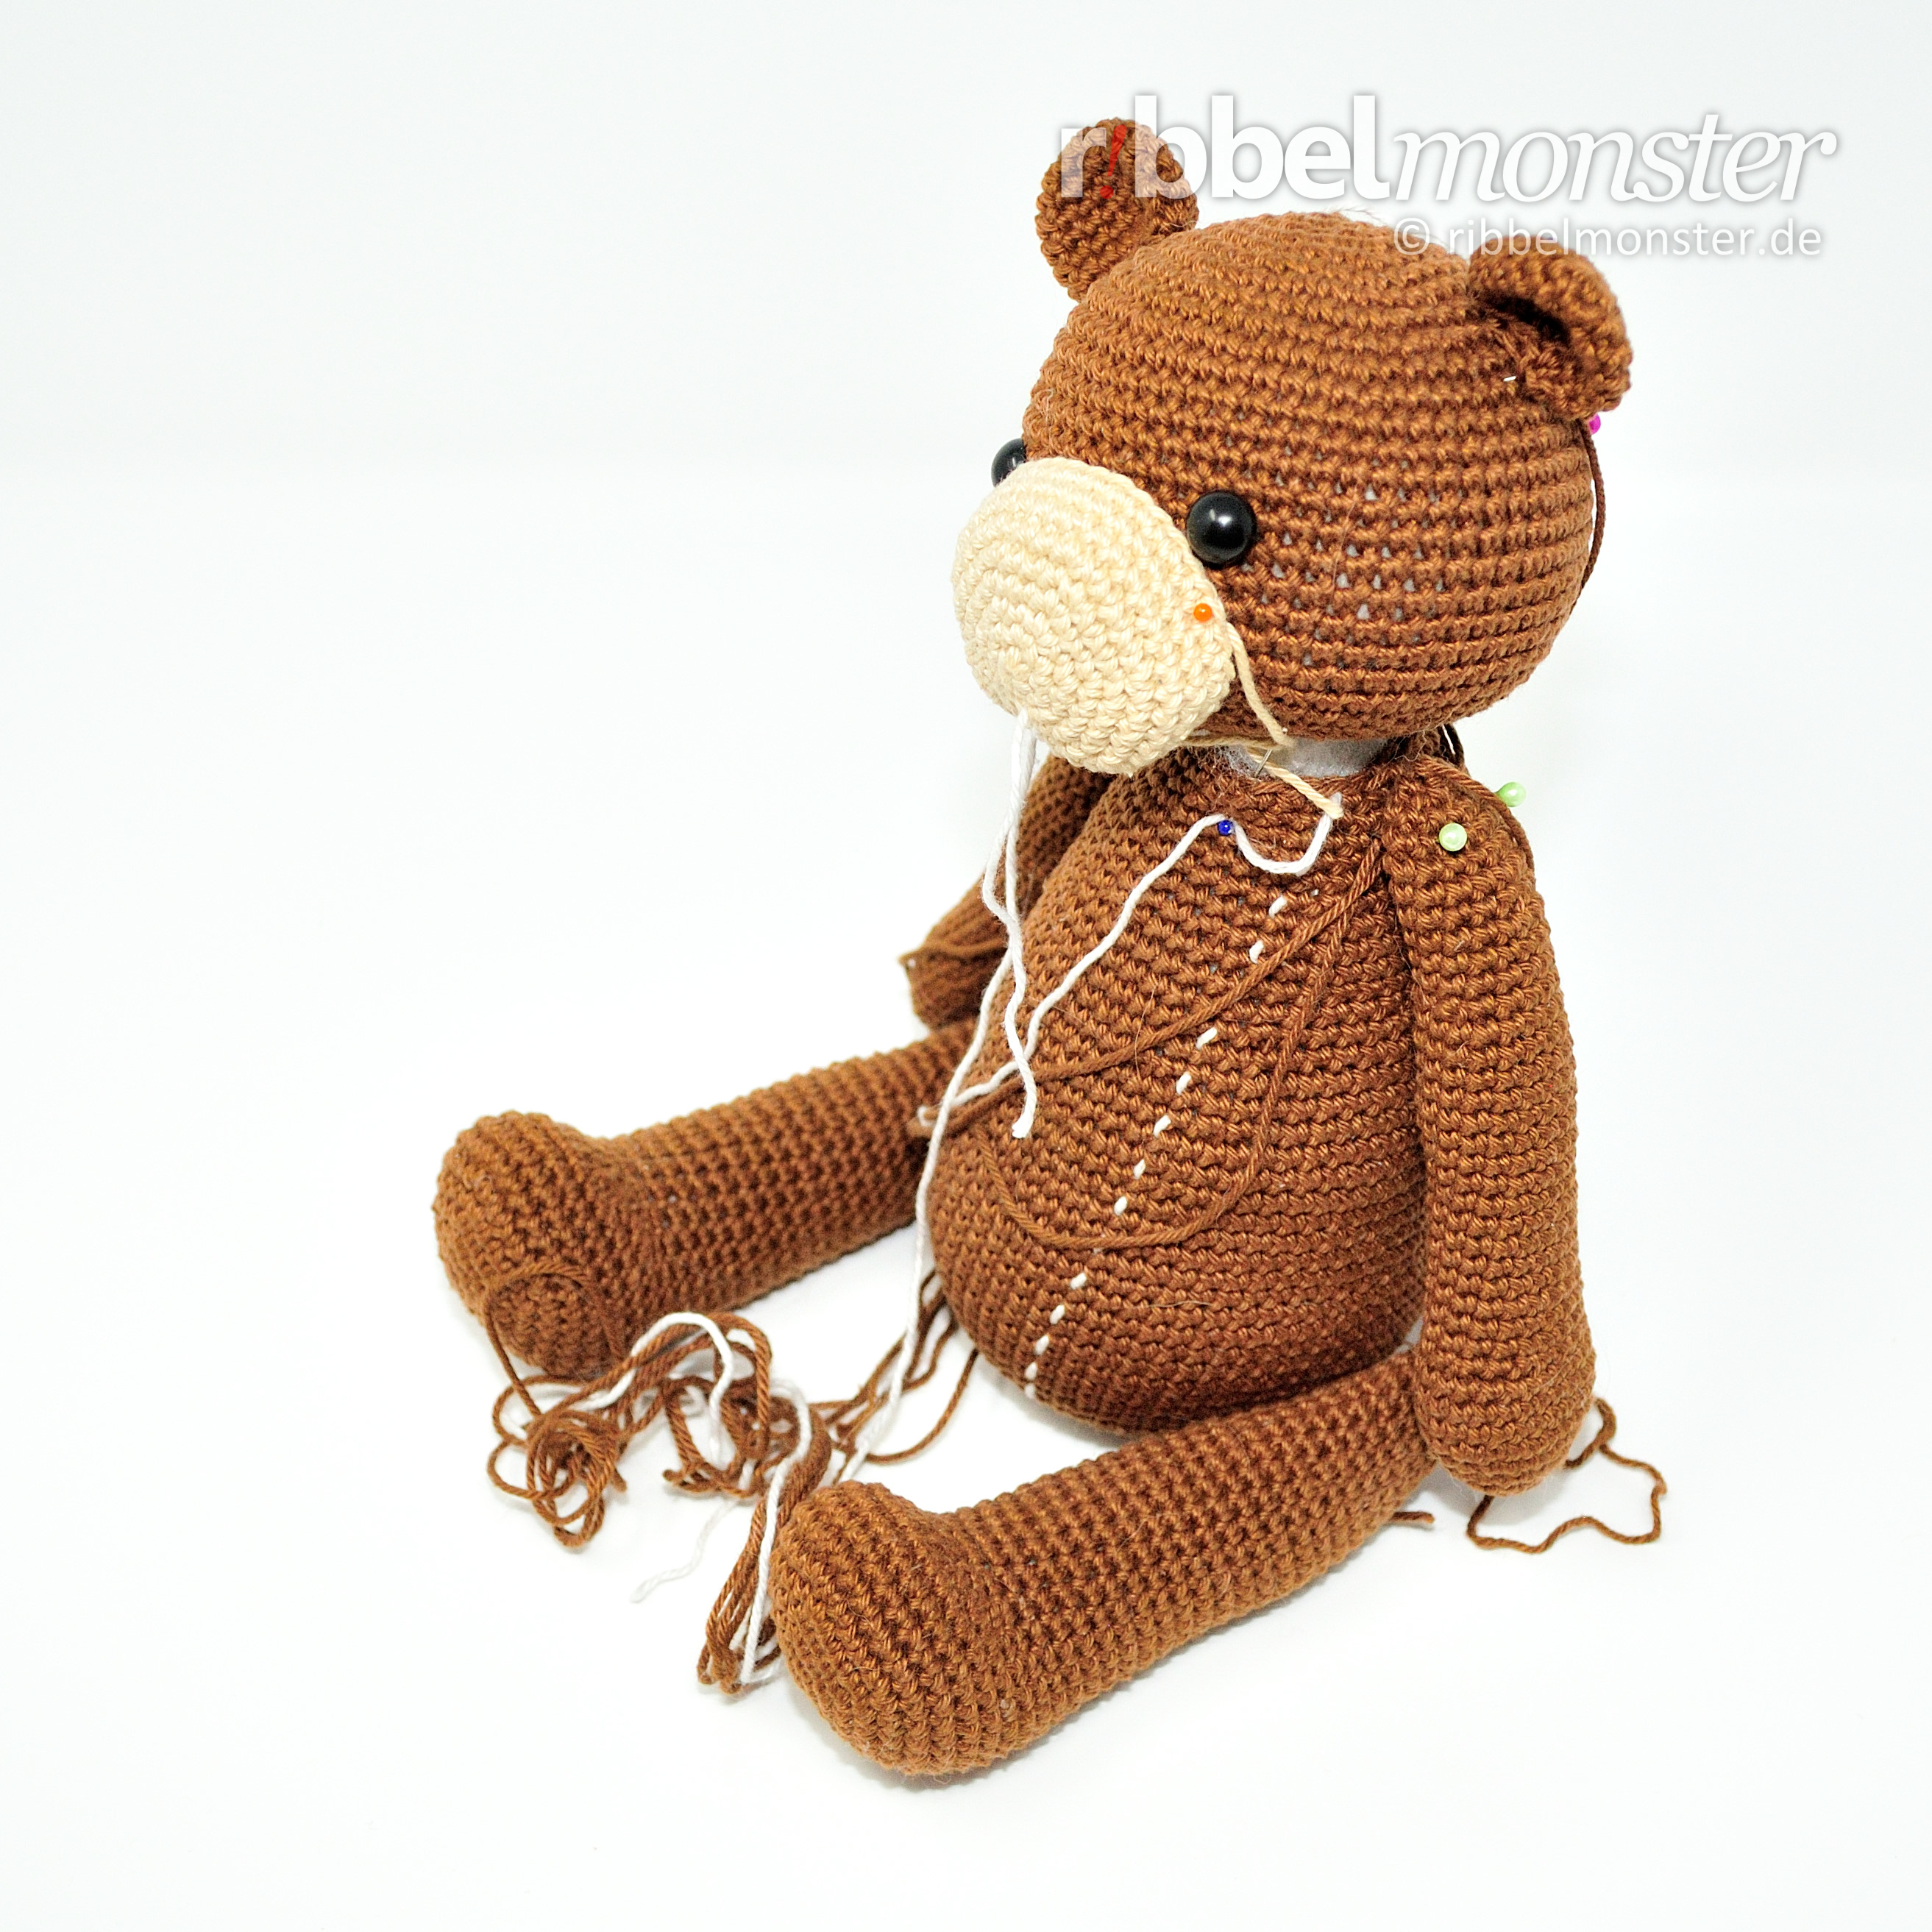 After you’ve finished crocheting all the pieces you can sew your bear together. To do this you put all parts together with pins. So you can see if the positions are correct and can still change them easily.
 First we sew the head around to the body. Both openings point to each other. The middle between the 6 double crochet stitches (US!) at the neck sits at the back and the middle between the eyes at the front. You can orient yourself to the Tutorial to sew together open parts.
Then we sew the snout with the thread end around to the head. For this you attach it first once around with pins. It sits exactly in the middle between the eyes with the upper edge touching the middel of the eyes. Now you can sew the snout step by step. Shortly before closing the snout is filled and stuffed. Finally you secure and weave in the thread end inside.
 Then the ears are folded flat and sewn with the thread ends with the opening to the head. They sit in a line parallel to the eyes on top of the head. They start after the 8th and end after the 12th round. When the ears are finished the thread ends are secured and weaved in inside the head.
Now mark the middle over the front of the body to place the arms and the legs at the same distance right and left of it.
Without button joints: The arms and legs are sewn to the body with the flat folded opening and the respective thread ends. Fold the top of the arms so that the break line runs in a line to the palms. The legs are fold the other way so that the break line runs through the middle of the foot tips. It is best to attach the arms and legs first with pins to check the positions. The arms are sewn with the flat-folded opening horizontally around the 39th round and have 14 stitches distance on the front. The legs on the other hand, are sewn with the flat-folded opening perpendicular to the center of the 13th round with 29 stitches at the front, while the toes point upwards. Finally, the thread ends are secured and weaved in inside the body.
With button joints: The arms and legs are attached paired with button joints to the body using a separate thread and buttons. It is best to first mark the respective entry holes with pins in order to hit the positions exactly. The entry holes of the arms sit after the 39th round and have 14 stitches distance on the front. The entry holes of the legs sit after the 13th round with a distance of 29 stitches on the front, while the toes point forward and up. If you have no idea how to make button joints, the Tutorial for Button Joints will help you
 Finally you sew the tail with the flat-folded opening to the back of the bear. The tail sits around the 12th round in the middle on the back of the body. Use the end of the thread from the tail to sew it and finally secure and weave it in inside.
 Tip: By the way the cuddly soft blanket of Bruno is the diagonally striped C2C comforter, which of course you can rework. This creates a great set to give away to big and little bear lovers!
Now I wish you a lot of fun with the crocheted bear and look forward to your next visit!