
In this simple crochet pattern I’ll show you how to crochet a Cukado doll. These dolls are super easy and super cute, like cupcakes! 😉 You can crochet them in one piece from bottom up and this way you do not have to sew individual pieces together.
Introduction: Crochet Cukado Doll

Knowledge: Crochet Cukado Doll
- Crochet Chain Stitches
- Crochet Double Crochet Stitches (US!)
- Crochet Magic Ring
- Crochet Slip Stitches
- Half Double Crochet Stitches (US!)
- Single Crochet Stitches (US!)
- spiral rounds
Supplies: Crochet Cukado Doll
Crochet Hook
You will need a crochet hook with a size of B or C (alphabetic) or 1 1/2 (numeric). For converting to other sizes, the crochet hook size converter will help you. I have selected some great crochet hooks for you here.
Safety Eyes
I used 2 safety eyes with a diameter of 1/4 inches. The eyes are completely black. However, there are countless alternatives for amigurumi eyes. You might prefer other safety eyes as well.
Scissors
You’ll need any scissors. It’s best to use your most beautiful scissors because it brings you joy. If you don’t have really nice scissors, I’ve picked out some lovely ones for you.
Wool Needle
You’ll need a wool needle with a blunt tip. The thickness of the wool needle should match the thickness of your yarn. You might like the set of wool needles I’ve picked out for you.
Size: Crochet Cukado Doll
Here you find the size specifications for the crocheted Cukado doll.
| Needle Size | Yarn | Height |
| Crochet Hook 1 1/2 (shown example) | 137yds / 1.75oz, 100% cotton | 19cm |
Crochet Pattern: Crochet Cukado Doll
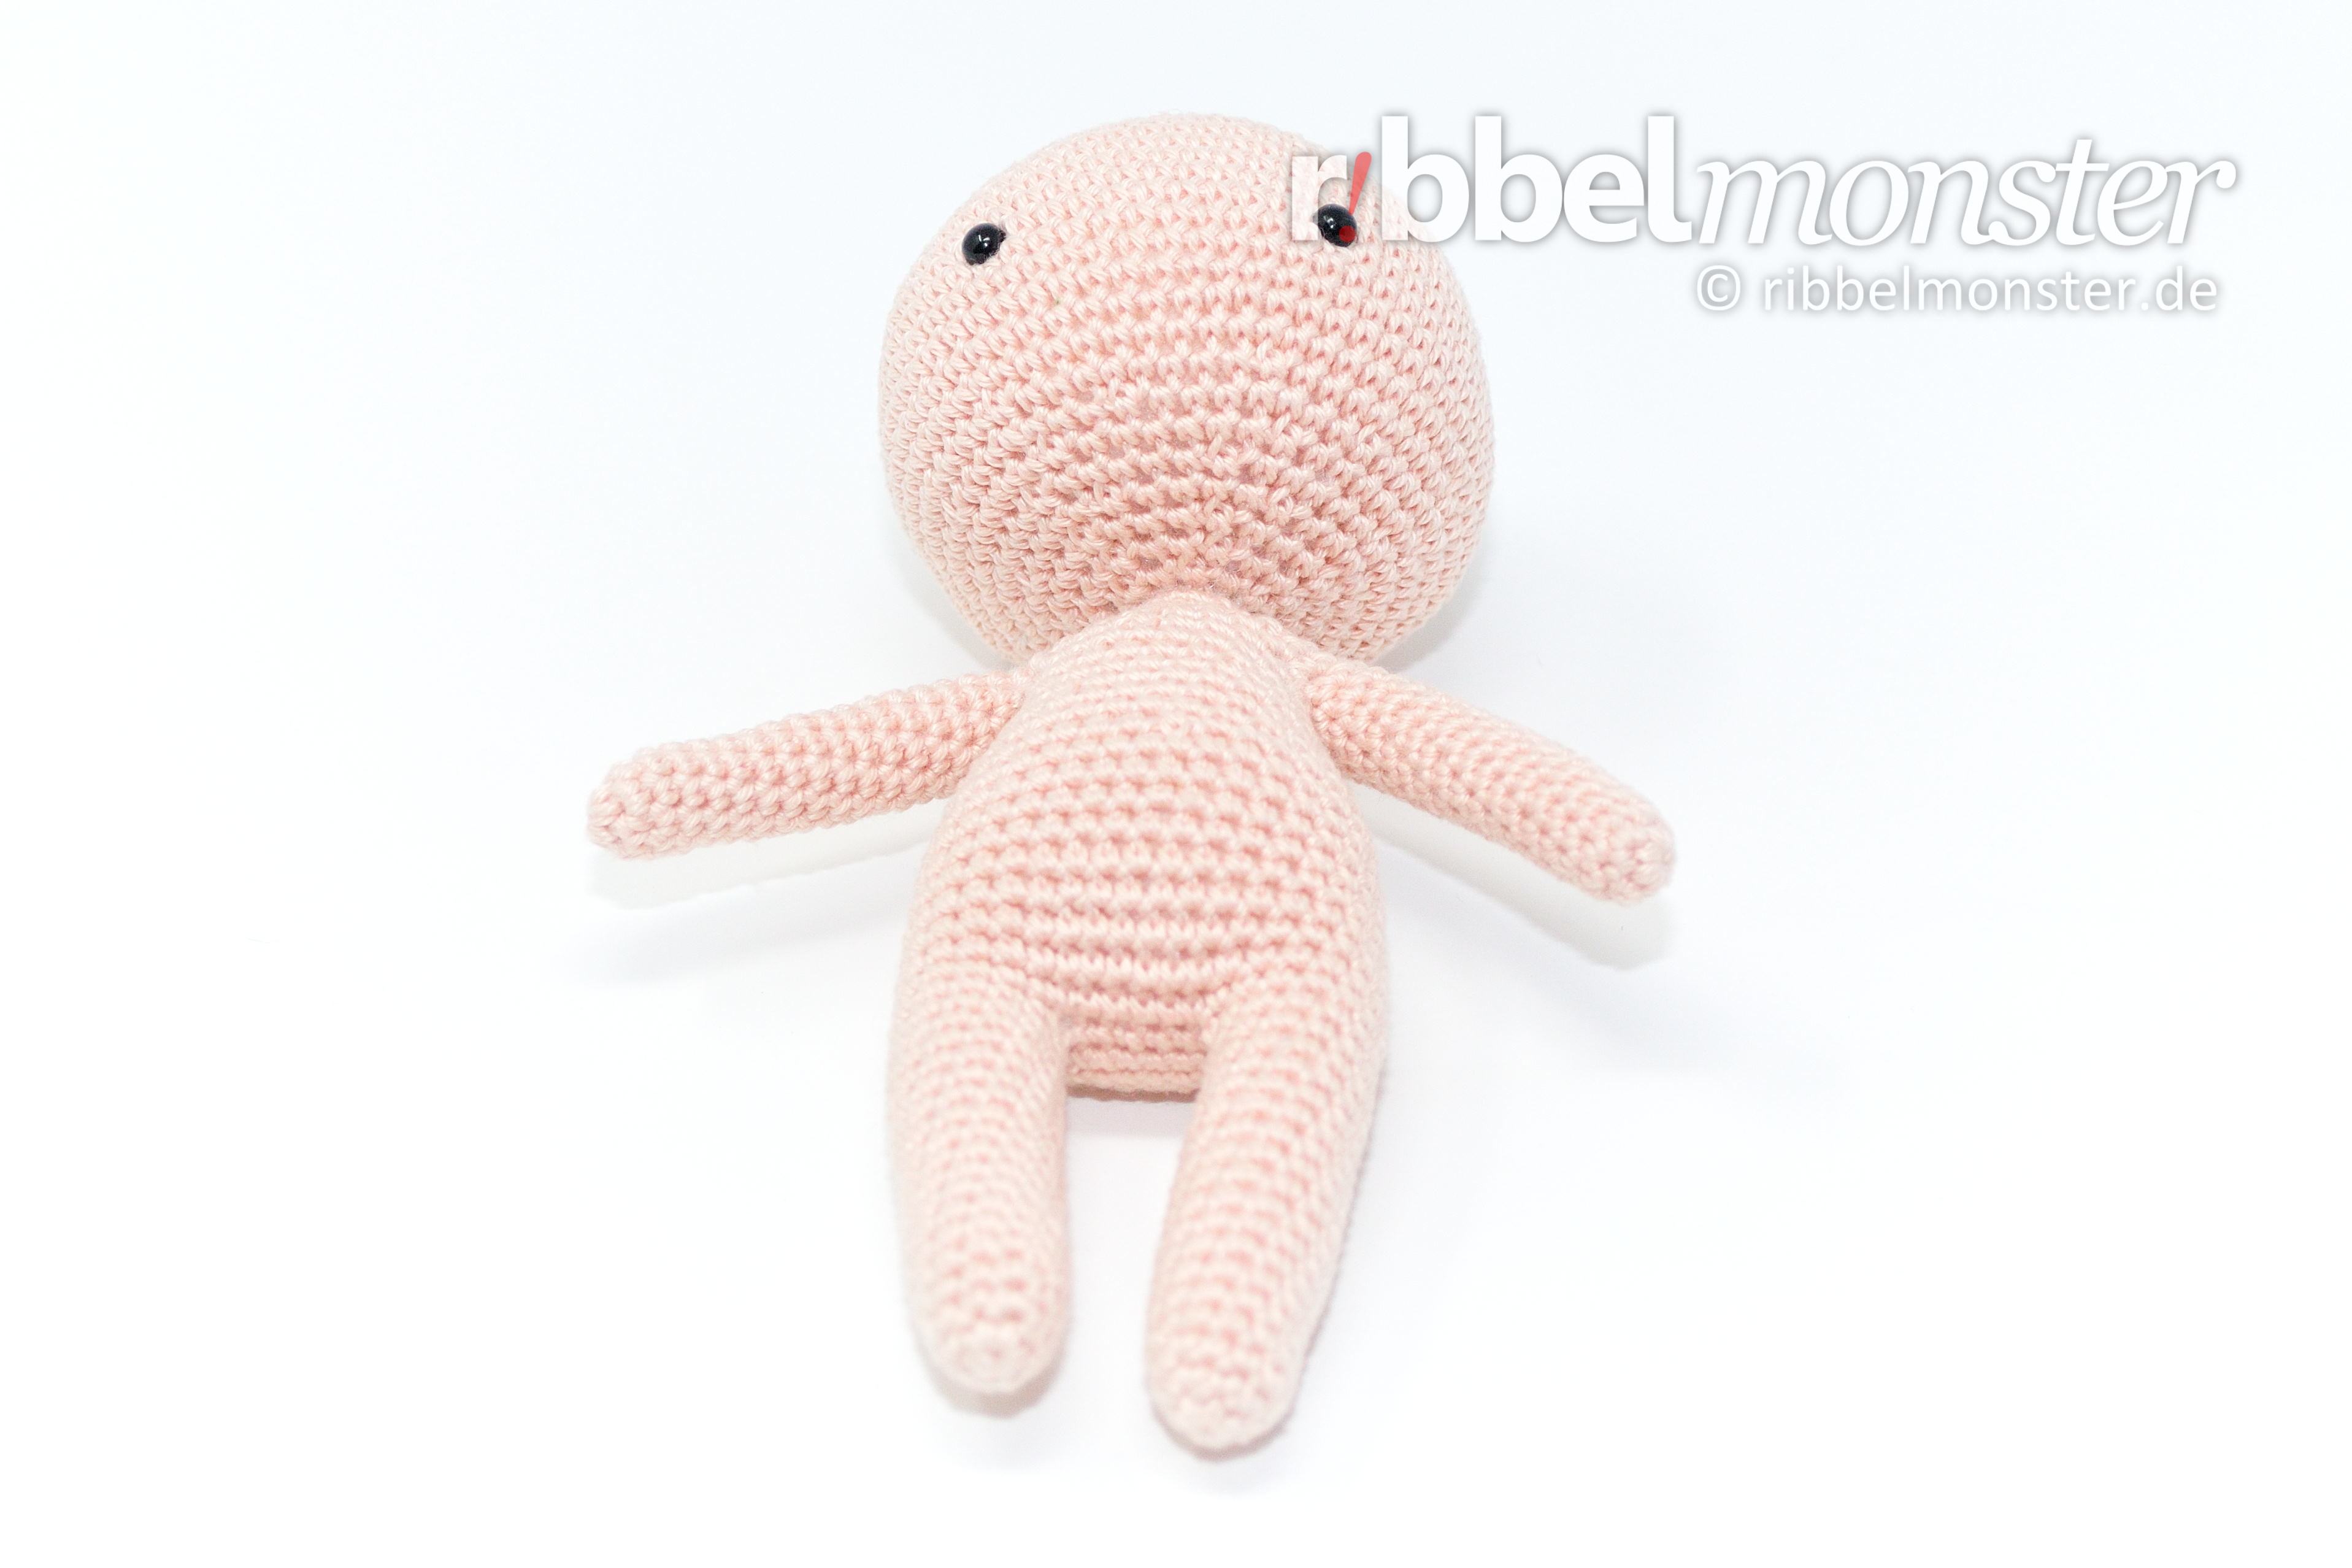
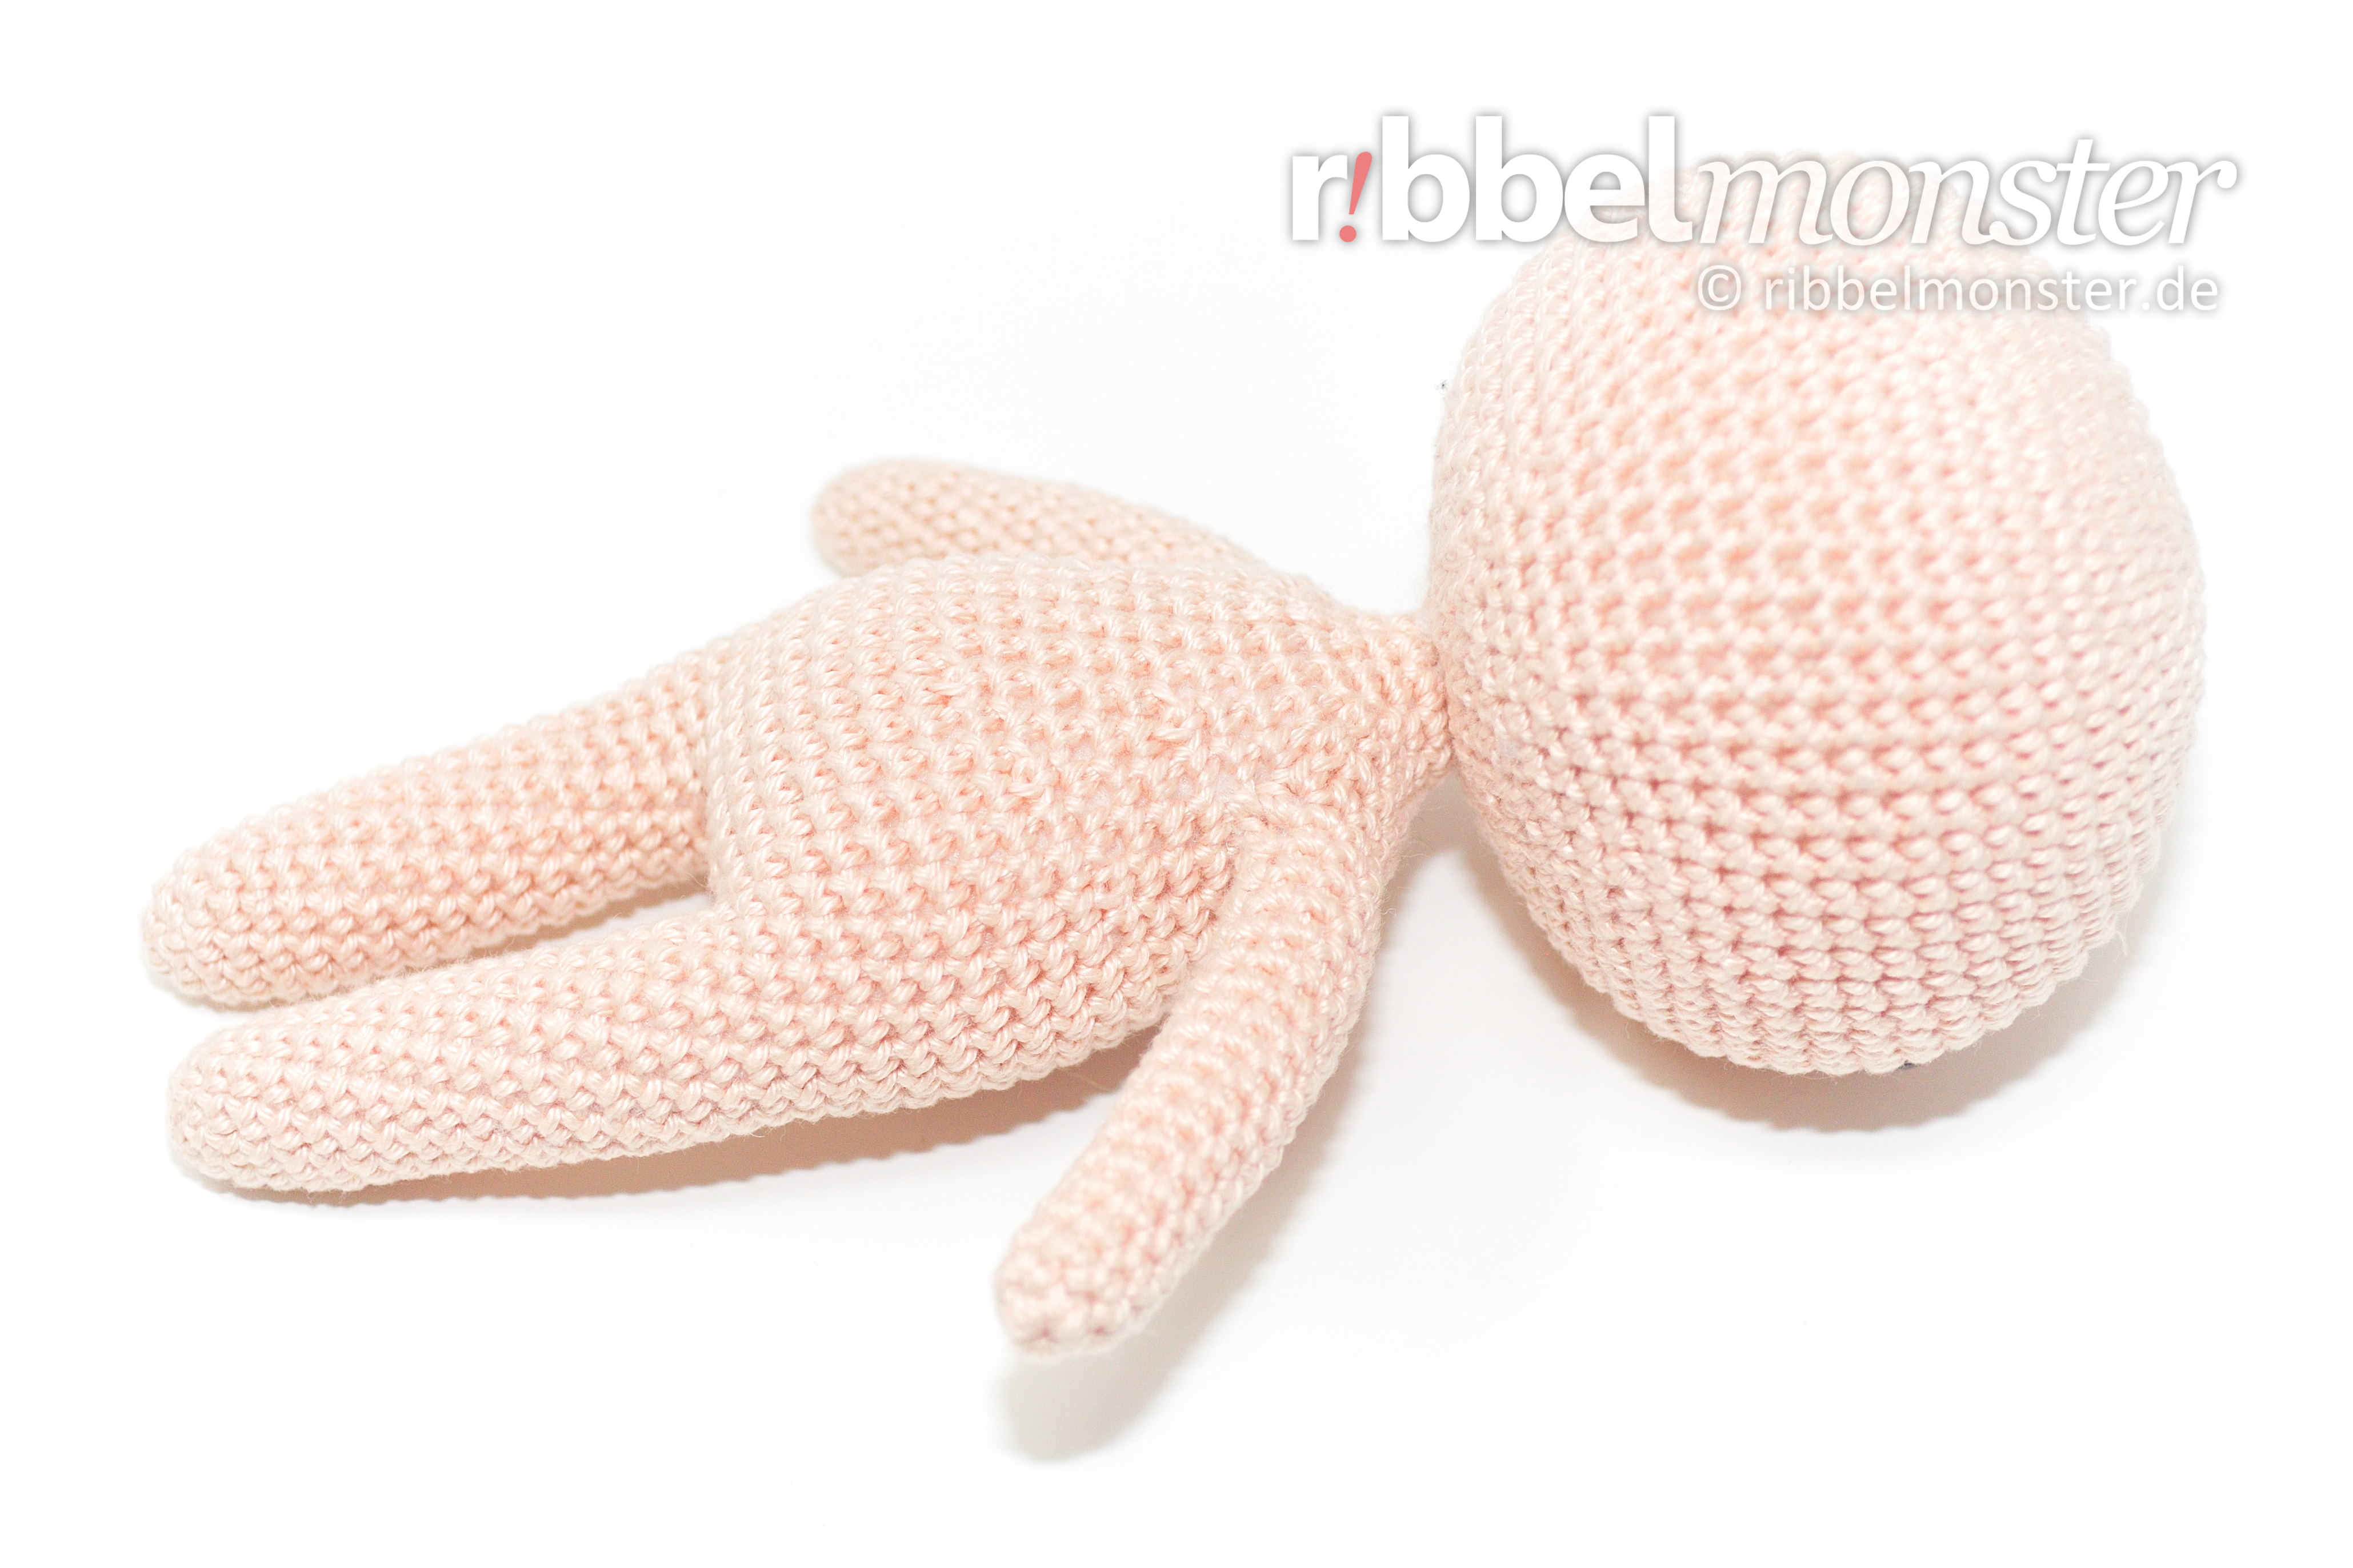
For our Cukado doll we crochet first the arms and then the legs. Then both legs are crocheted together and then we continue with the body. We also crochet the arms with the body and then you can continue with the head directly. Afterwards you can customize your Cukado doll as you like.
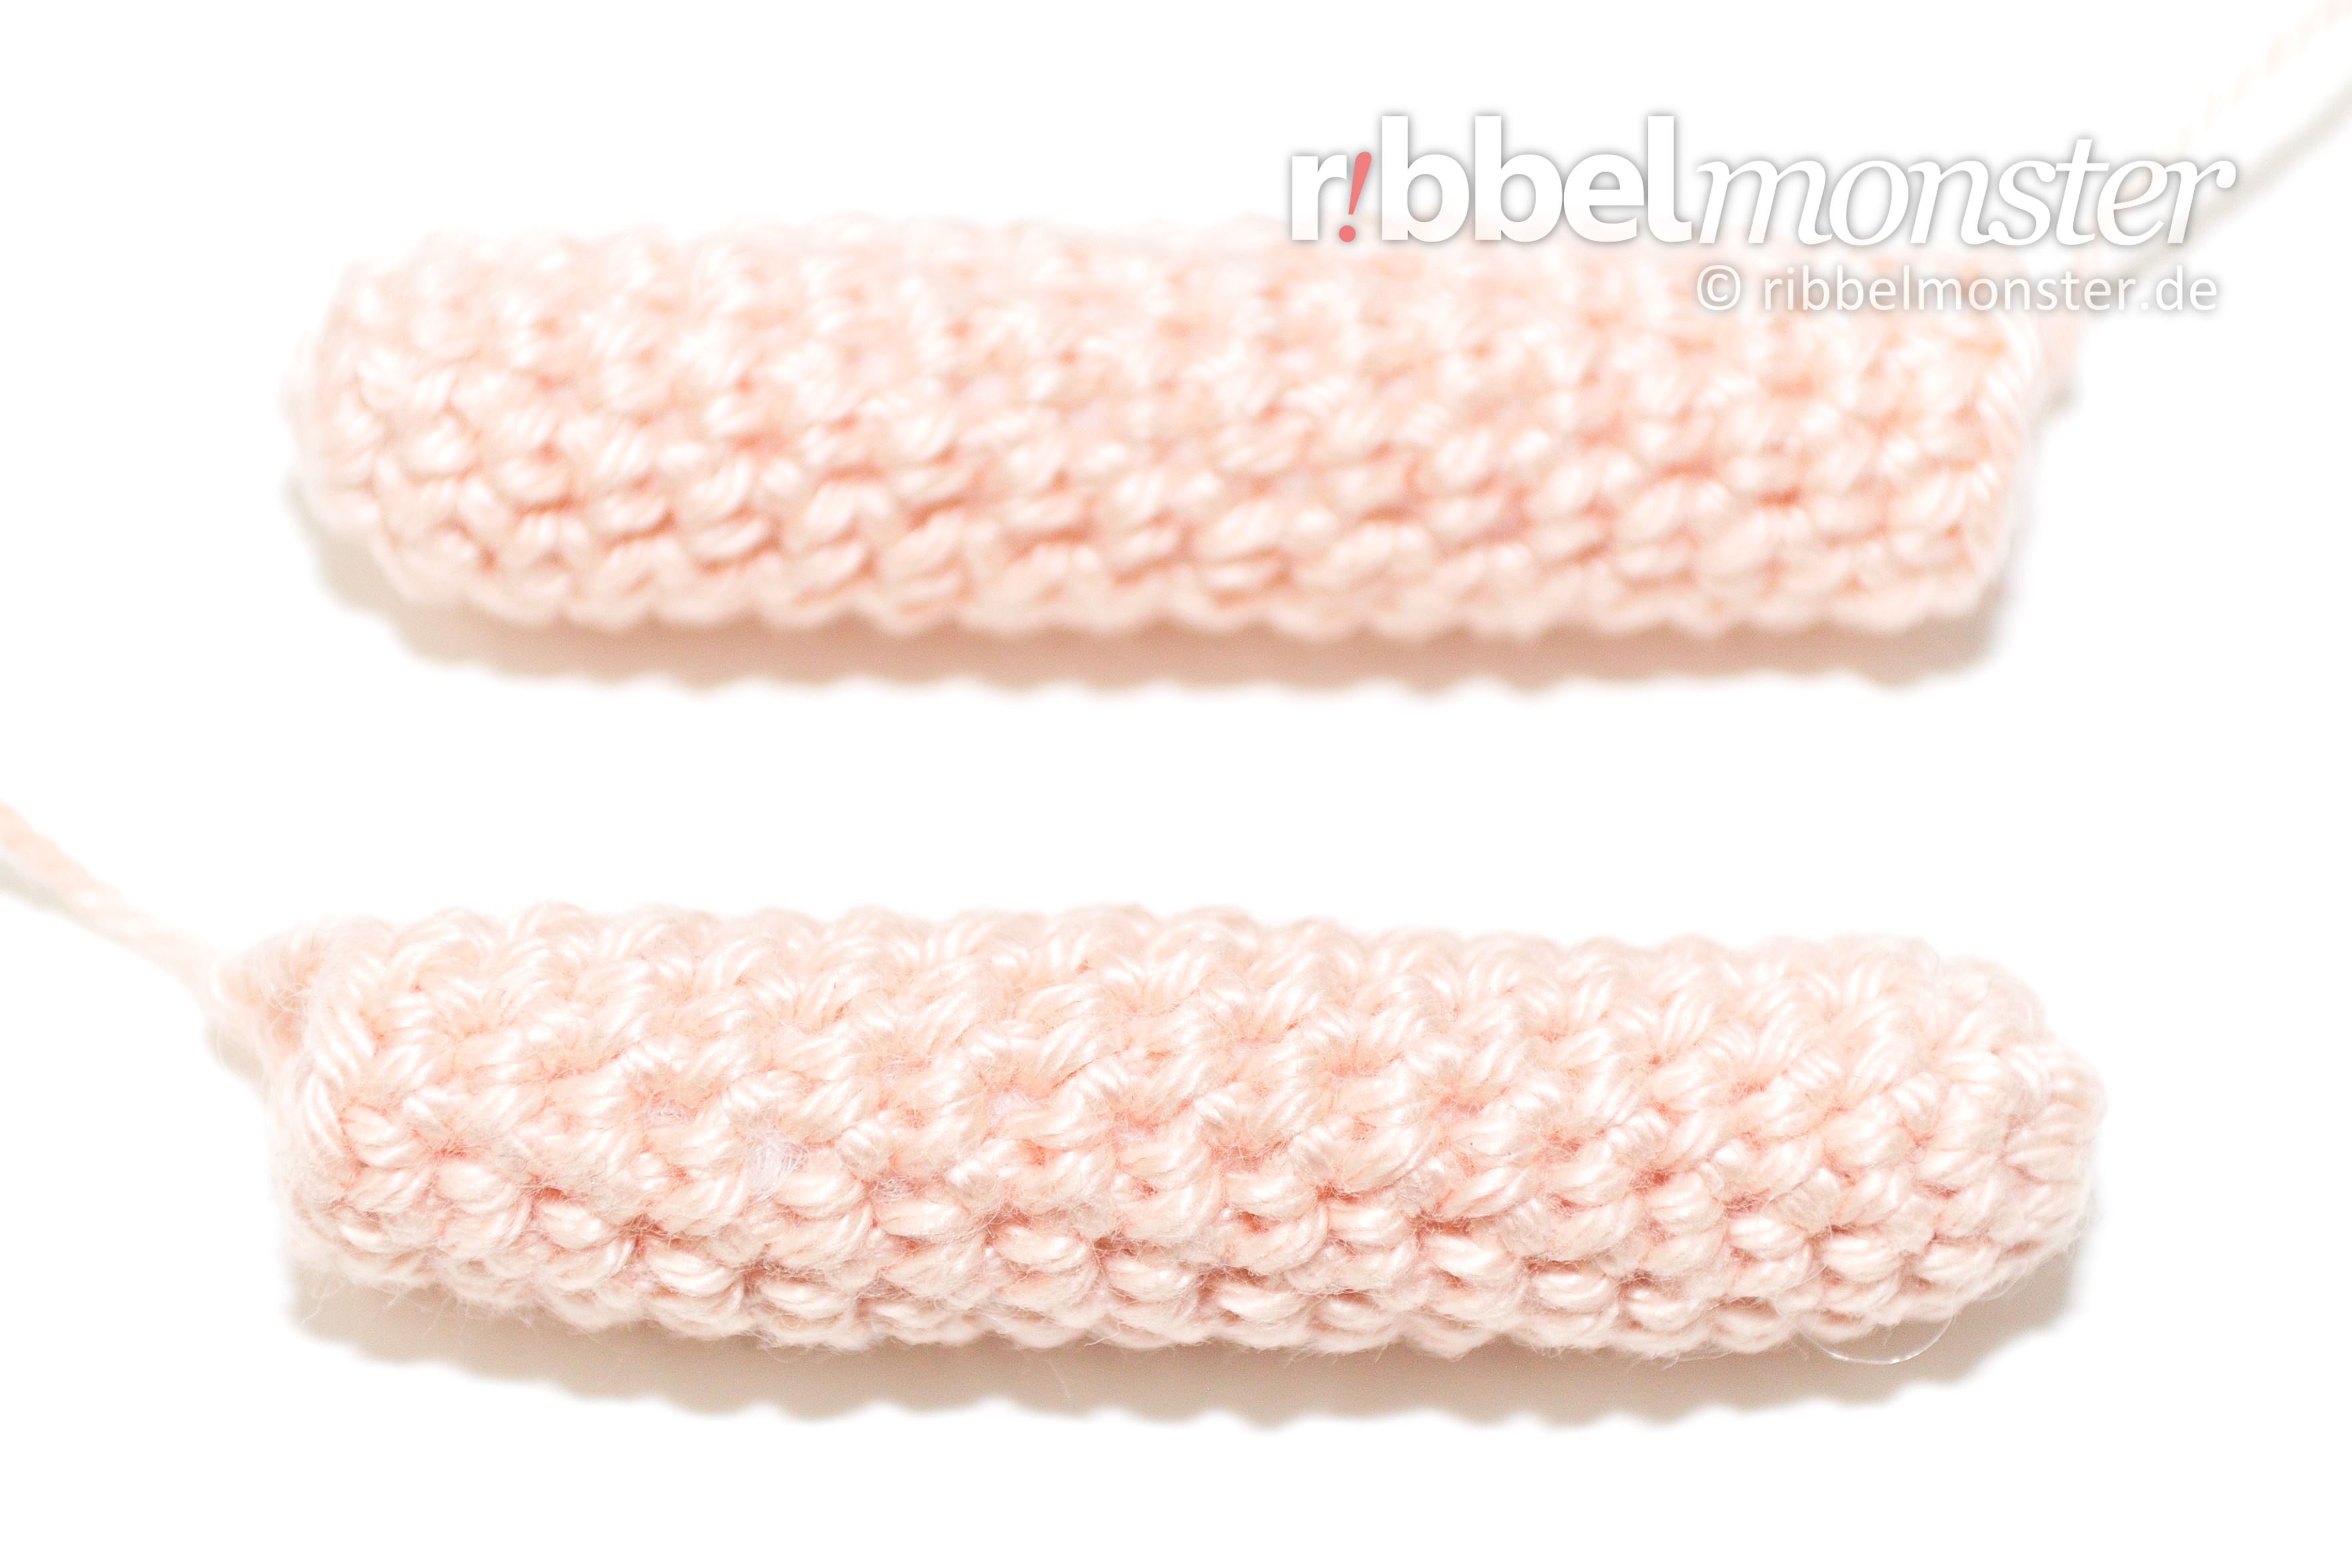
Crochet Cukado Doll Arms (2x)
We crochet the arms for the cukado doll from bottom to top in spiral rounds with single crochet stitches (US!). Shortly before finishing the arms are filled and later crocheted to the body.
- skin color:
- 1st round: magic ring + 6 single crochet stitches (US!) = 6 stitches
- 2nd round: double every 2nd stitch = 9 stitches
- 3rd -18th round: (= 16 rounds) each stitch one stitch = 9 stitches
- fill and stuff completely
- cut the thread generous, pull off the loop, DONT cut the thread end, will be needed for sewing later
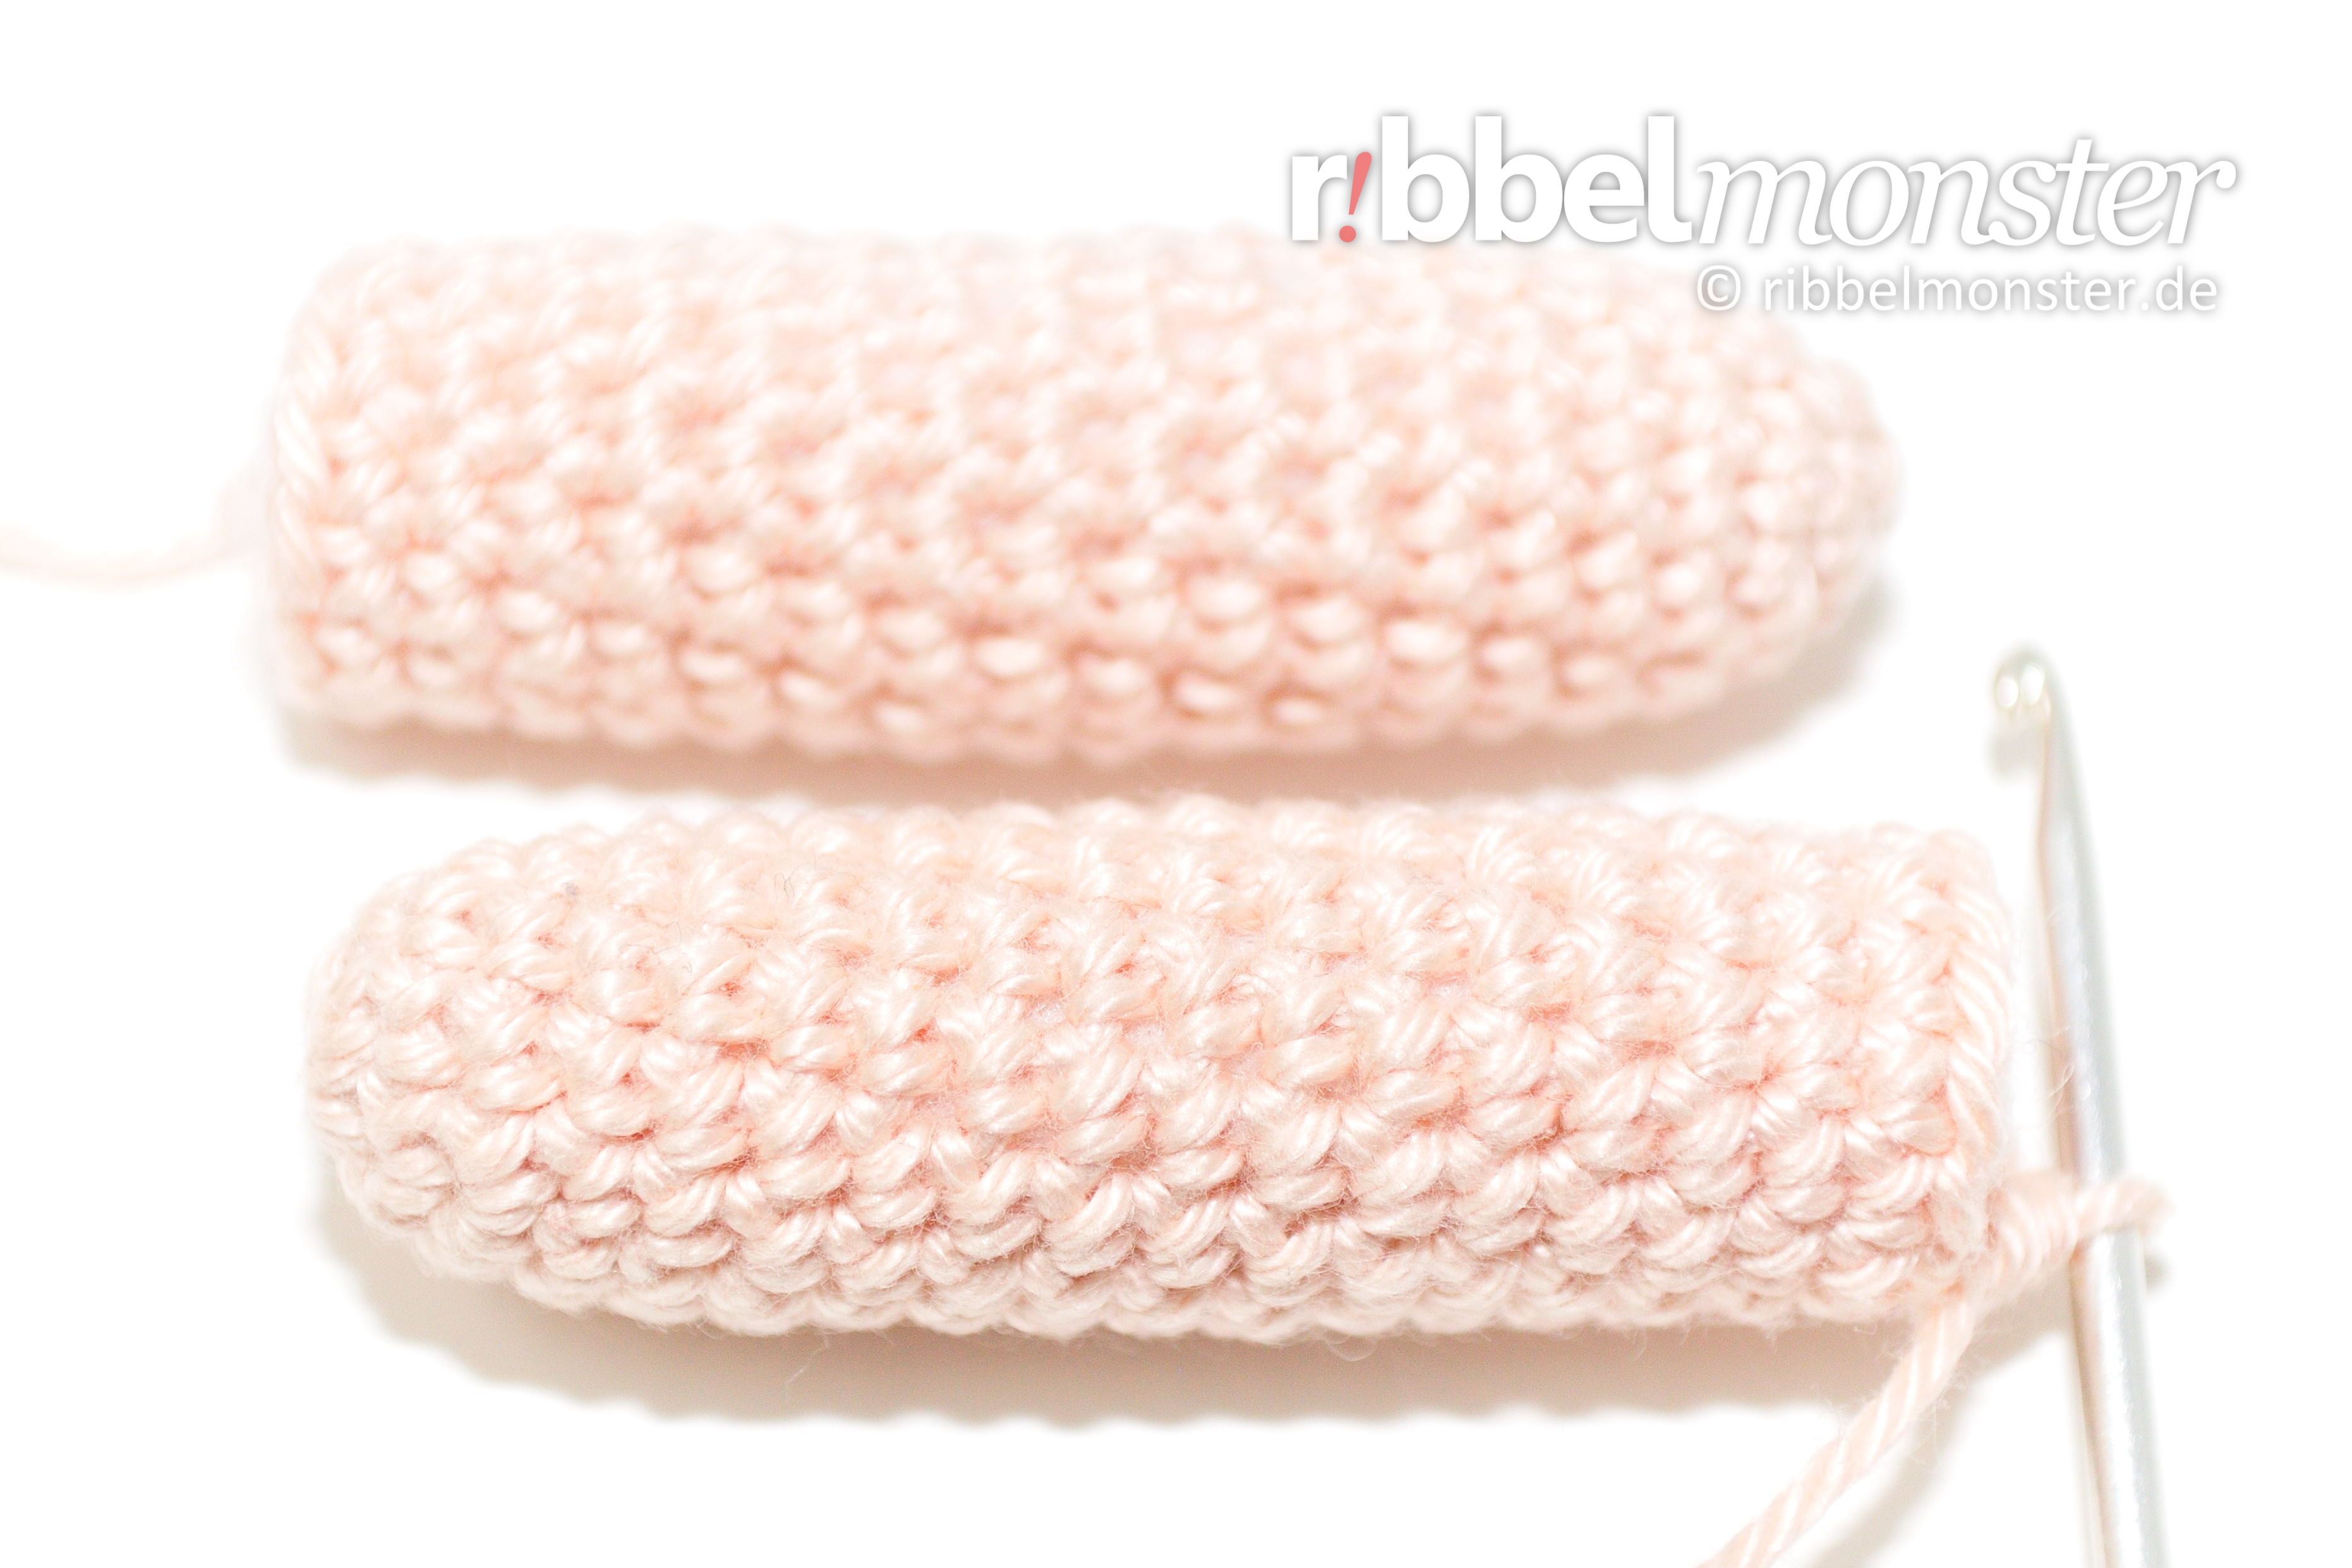
Crochet Cukado Doll Legs (2x)
We crochet the legs for the Cukado doll from bottom to top in spiral rounds with only single crochet stitches (US!). At the second leg the thread is not cut off because in the next step both legs are crocheted together.
- skin color:
- 1st round: magic ring + 6 single crochet stitches (US!) = 6 stitches
- 2nd round: double every 2nd stitch = 9 stitches
- 3rd round: double every 3rd stitch = 12 stitches
- 4th – 18th round: (= 15 rounds) each stitch one stitch = 12 stitches
- 1st Bein:
- cut the thread, pull off the loop
- 2nd Bein:
- DONT cut the thread end, continue with:
- Beine zusammen häkeln
- DONT cut the thread end, continue with:
Crochet legs together
Als nächstes wollen wir die Beine zusammen häkeln, damit wir gleich mit dem Körper weiter machen können.
- 6 chain stitches
- 19th round:
- start at the left of the beginning of the round at the other leg (1st leg):
- 12x 1 single crochet stitch (US!) into one stitch
- into the chain stitches:
- 6x 1 single crochet stitch (US!) into one stitch
- in das andere Bein (2nd Bein):
- 12x 1 single crochet stitch (US!) into one stitch
- into the chain stitches:
- 6x 1 single crochet stitch (US!) into one stitch
- = 36 stitches
- start at the left of the beginning of the round at the other leg (1st leg):
- DONT cut the thread end, continue with:
- Körper häkeln
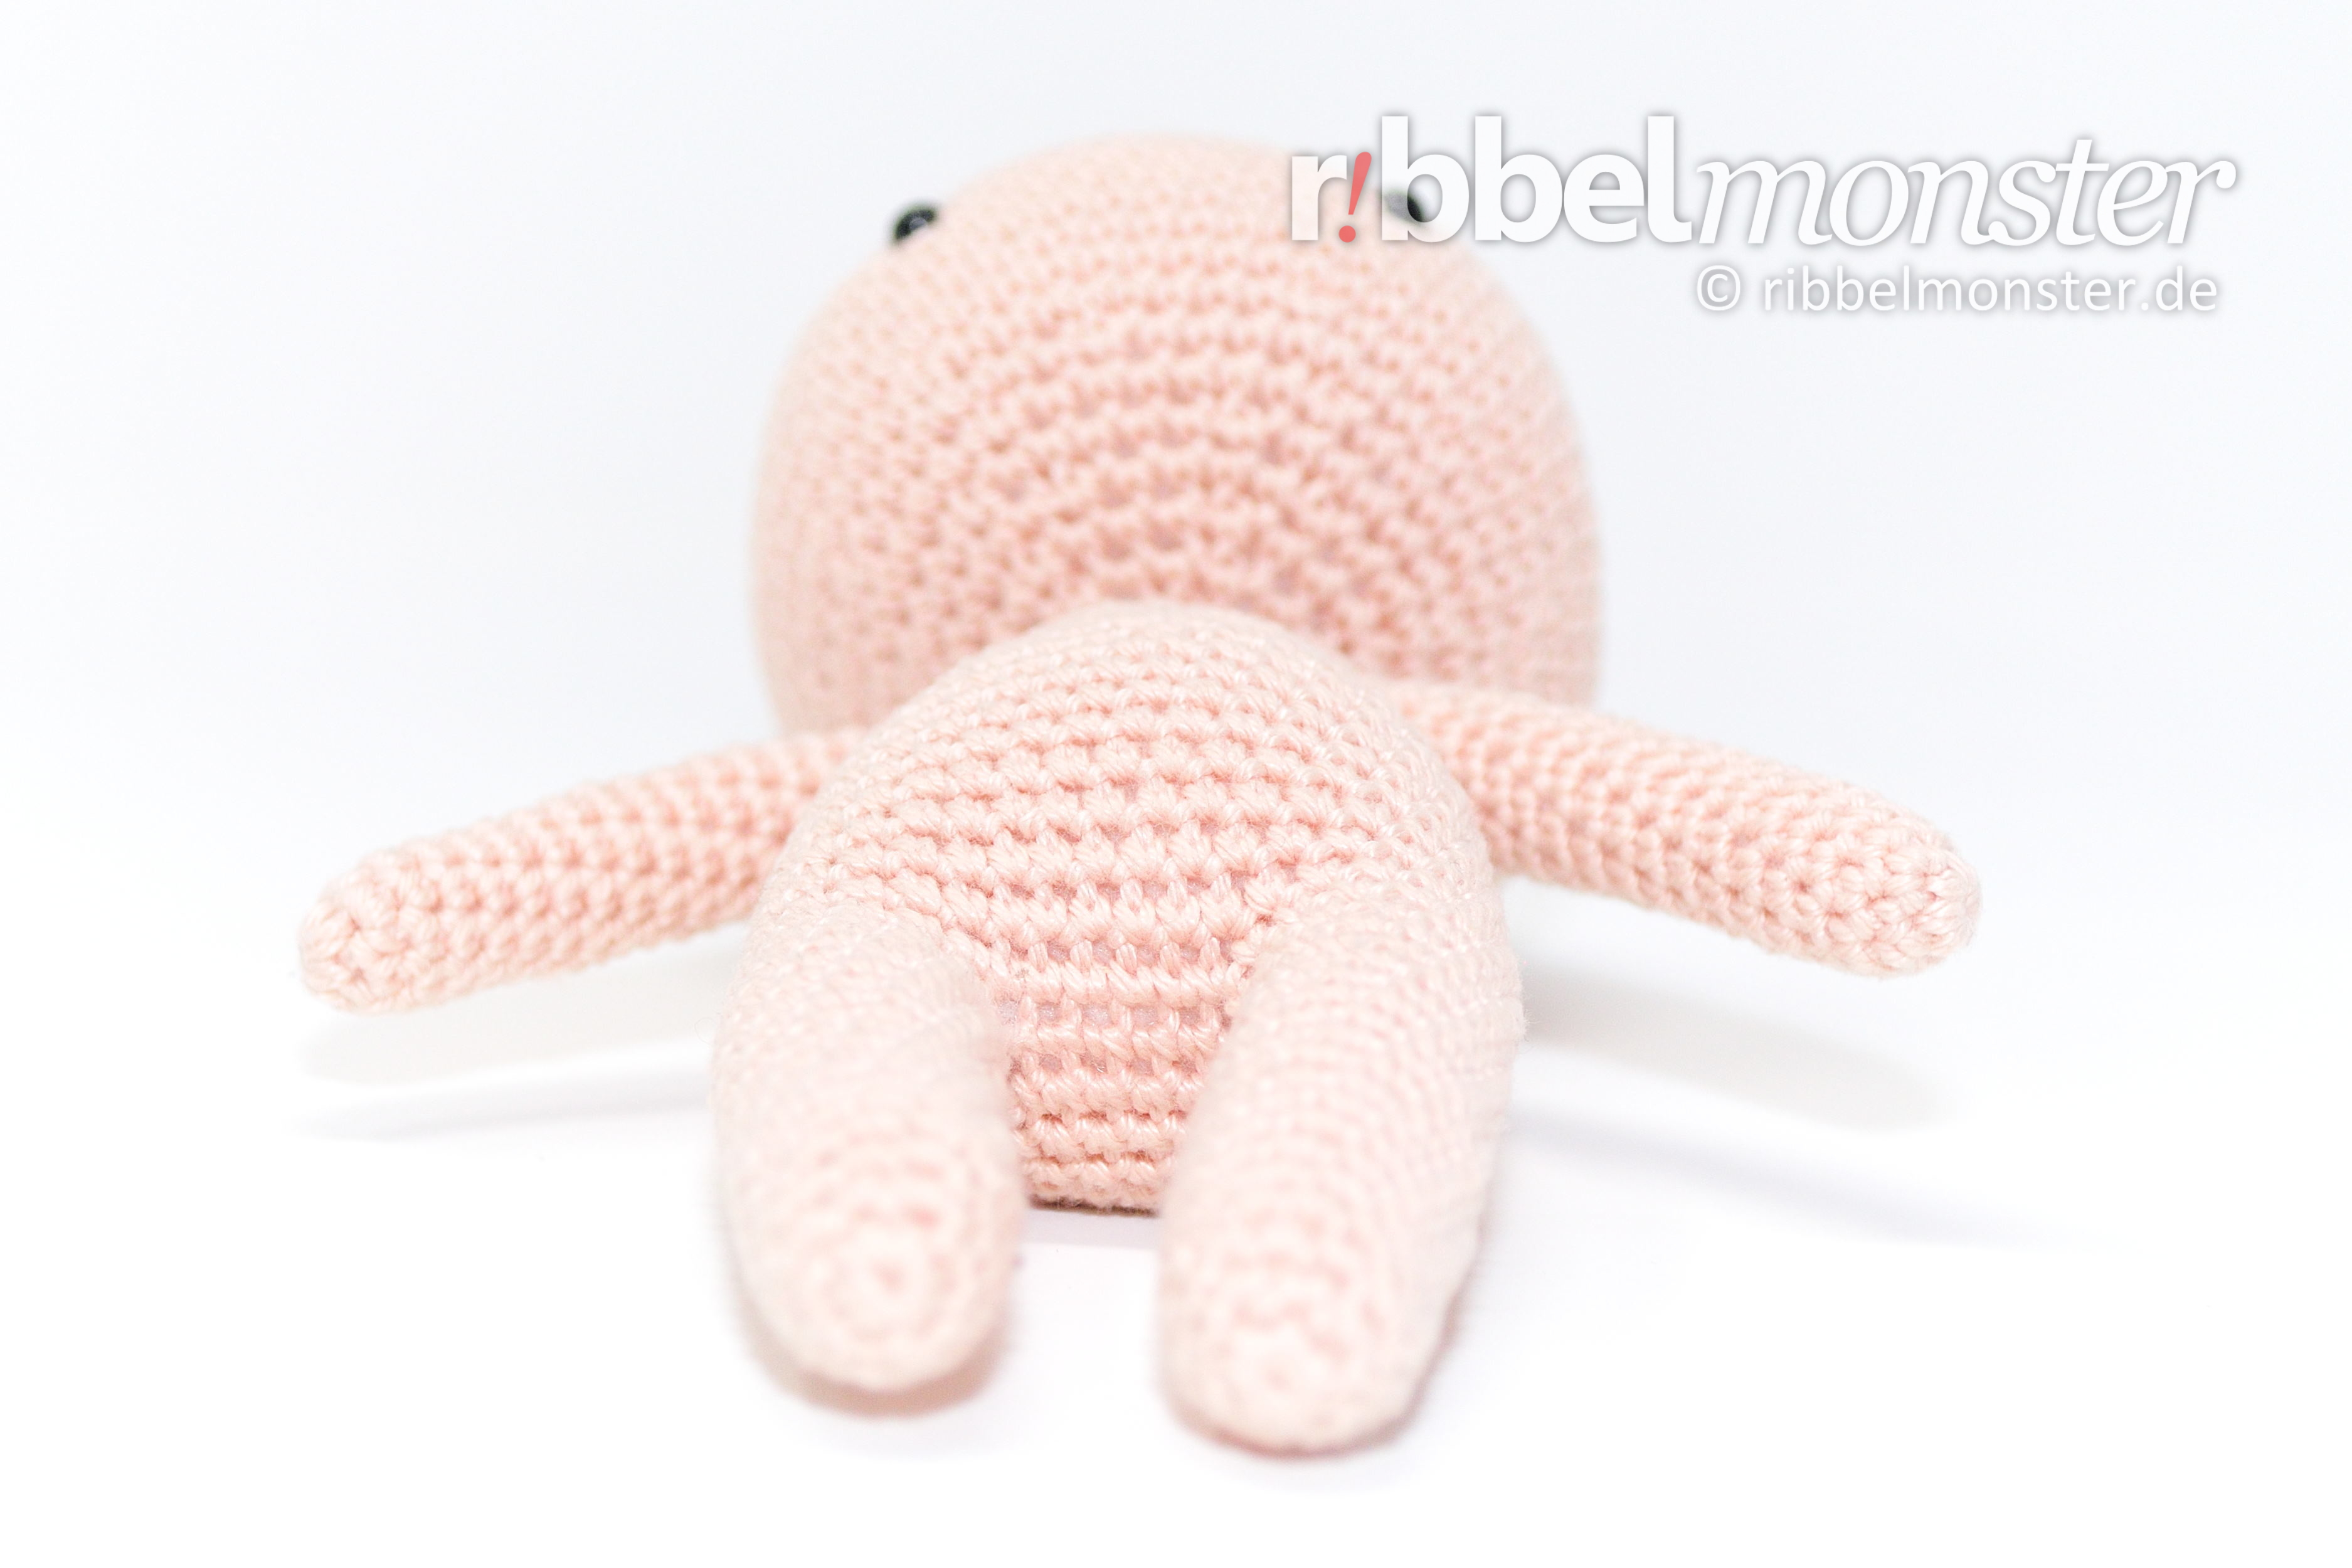
Crochet Cukado Doll Body (1x)
Nachdem wir die Beine zusammen gehäkelt haben, können wir gleich den Körper für das Cukado Püppchen häkeln. Der Körper wird von unten nach oben in spiral rounds mit ausschließlich single crochet stitches (US!) gehäkelt.

- skin color:
- 20. – 27th round: (= 8 rounds) each stitch one stitch = 36 stitches
- fill and stuff
- 28th round: crochet together every 17th and 18th stitch = 34 stitches
- 29th round: crochet together every 16th and 17th stitch = 32 stitches
- 30. round: crochet together every 15th and 16th stitch = 30 stitches
- 31st round: crochet together every 14th and 15th stitch = 28 stitches
- 32nd round: crochet together every 13th and 14th stitch = 26 stitches
- 33rd round: crochet together every 12th and 13th stitch = 24 stitches
- DONT cut the thread end, continue with:
- crochet around arms
Crochet around arms
Next we want to crochet the previously crocheted arms into the next round of the body.
- 34th round:
- body:
- 6x 1 single crochet stitch (US!) into one stitch
- left of the beginning of the round at the 1st arm:
- 6x 1 single crochet stitch (US!) into one stitch
- arm & body:
- skip 3 stitches
- body:
- 9x 1 single crochet stitch (US!) into one stitch
- left of the beginning of the round at the 2nd arm:
- 6x 1 single crochet stitch (US!) into one stitch
- arm & body:
- skip 3 stitches
- body:
- 3x 1 single crochet stitch (US!) into one stitch
- = 30 stitches
- body:
- DONT cut the thread end, continue with:
- finish body
Finish Body
Now you can just continue to crochet and finish the body. Depending on whether you want to crochet the head individually or with the body, you choose the right variant.
- 35th round: each stitch one stitch = 30 stitches
- 36th round: crochet together every 4th and 5th stitch = 24 stitches
- 37th round: crochet together every 3rd and 4th stitch = 18 stitches
- fill and stuff
- 38th round: crochet together every 2nd and 3rd stitch = 12 stitches
- 39th round: each stitch one stitch = 12 stitches
- 40. round:
- 11x 1 single crochet stitch (US!) into one stitch
- 1x 1 slip stitch into one stitch
- = 12 stitches
- fill and stuff completely
- without sewing:
- DONT cut the thread end, continue with:
- Crochet the head directly with the Cukado doll
- DONT cut the thread end, continue with:
- with sewing:
- cut the thread generous, pull off the loop, DONT cut the thread end, will be needed for sewing later

Tip: If you want to tie hair the scalp may show through. If this bothers you, you can just crochet the top rounds of the head to the forehead in a matching color.
Crochet the head directly with the Cukado doll (1x)
If you want to crochet the head directly with the doll, we start from the bottom up and crochet in spiral rounds with single crochet stitches (US!).
- skin color:
- 41st round:
- stitch into front loop only
- double every 2nd stitch
- = 18 stitches
- 42nd round: double every 3rd stitch = 24 stitches
- 43rd round: double every 4th stitch = 30 stitches
- 44th round: double every 5th stitch = 36 stitches
- 45th round: double every 6th stitch = 42 stitches
- 46th round: double every 7th stitch = 48 stitches
- 47th round: double every 8th stitch = 54 stitches
- 48th round: double every 9th stitch = 60 stitches
- 49th – 60. round: (= 12 rounds) each stitch one stitch = 60 stitches
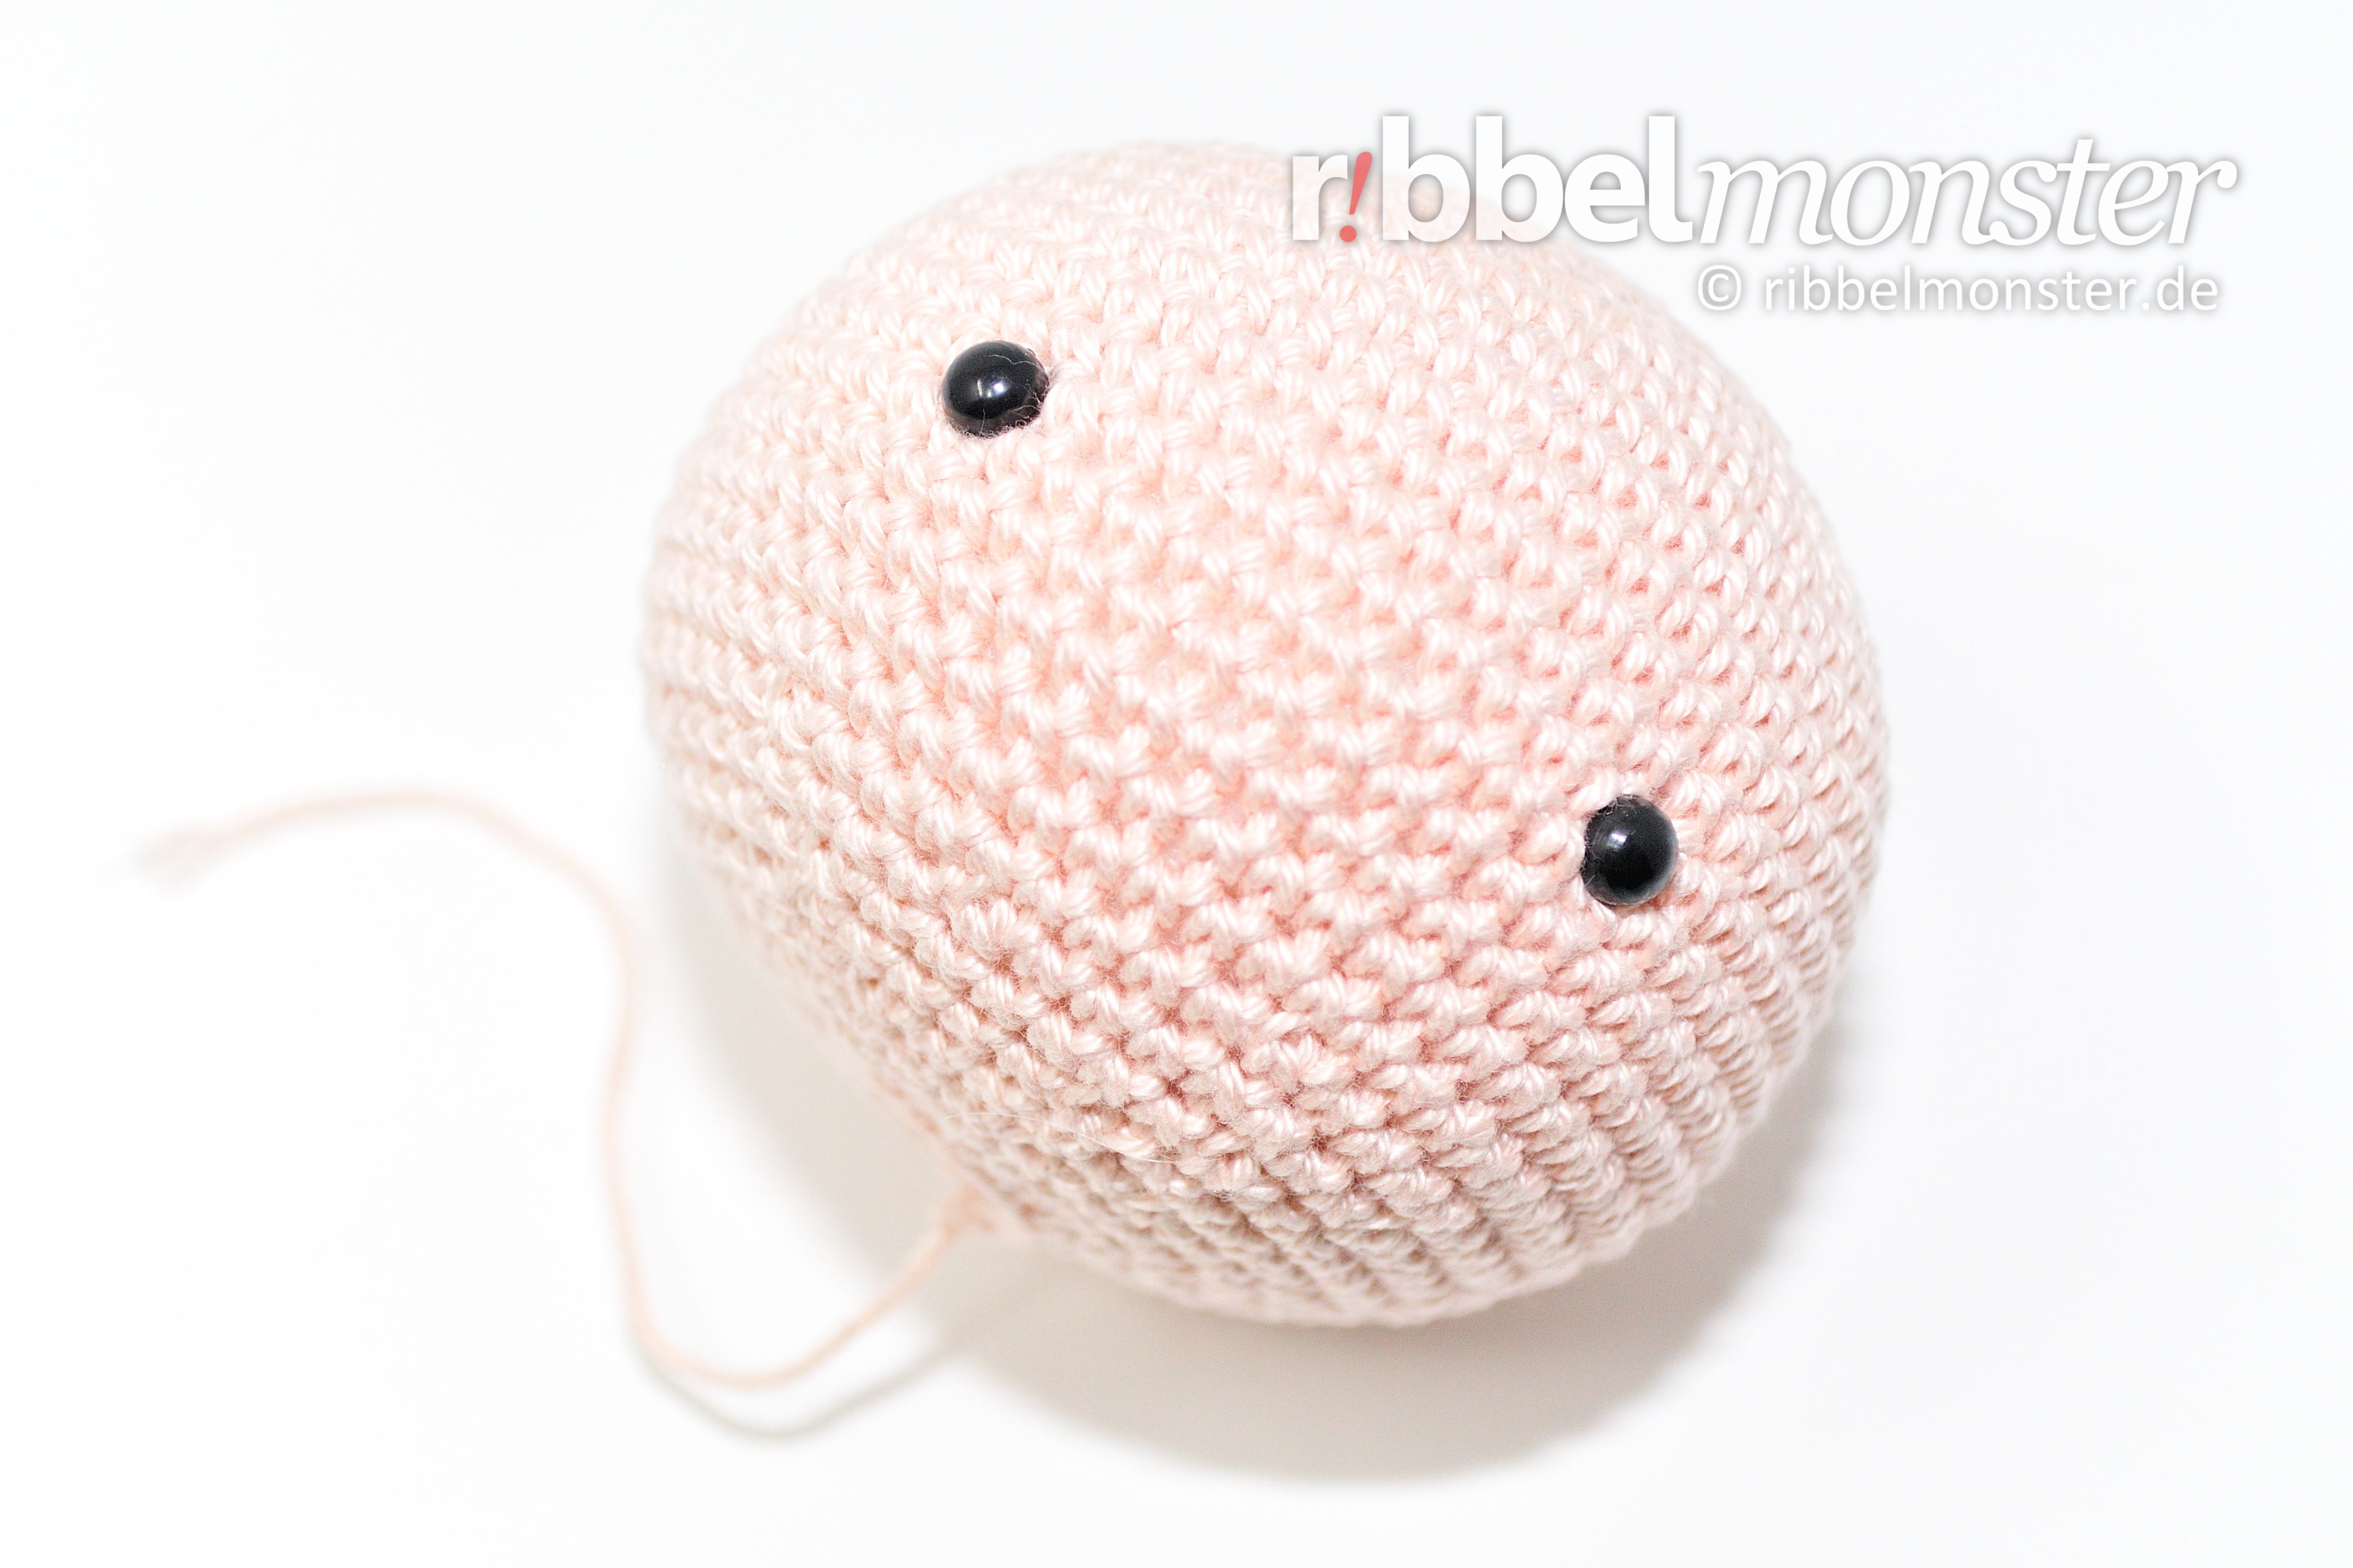
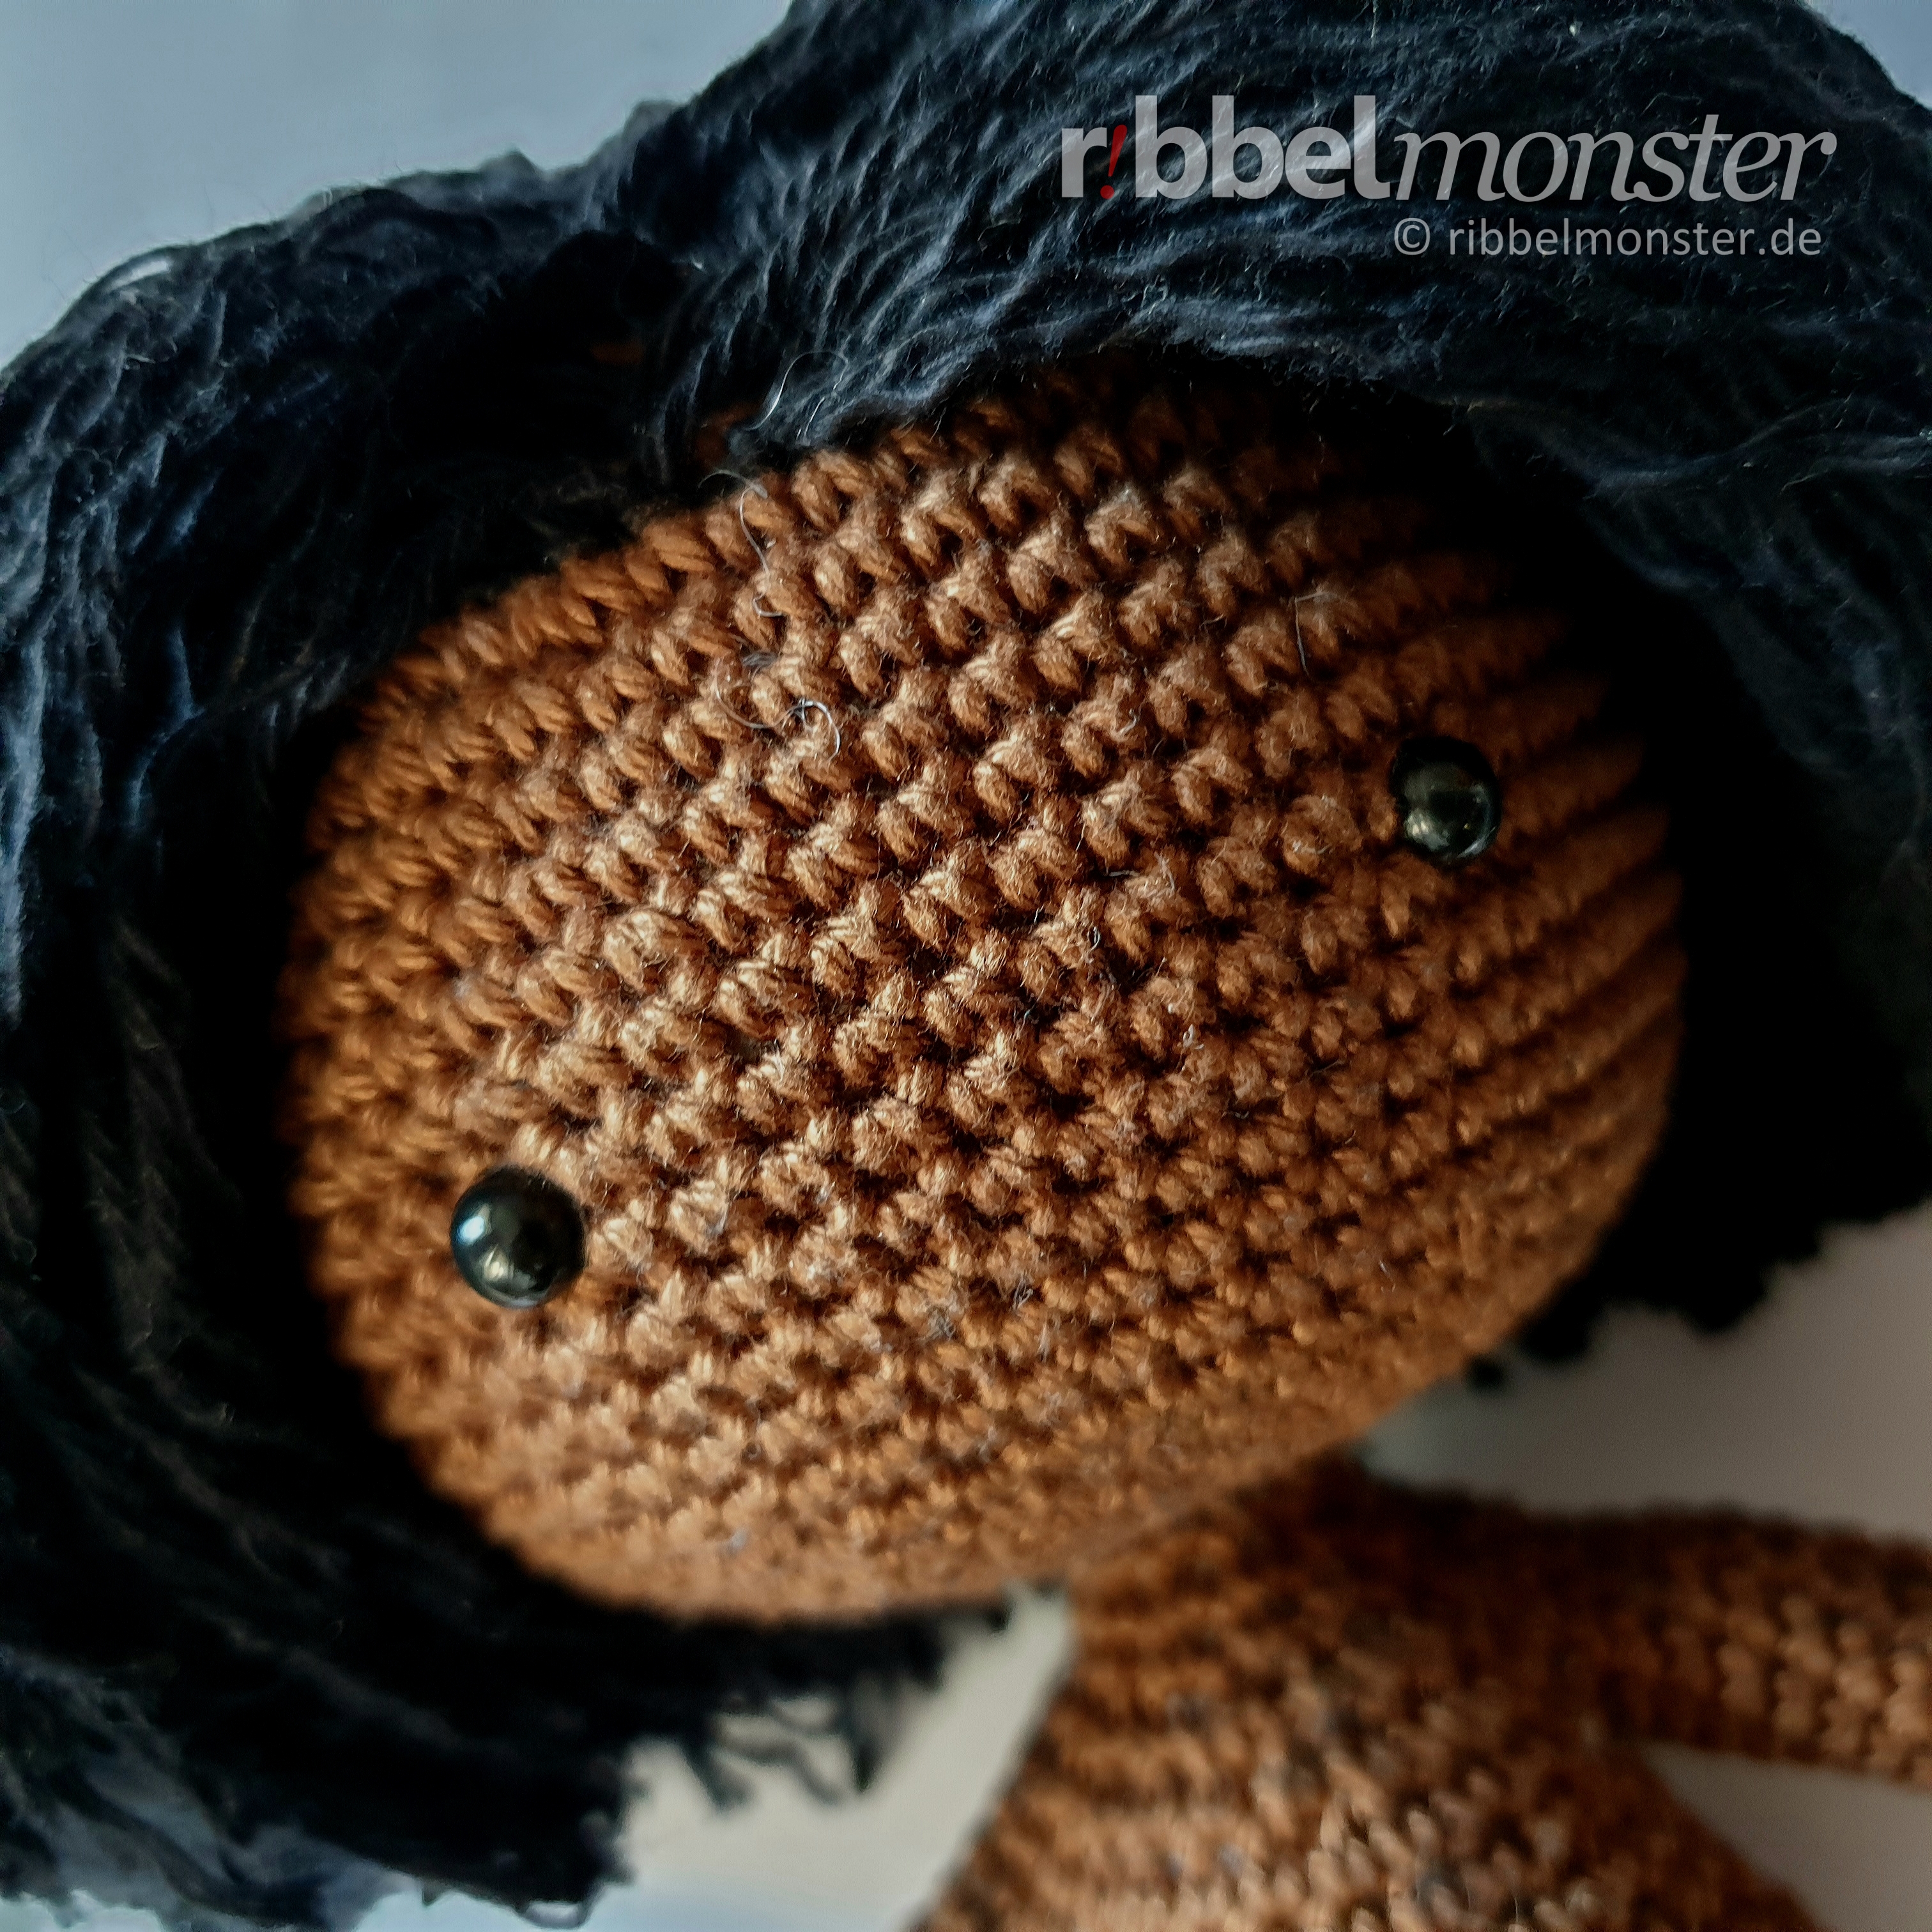
- Attach Safety Eyes, Position:
- after the 53rd round
- 10 stitches distance
- skin color / hair color:
- 61st round: crochet together every 9th and 10th stitch = 54 stitches
- 62nd round: crochet together every 8th and 9th stitch = 48 stitches
- 63rd round: crochet together every 7th and 8th stitch = 42 stitches
- 64th round: crochet together every 6th and 7th stitch = 36 stitches
- 65th round: crochet together every 5th and 6th stitch = 30 stitches
- 66th round: crochet together every 4th and 5th stitch = 24 stitches
- 67th round: crochet together every 3rd and 4th stitch = 18 stitches
- fill and stuff completely
- 68th round: crochet together every 2nd and 3rd stitch = 12 stitches
- 69th round: crochet together every 1st and 2nd stitch = 6 stitches
- cut the thread generous, pull off the loop, close remaining opening, secure and weave in the thread end
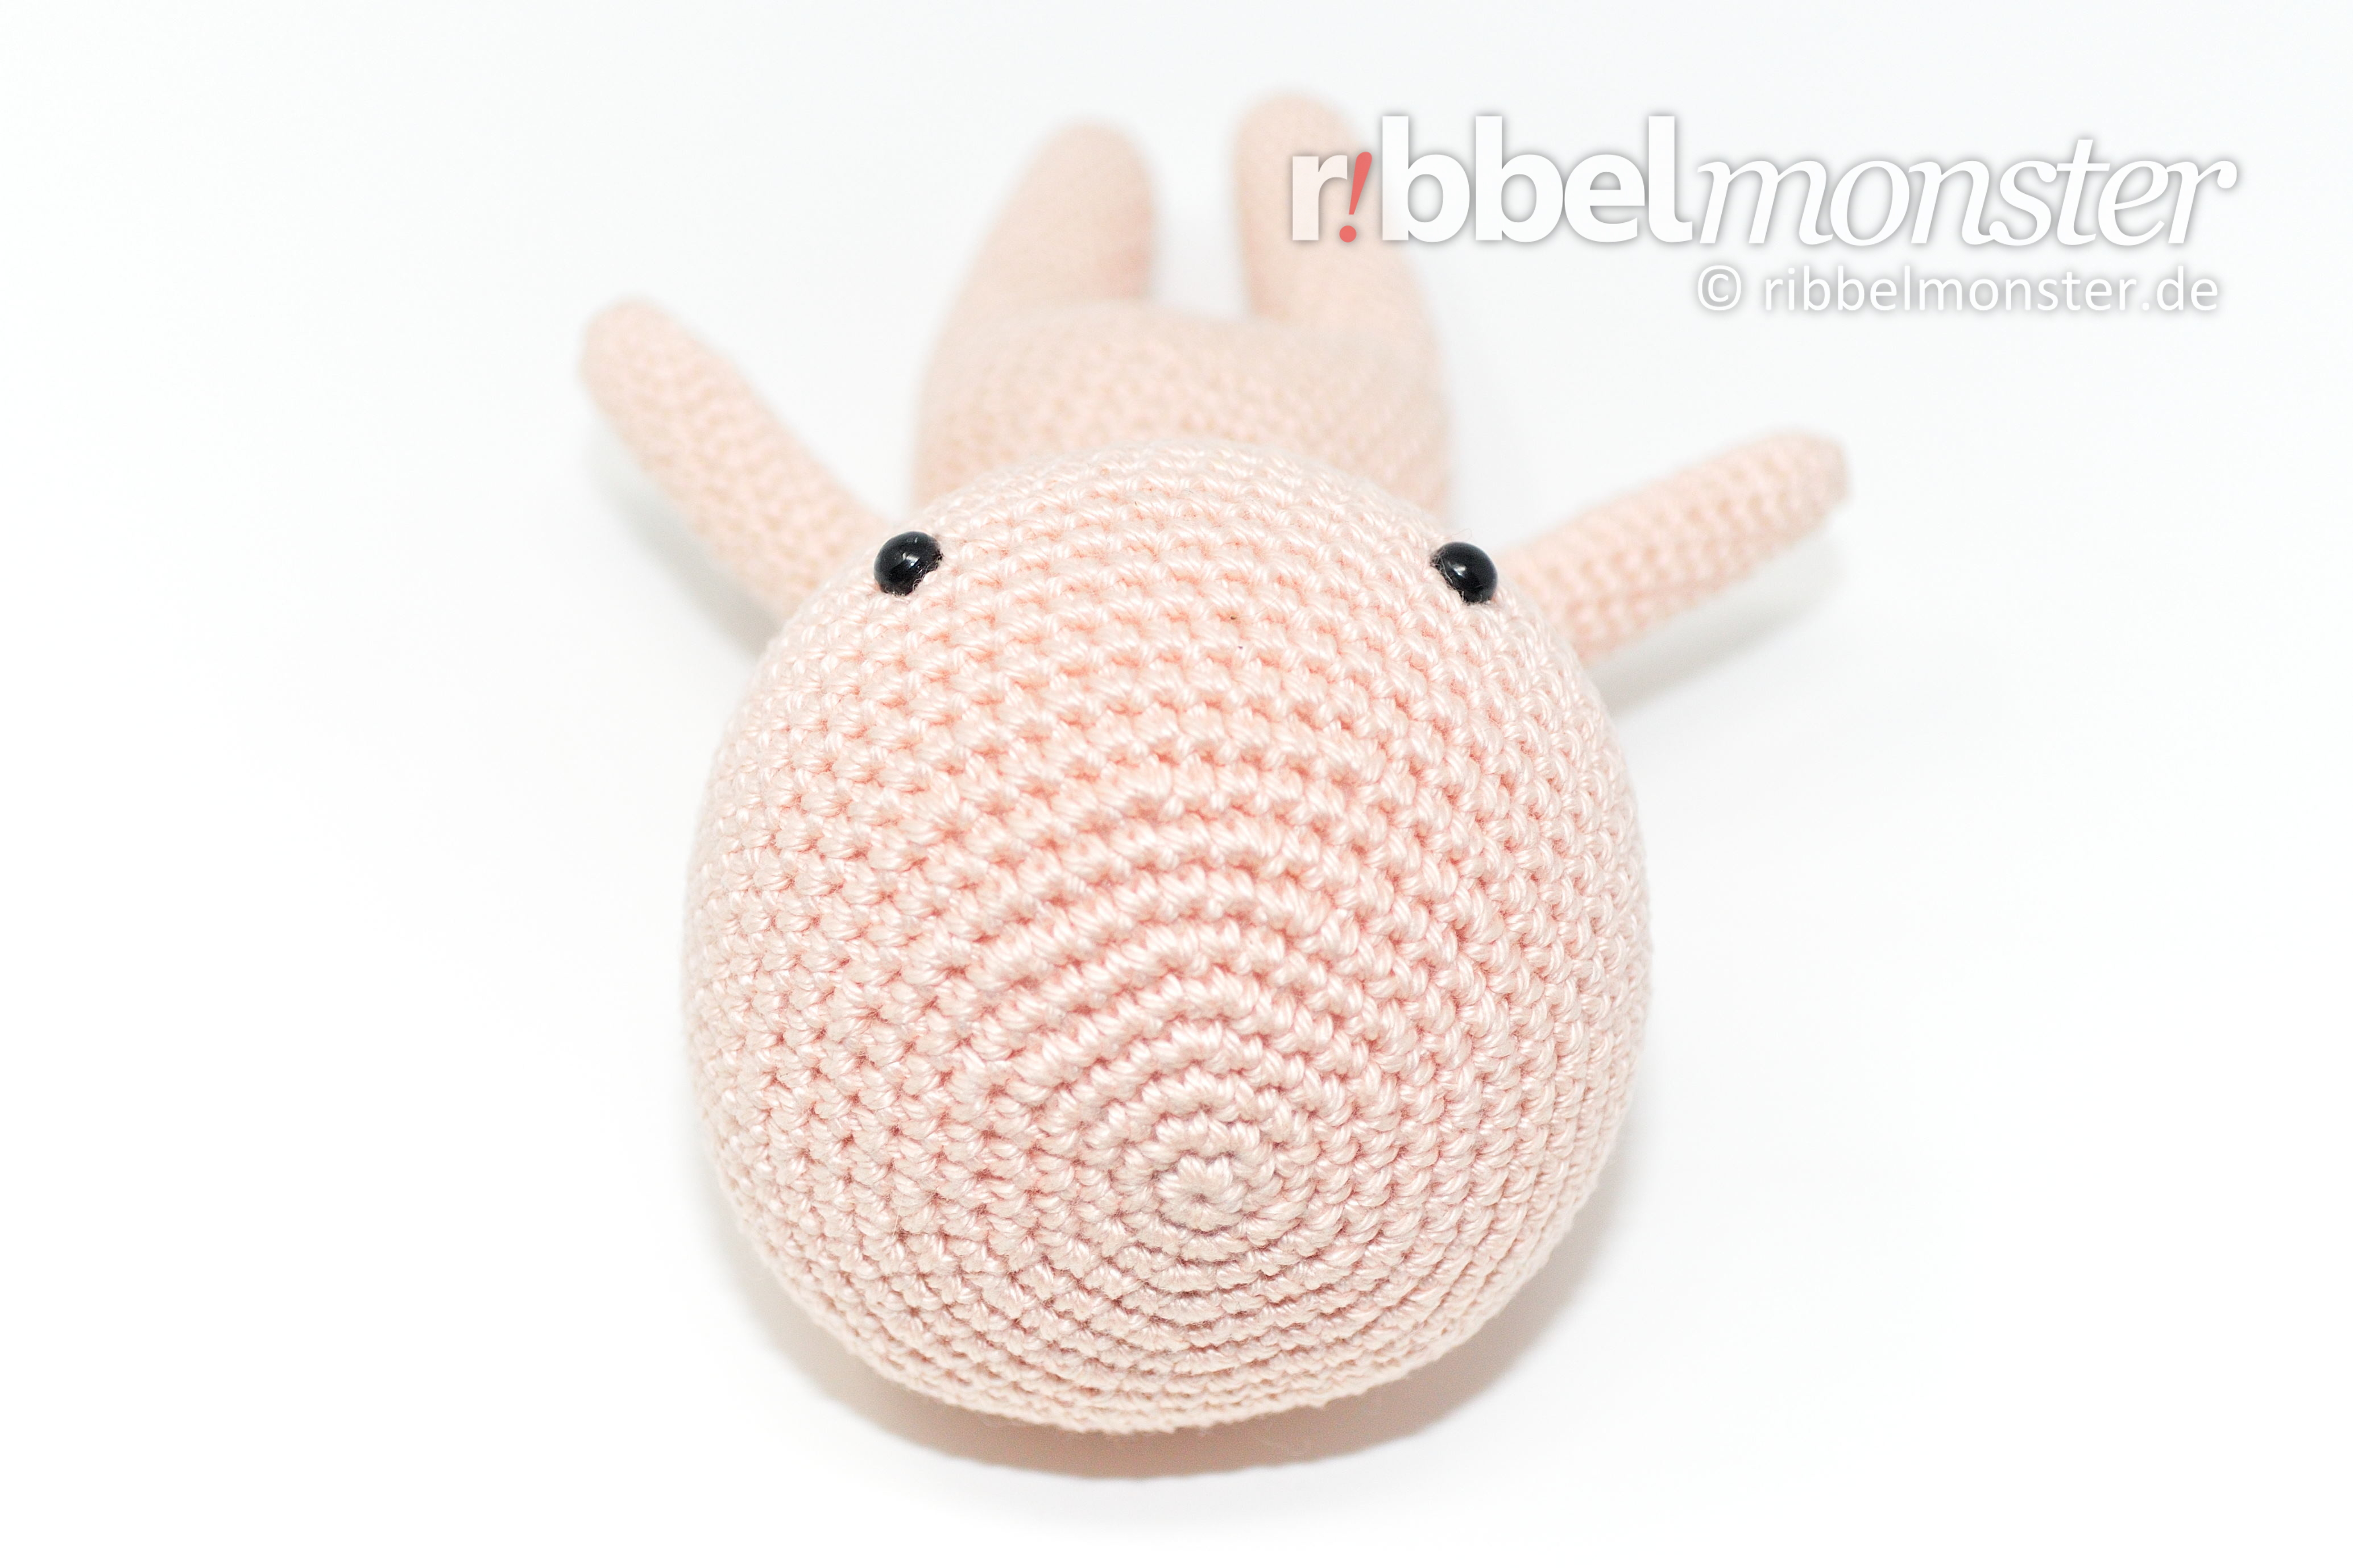
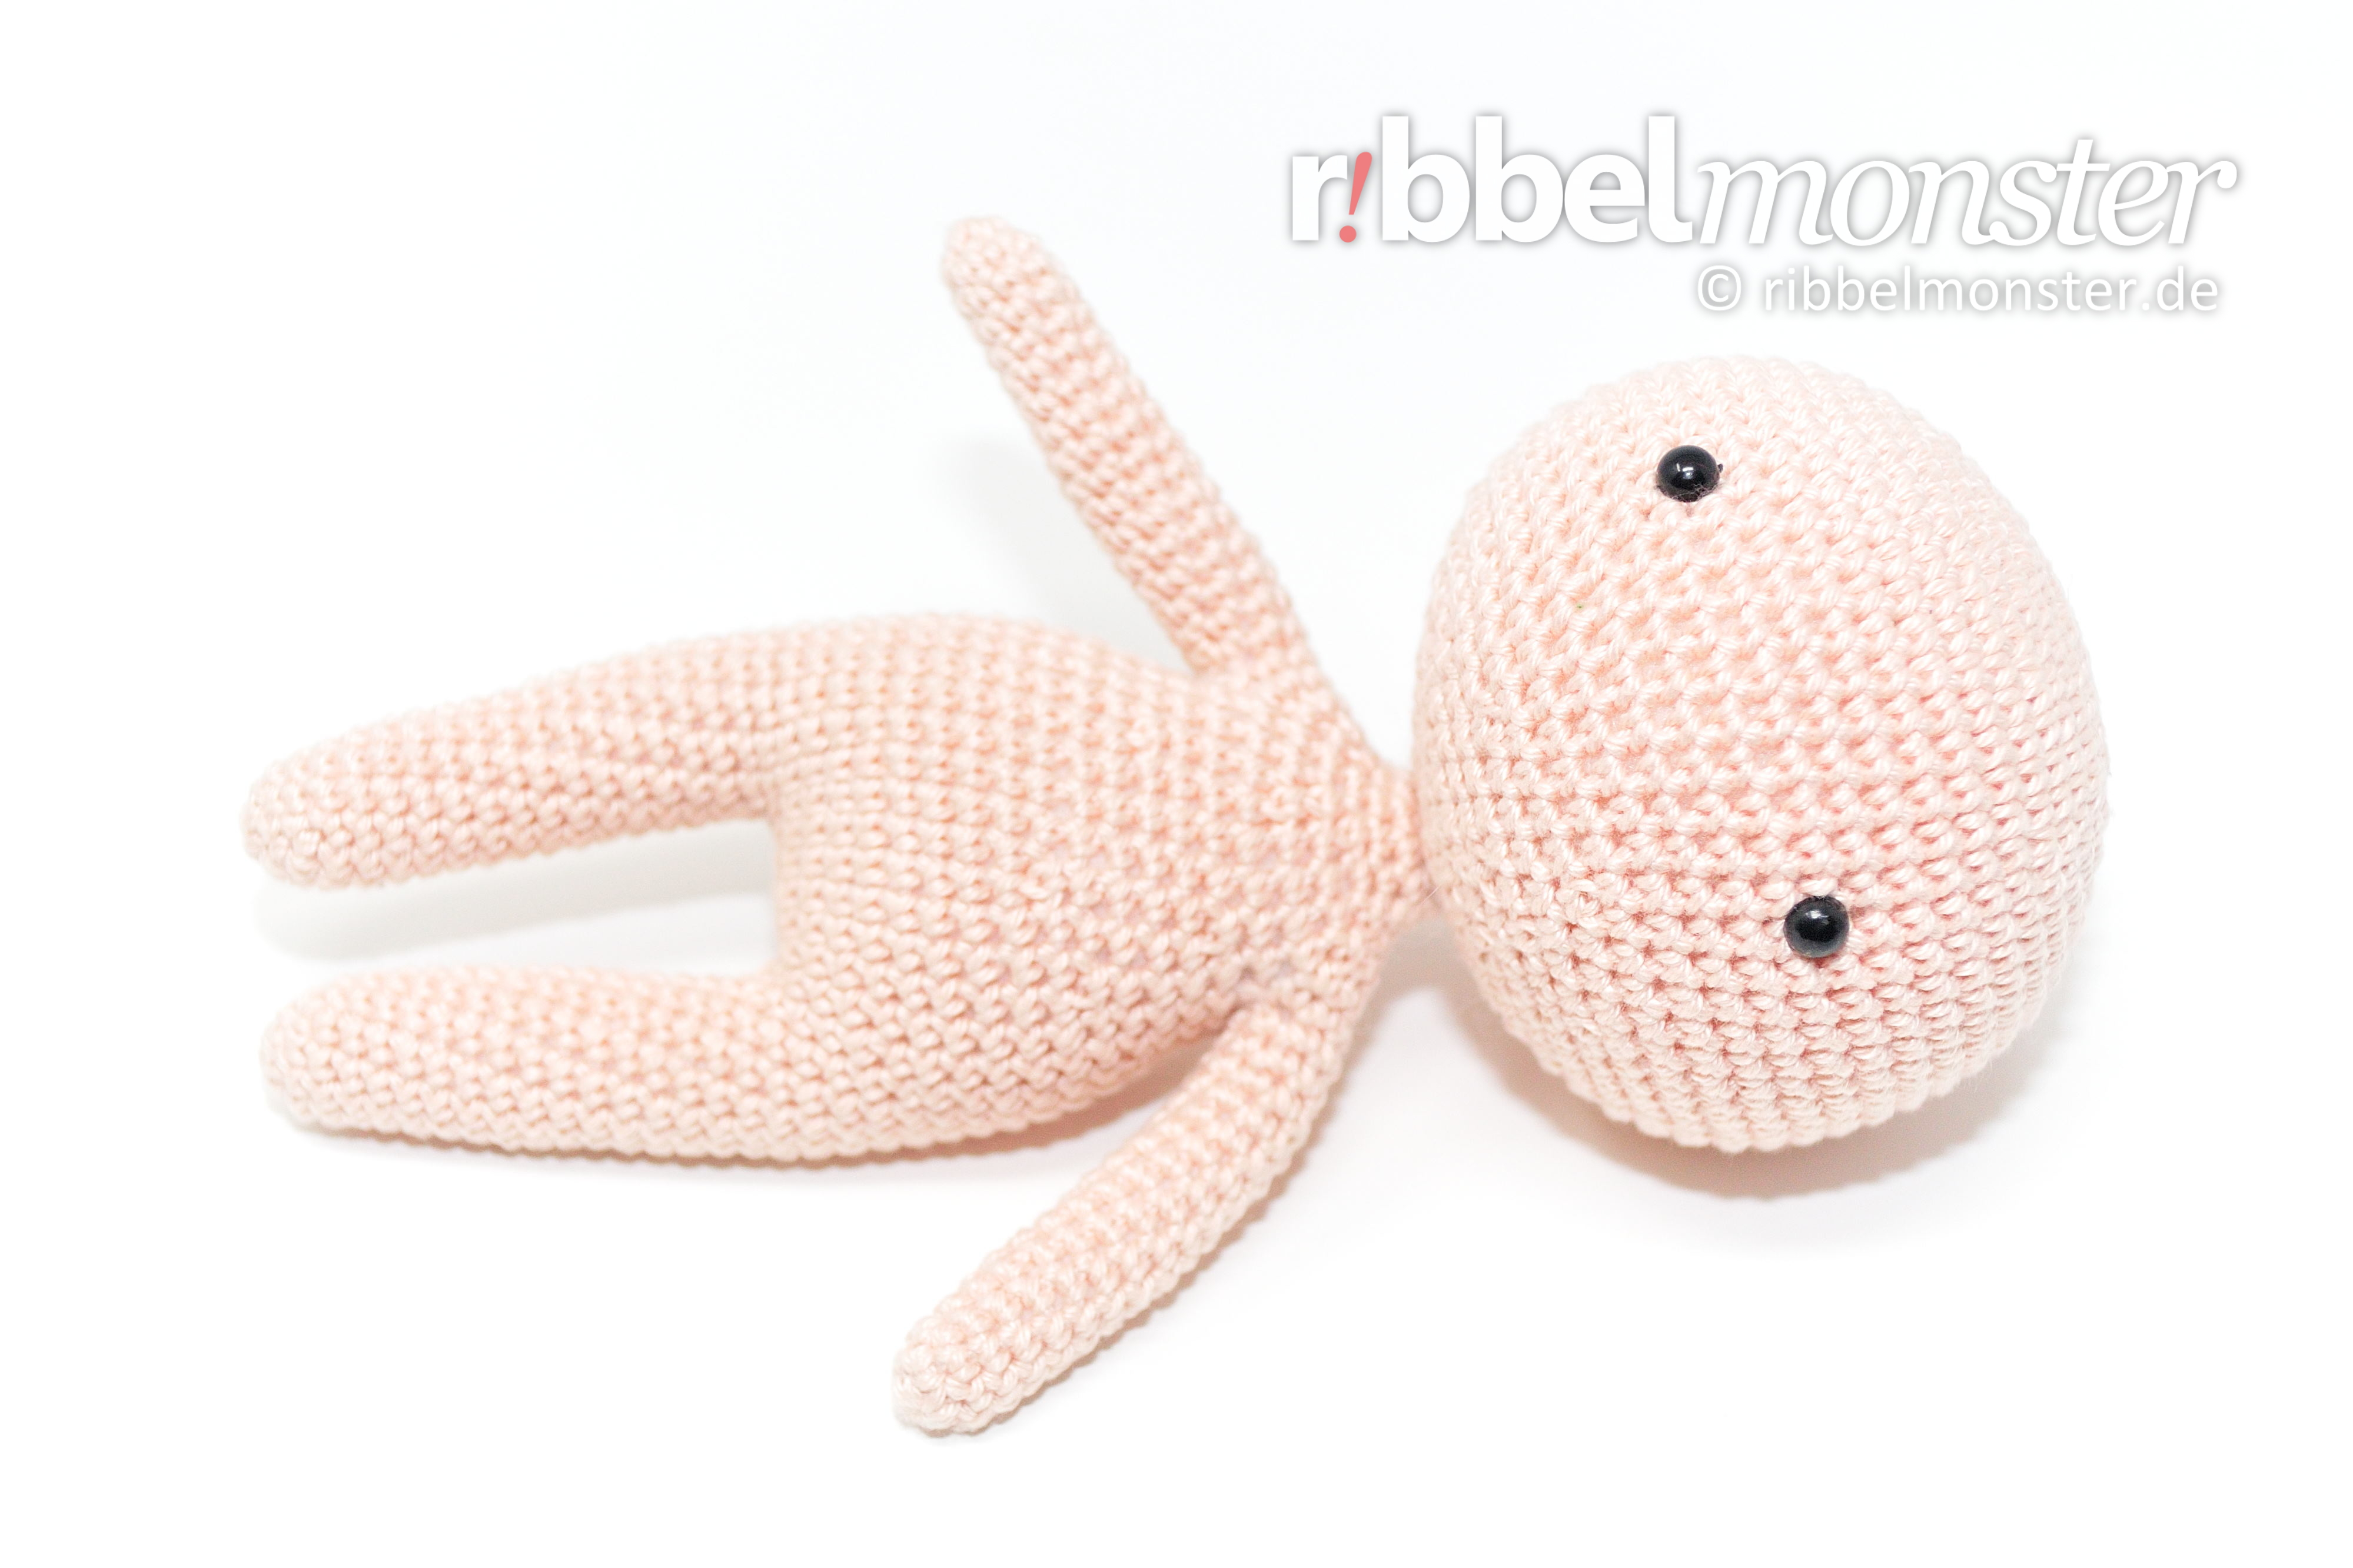
Crochet a single head for the Cukado doll (1x)
Crochet the single head for the doll from top to bottom in spiral rounds with only single crochet stitches (US!). The head is properly filled and stuffed. The remaining thread end is needed later to sew the head around to the body.
- skin color / hair color:
- 1st round: magic ring + 6 single crochet stitches (US!) = 6 stitches
- 2nd round: double every stitch = 12 stitches
- 3rd round: double every 2nd stitch = 18 stitches
- 4th round: double every 3rd stitch = 24 stitches
- 5th round: double every 4th stitch = 30 stitches
- 6th round: double every 5th stitch = 36 stitches
- 7th round: double every 6th stitch = 42 stitches
- 8th round: double every 7th stitch = 48 stitches
- 9th round: double every 8th stitch = 54 stitches
- skin color:
- 10th round: double every 9th stitch = 60 stitches
- 11th – 21st round: (= 11 rounds) each stitch one stitch = 60 stitches
- Attach Safety Eyes, Position:
- after the 16th round
- 10 stitches distance
- 22nd round: crochet together every 9th and 10th stitch = 54 stitches
- 23rd round: crochet together every 8th and 9th stitch = 48 stitches
- 24th round: crochet together every 7th and 8th stitch = 42 stitches
- 25th round: crochet together every 6th and 7th stitch = 36 stitches
- 26th round: crochet together every 5th and 6th stitch = 30 stitches
- 27th round: crochet together every 4th and 5th stitch = 24 stitches
- 28th round: crochet together every 3rd and 4th stitch = 18 stitches
- fill and stuff completely
- 29th round: crochet together every 2nd and 3rd stitch = 12 stitches
- cut the thread generous, pull off the loop, DONT cut the thread end, will be needed for sewing later
Crochet Ears for Cukado Doll (2x)

If you want, you can still crochet ears for your Cukado doll, but you do not have to. Crochet the ears for the doll in just one round and tie them later with the thread ends to the head.
- skin color:
- left ear:
- magic ring
- into the magic ring:
- 1 double crochet stitch (US!)
- 1 half double crochet stitch (US!)
- 3 single crochet stitches (US!)
- 1 slip stitch
- = 6 stitches
- right ear:
- magic ring
- into the magic ring:
- 3 single crochet stitches (US!)
- 1 half double crochet stitch (US!)
- 1 double crochet stitch (US!)
- 1 slip stitch
- = 6 stitches
- cut the thread generous, pull off the loop, DONT cut the thread end, will be needed to tie on later
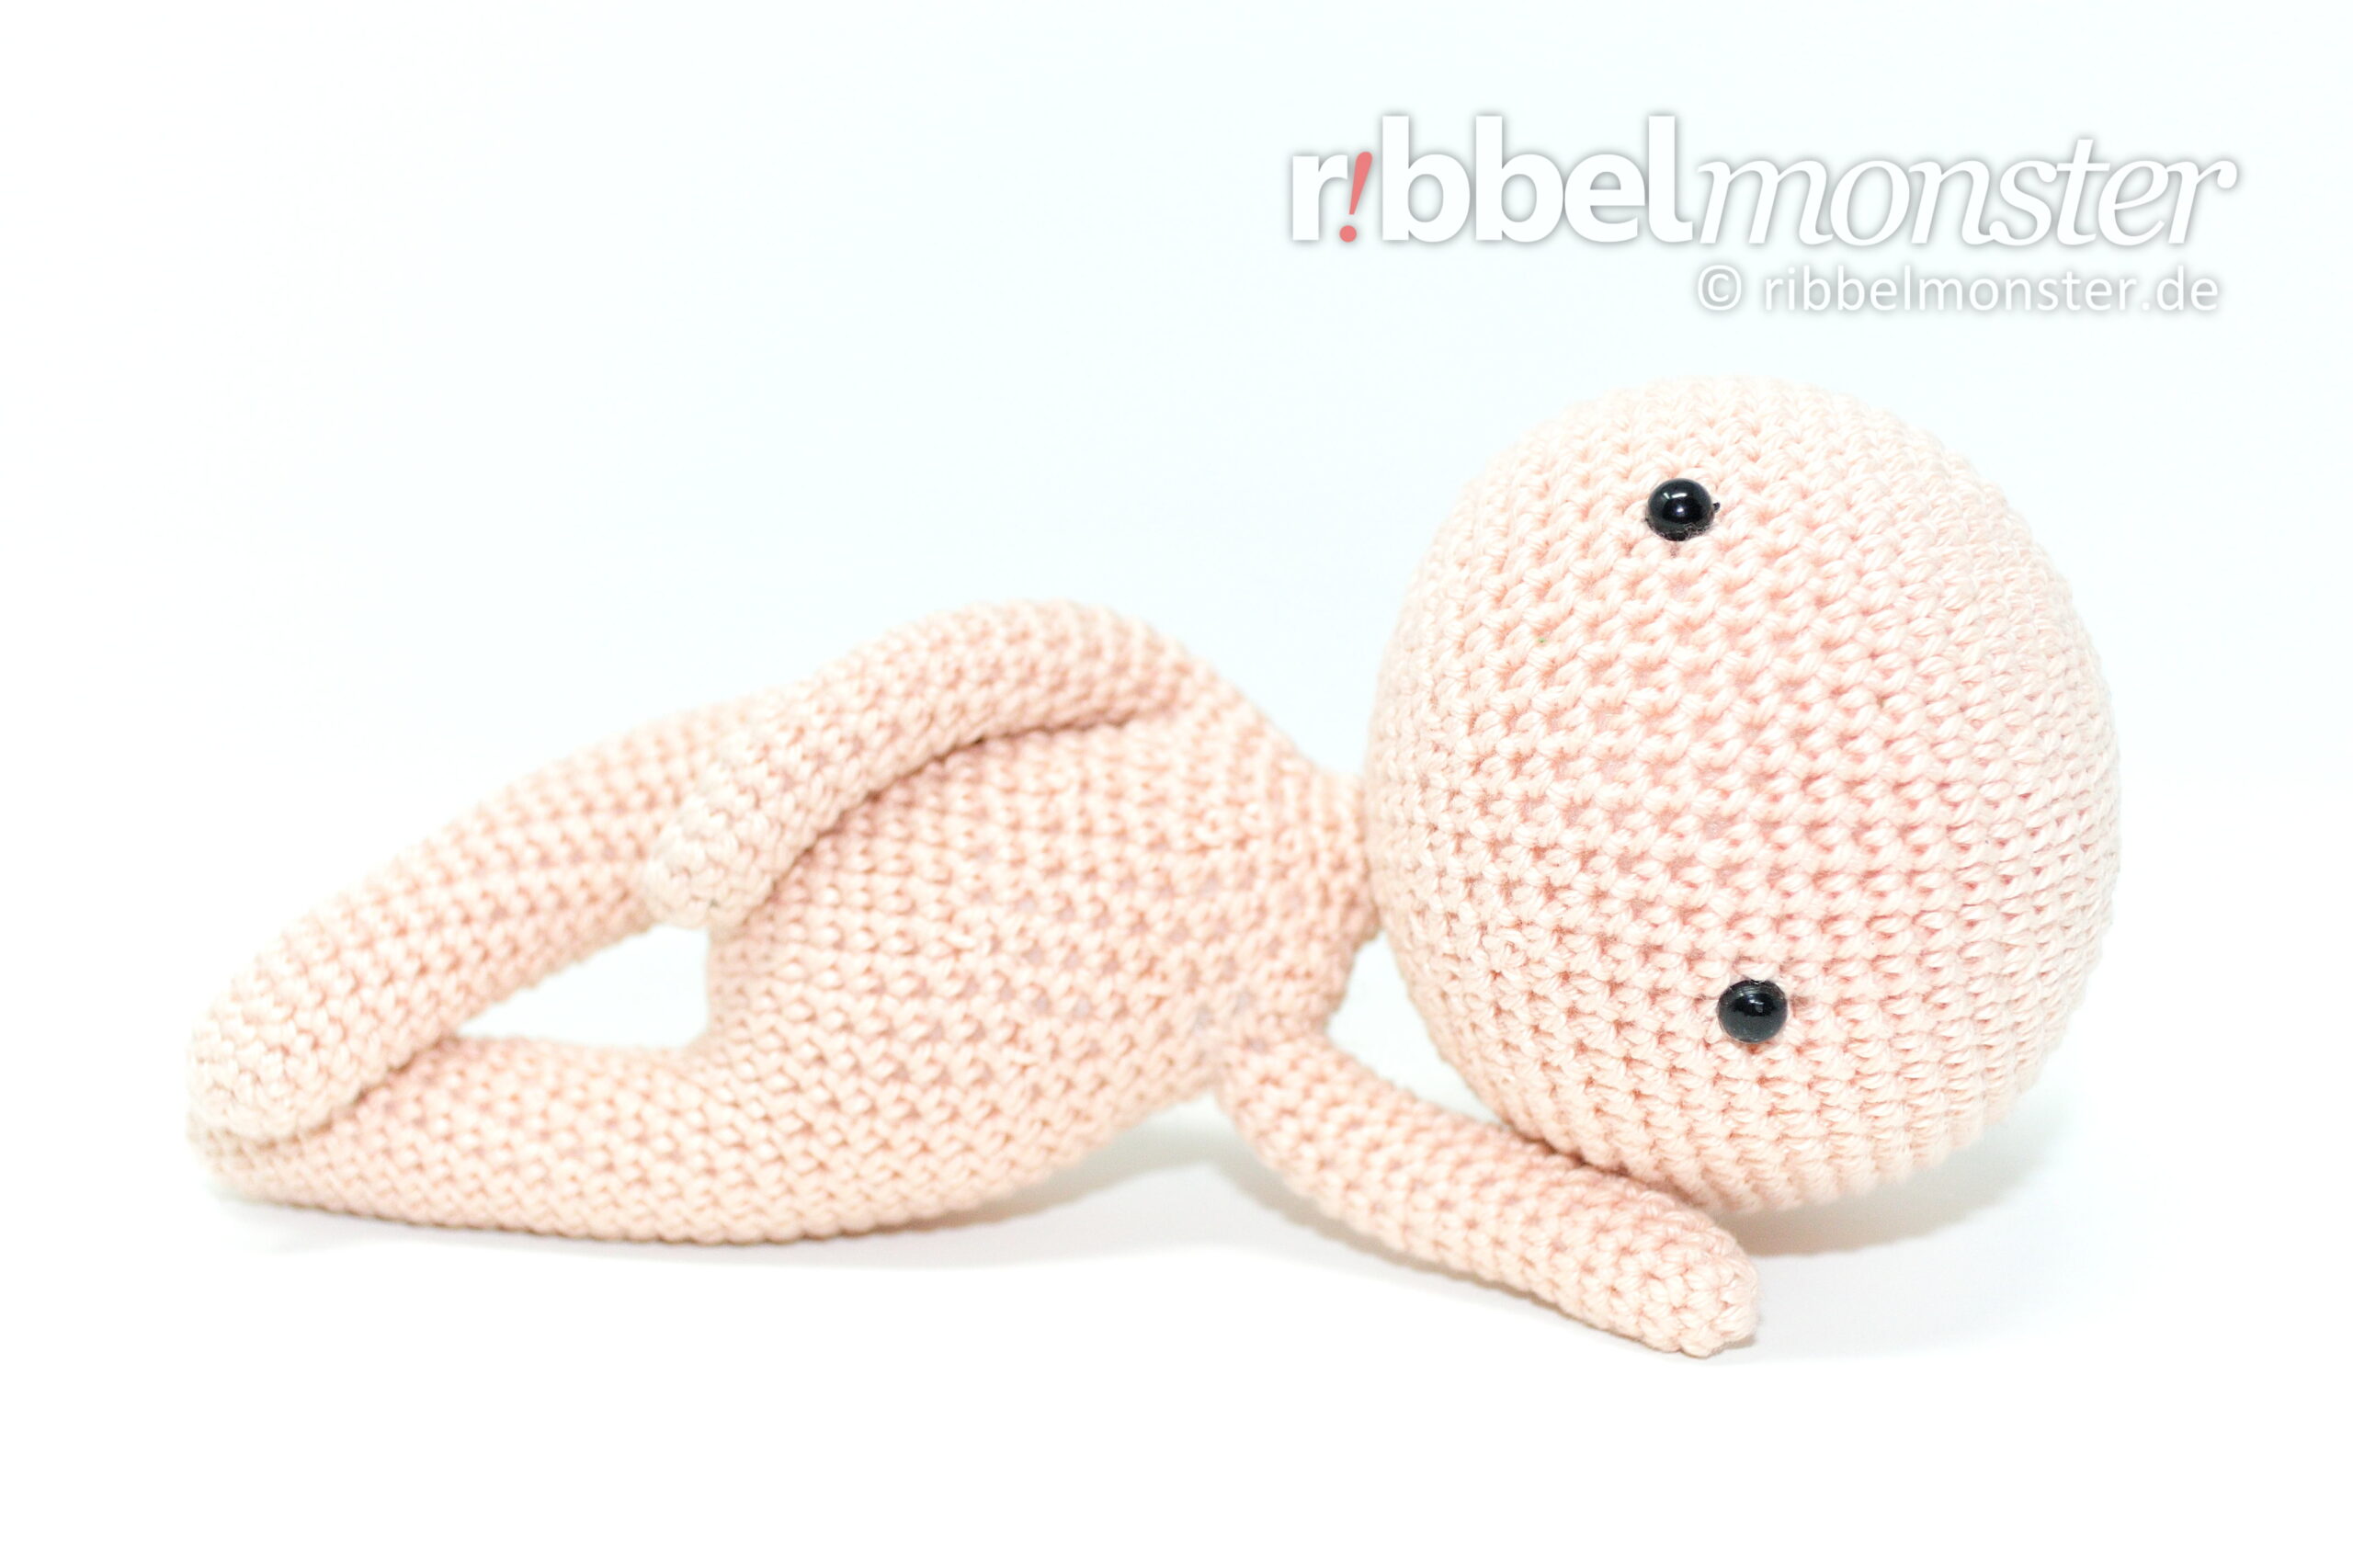
Finish Cukado Doll
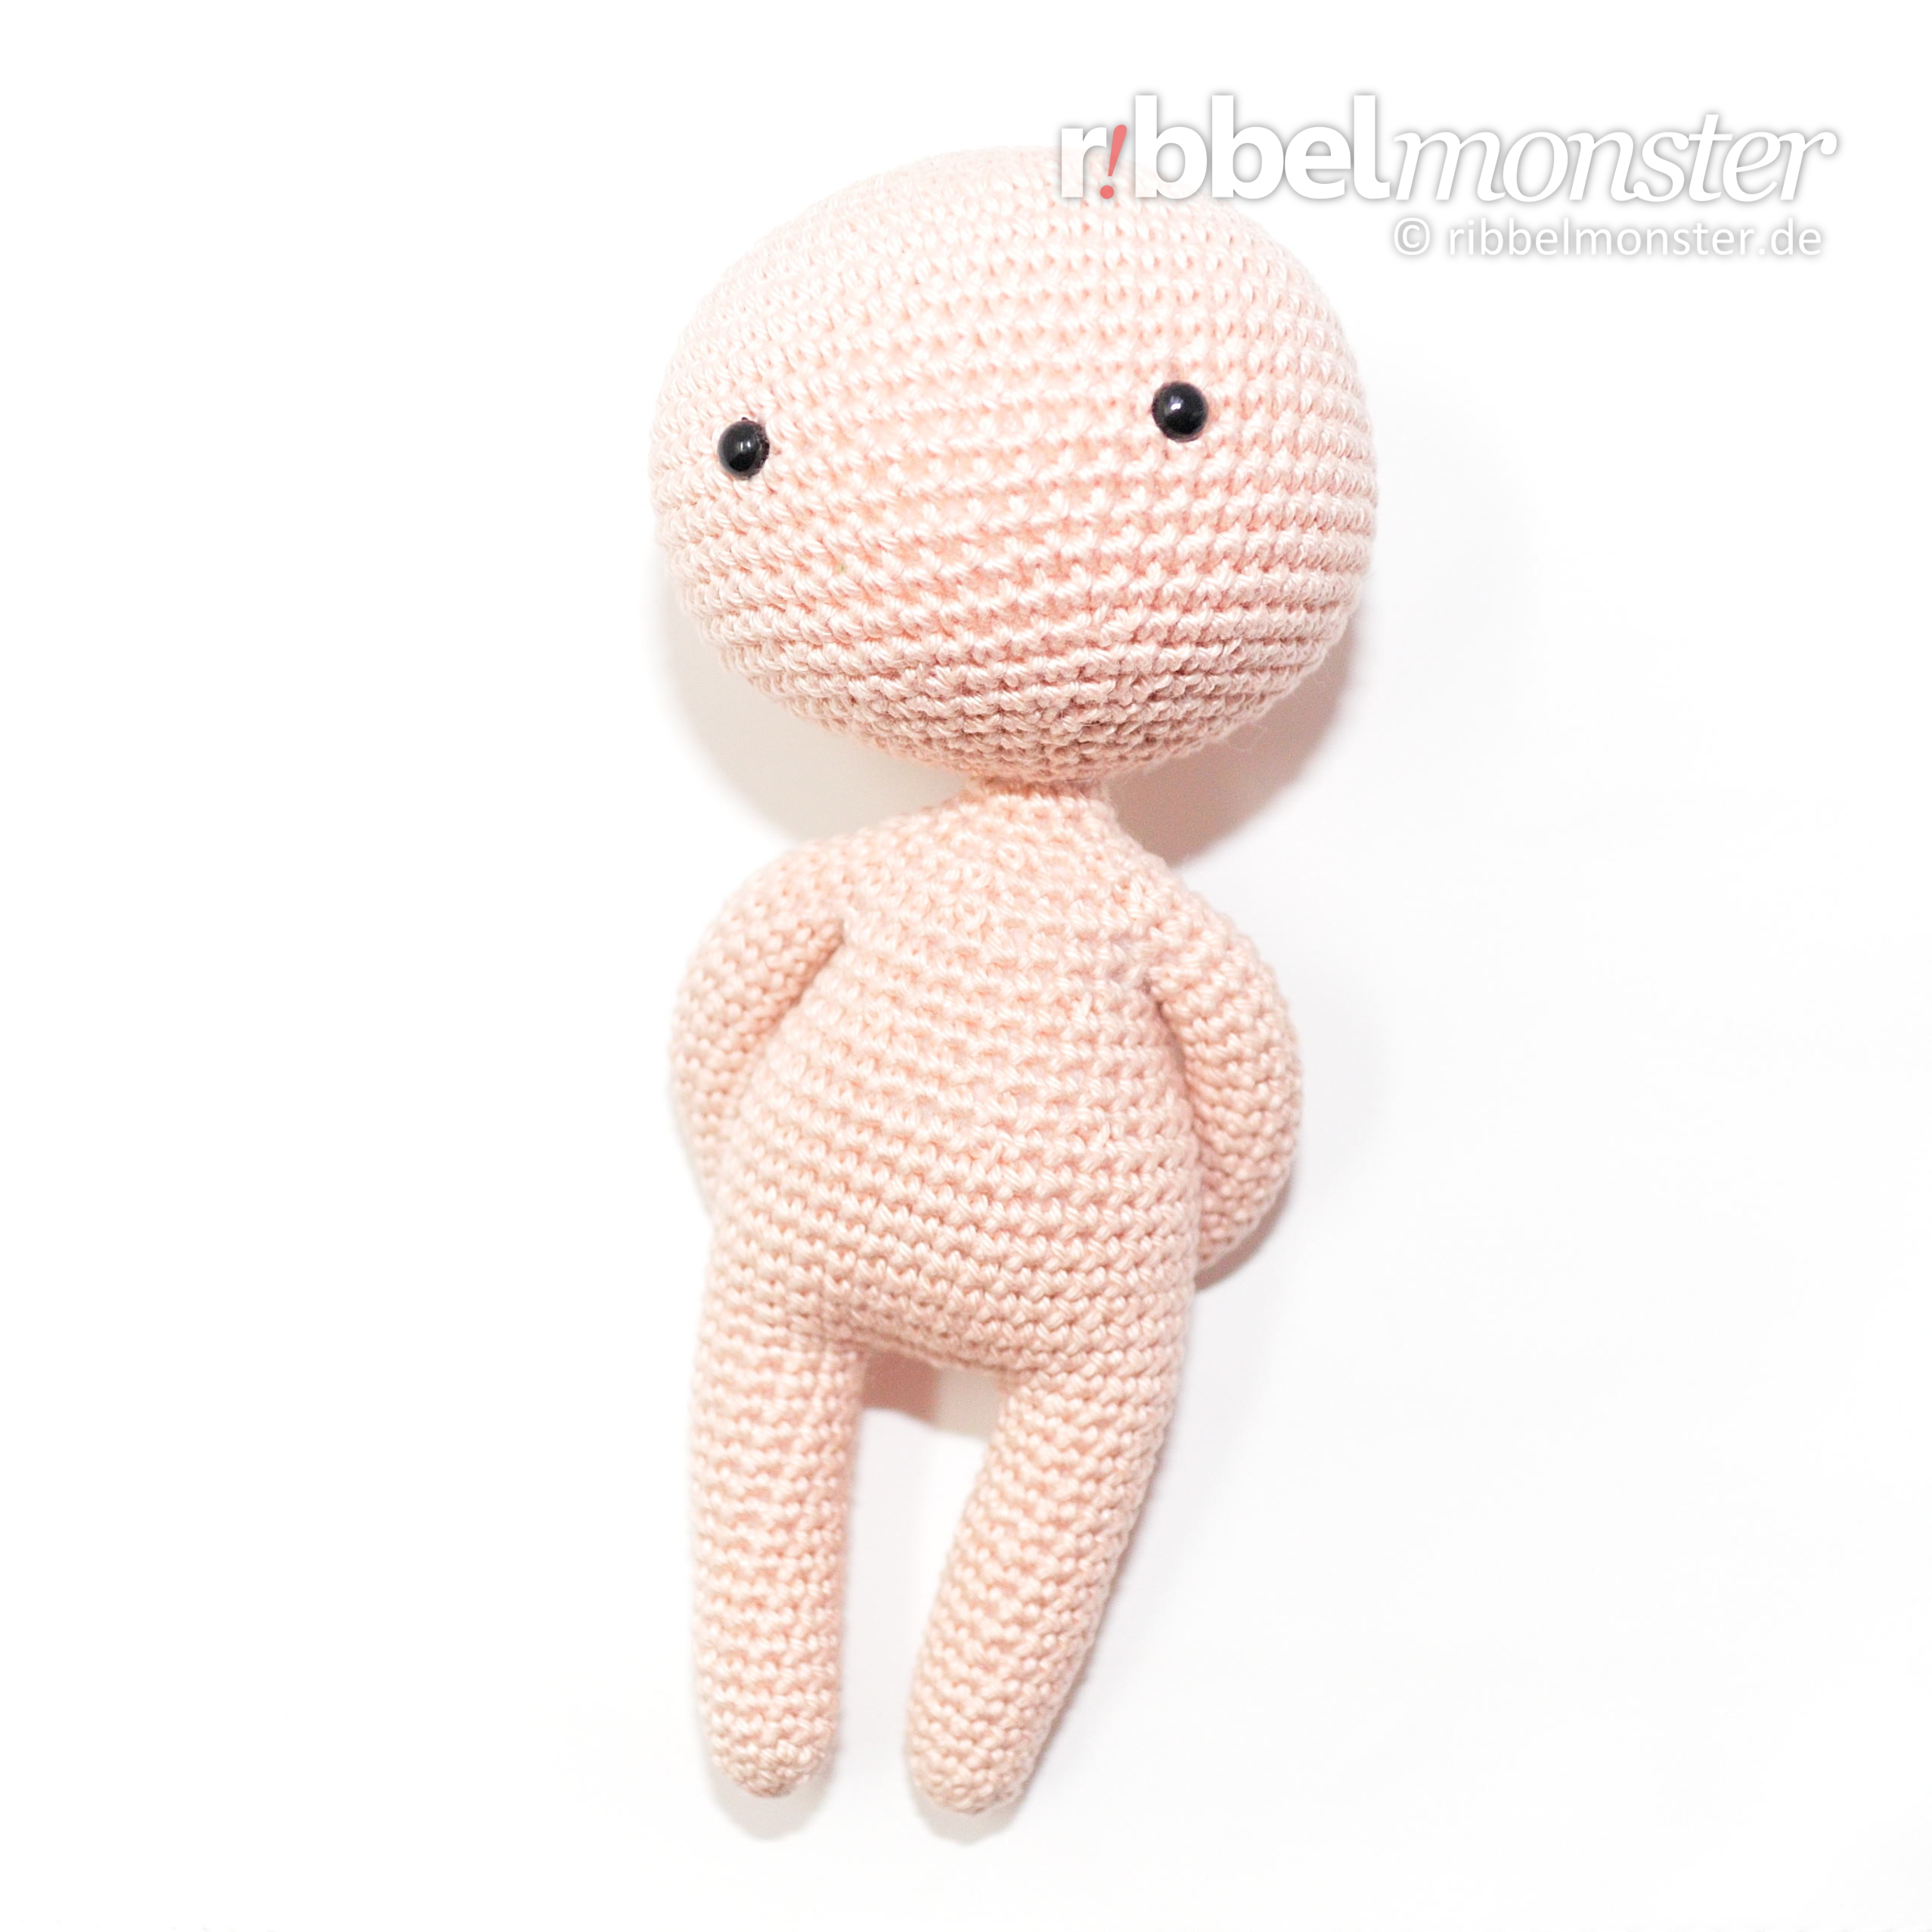
If you have crocheted a single head for your Cukado doll, you first sew it with the opening to the body. Mark the center over the front of the head and the body.
Then you can sew both parts together with the thread end around, as I have shown you in the pattern for sewing open parts together.
Now we close the small openings that have arisen under the arms. To do this, pull the respective end of the thread from the arm to the outside and use it to sew the opening in a line along both edges. Then you secure the thread end inside.
A small opening has also been created between the legs on one side. Here you simply pull the thread end from the first leg to the outside and sew this opening together. Again, the thread end is secured inside.
Customize Cukado dolls
Now you have finished a simple Cukado doll, which can serve as the basis for very individual Cukado dolls. By simply creating some very individual details your Cukado doll will get a very personal touch and you can make almost everything out of it.
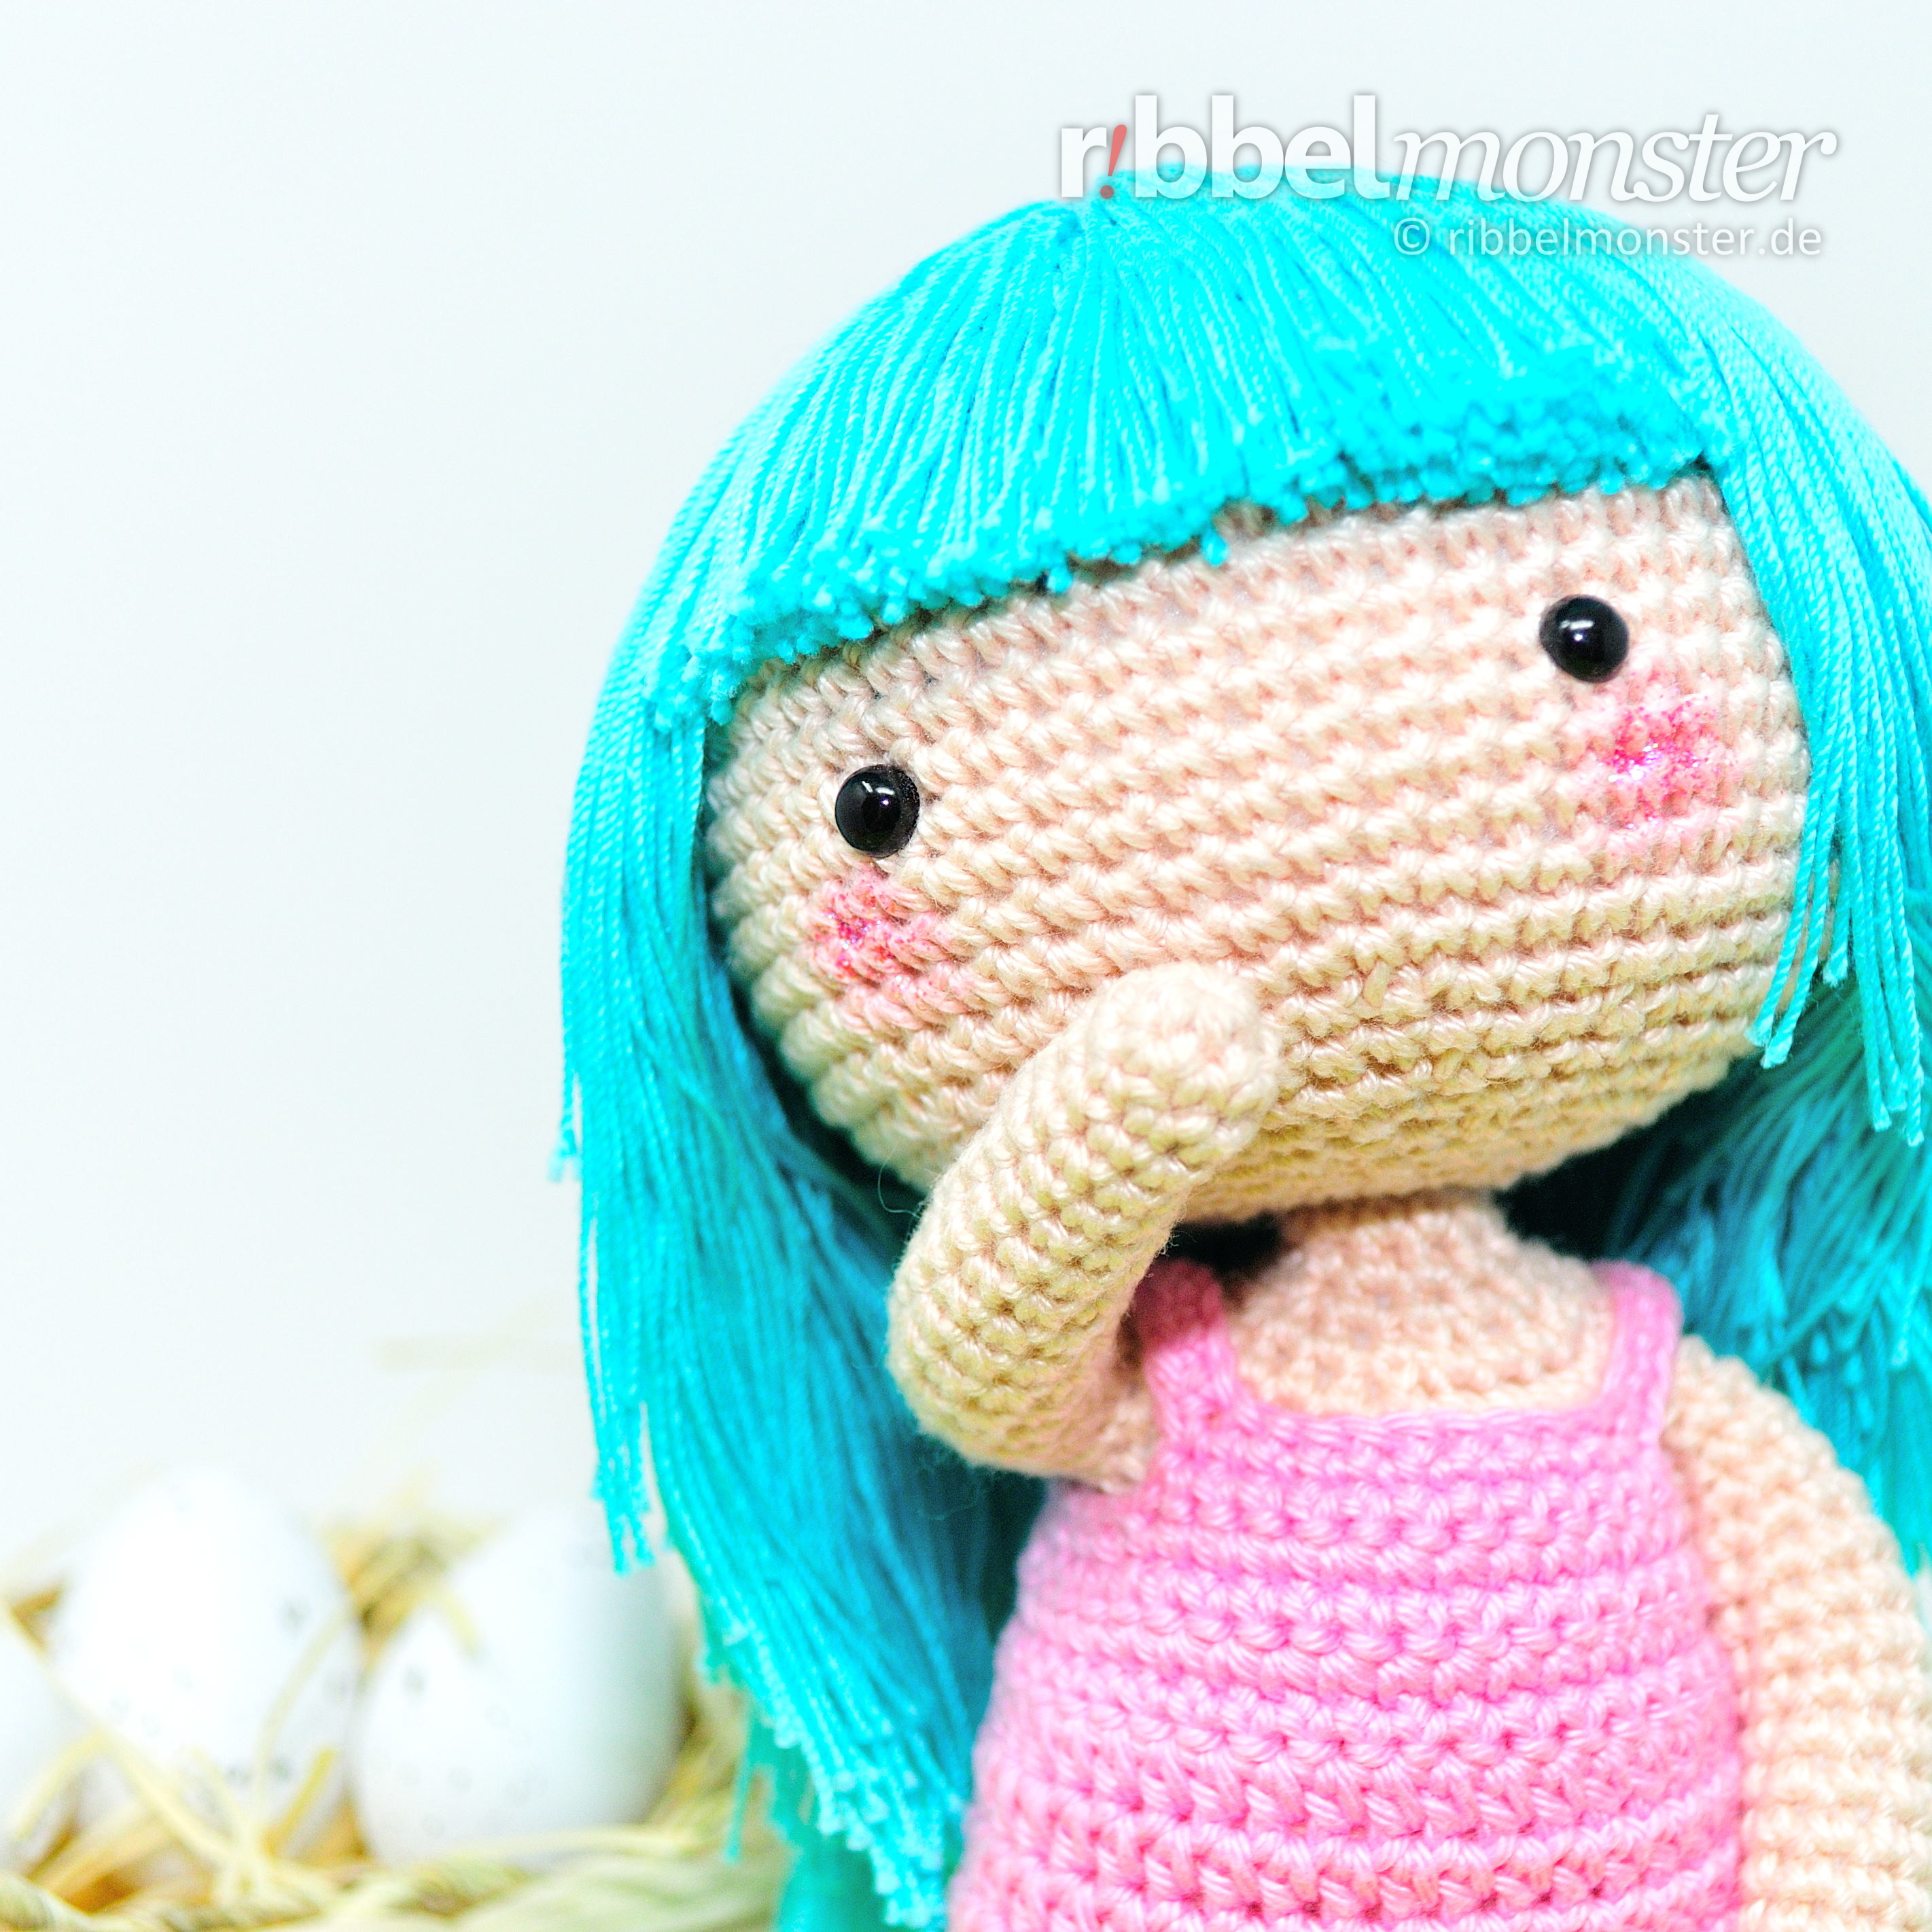
If you want you can crochet ears for your Cukado and tie them around the round under the eyes with 5? Stitch the distance to the eye on the right and left of the head. Be careful not to swap your ears and point the longer earlobes down. Perhaps you will get help in the tutorial to tie up small parts.
First, we will make the hair, which will completely change the look of your Cukado doll. You can create long, short, thin, thick, smooth or textured hair in a variety of colors to create a unique character. If you’ve never done this before, the hair tie tutorial will probably help you.
Now you can customize the face as you like by adding small details that have a big impact.
Darning yarn makes it easy to embroider eyebrows, eyelashes, a mouth or freckles in matching colors.
A nose you simply design with the yarn from the body with horizontal stitches around several stitches in the middle between the eyes until it has the desired volume.
With textile paint or acrylic paint, you can easily make cheeks and shades.
Lastly finish the clothes for your Cukado doll and give it a distinctive look. There are different instructions for very different clothes available that fit all dolls of the Cukado series! If that’s not all that easy for you just look for one of the ready-made designs for Cukado Dolls.
Ich hoffe es hat dir Spaß gemacht!
Besuchst du das Ribbelmonster bald wieder?