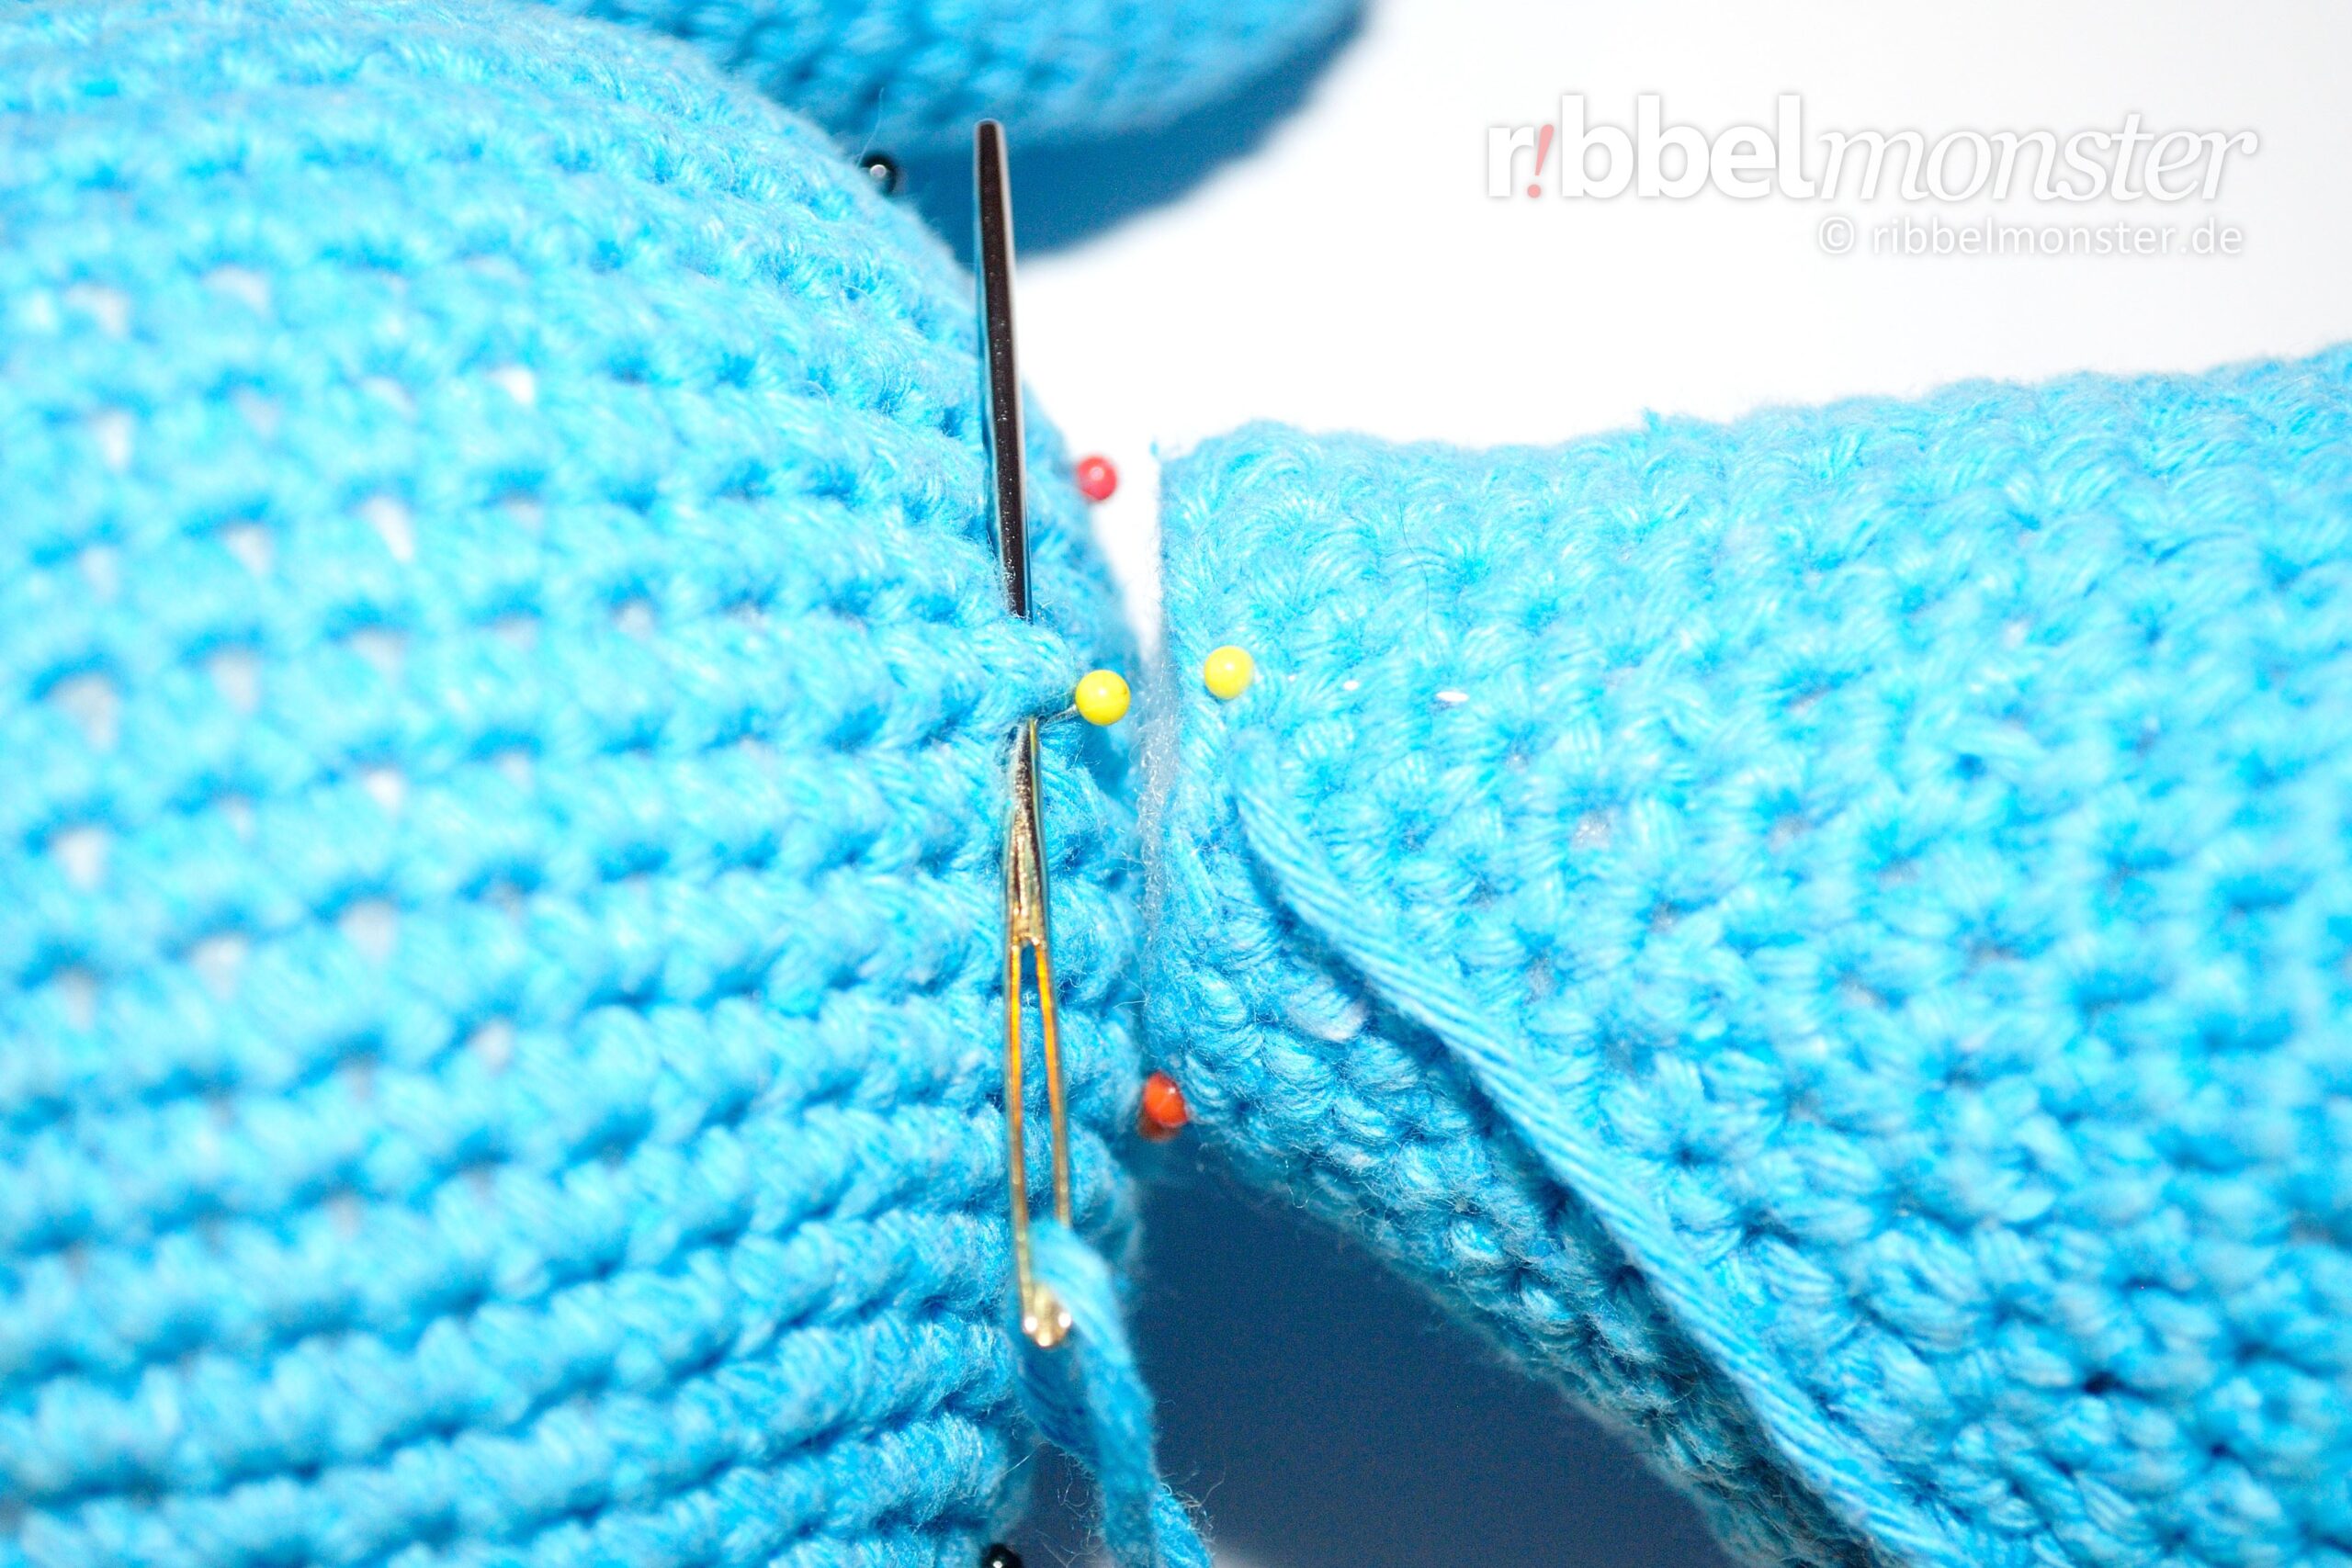
How to sew open parts to closed parts when crocheting Amigurumis I´ll show you in this tutorial. This technique creates a solid and stable connection, but it´s not movable.
When to sew open parts to closed parts?
This technique is quite versatile and there are only a few requirements to sew open parts to closed parts. Mostly this technique is used to sew completely crocheted heads to open bodies crocheted from bottom up.
- one part needs to have an opening
- the part with the opening has to have a long thread end
- strong and stable connection, but not movable
- suitable as a toy for small children
To get this technique work of course one part needs to have a opening and also a long thread end, which can be used for sewing. The count of stitches of the opening and the kind of stitches doesn´t matter for this technique.
The result is a relatively strong and stable connection, which isn´t movable. But it can not be turned off or opened, if it is worked properly and that’s why it is ideal for toys for small children.
Tutorial: Amigurumi – Sew open parts to closed parts
Before you can sew together both parts, of course the need to be finished and filled. In addition a long thread end should remain for sewing on the open part. When you´re ready you can put the pieces together first, to see how they should fit.
 Since this technique is often used to sew a closed head to an open body, I´ll show you the exact same example. Incidentally the shown parts belong to the bunny Harvey, for whom there is also a pattern of course.
You need to pay attention to the angle of the head, so that your Amigurumi faces to the right direction at the end. Depending on whether you sew on the opening of the bode further back or ahead your Amigurumi will look up or straight down. So it´s important to think about what effect you want to achieve. In a good pattern the position at the closed part is described in detail, so that you can orient yourself more accurately.
 First we prepare the closed part, by marking the position where the opening should be placed later. For this it is often necessary to find the mid line of the head at first. At this head the mid line runs between the eyes once around the head and is marked here with black pins. Now you can easily orient yourself on this line and try out the different angles of the head.
 Then you can easily position the open part and mark the opening with pins. Here it is recommended to set markers with different colours for all four cardinal directions. In this example the front point is marked with orange, the rear point with red and the two sides with yellow.
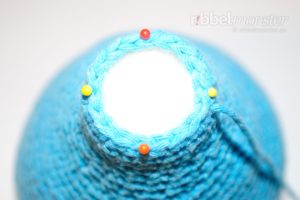 Thereafter the open part is also marked with pins in all four directions. It is important to make sure to use the same colour for the same direction.
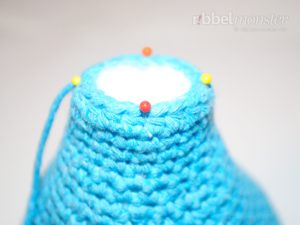 In addition it can also happen, that you have to find the mid line on the front of the body first. Sometimes the neck is also higher on one side than on the other. In a good pattern you will get this informations and you need to do it accordingly.
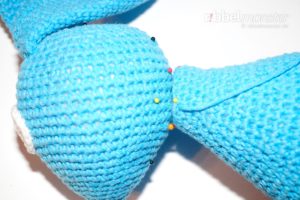 Once all markers are set correctly, you can start sewing. To do this the thread end of the open part is put into a wool needle. Next you position both parts correctly and start sewing them together.
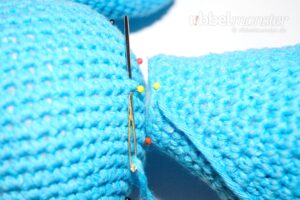 The first stitch is made horizontally around the marked opening of the closed part. It does not matter where the end of the thread is. Just start at this point and set the first stitch so that the entry point is on the same level as the exit point while all markings match.
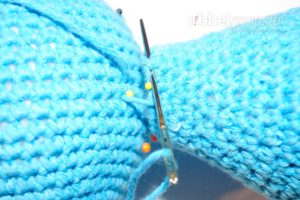 The next stitch follows in the same direction horizontally around two stitches of the open part. That´s already the whole secret, because by alternating in this way you sew both parts together.
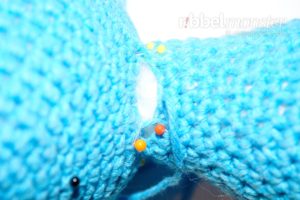 Often it is necessary to add a little bit of filling just before the end to get a stable transition. Then you just continue the round and sew another round around.
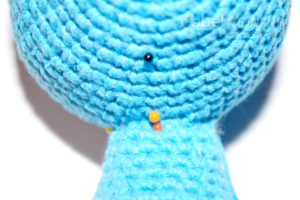 At the end all markings should be exactly on top of each other and can be removed.
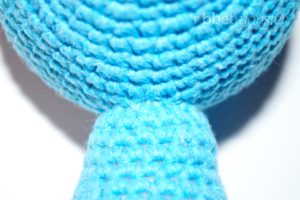 Finally the thread end is secured and weaved in inside, as I showed you for closing Amigurumis.
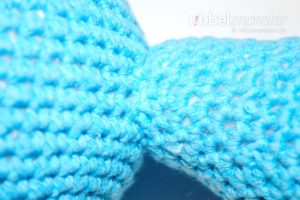 If you have done everything right, a stable and clean connection has been created.
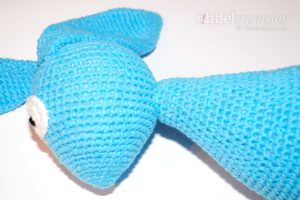 In this example head and body were sewn together and the body is now able to hold the head.
 By the way that is the bunny Harvey, who was used here as a guinea pig. Maybe you like to work this cheerful guy.
I hope you have learned something new and would be glad if you look around a little further!

