

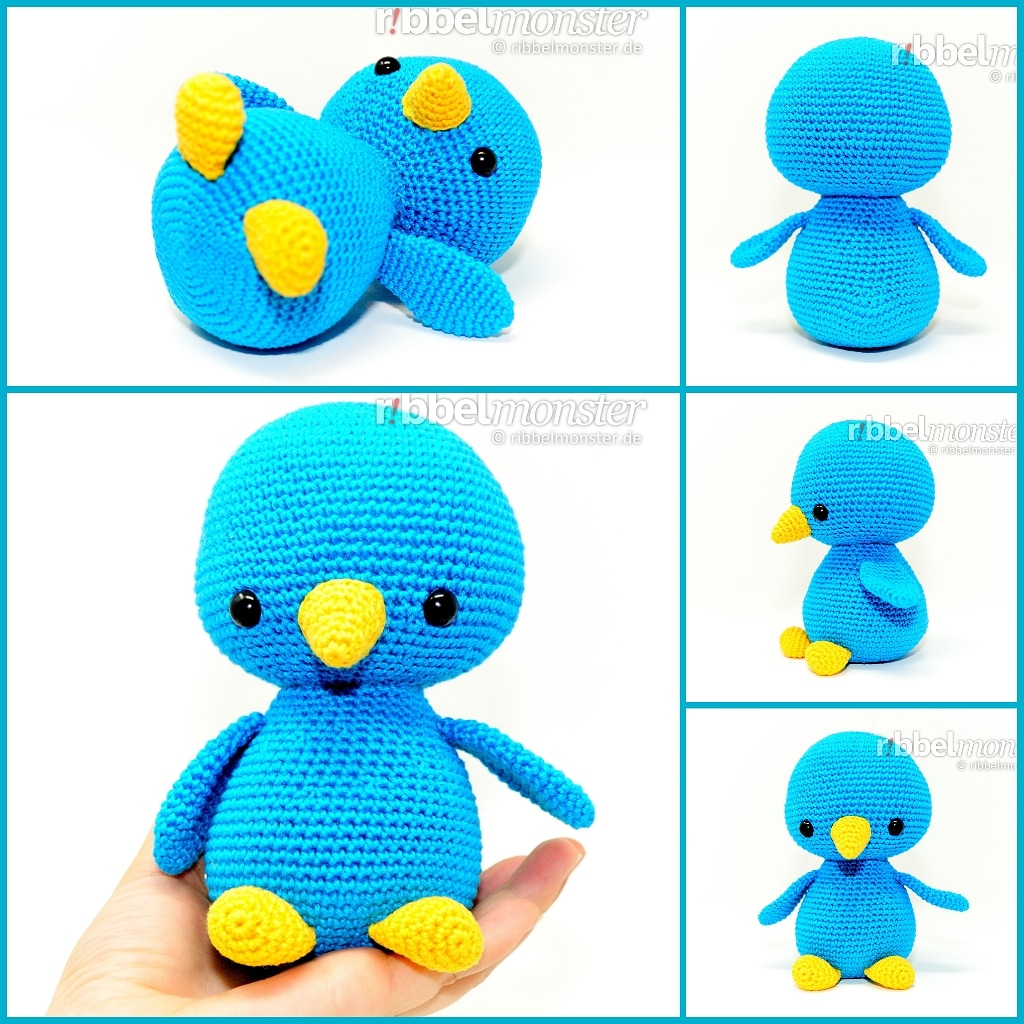
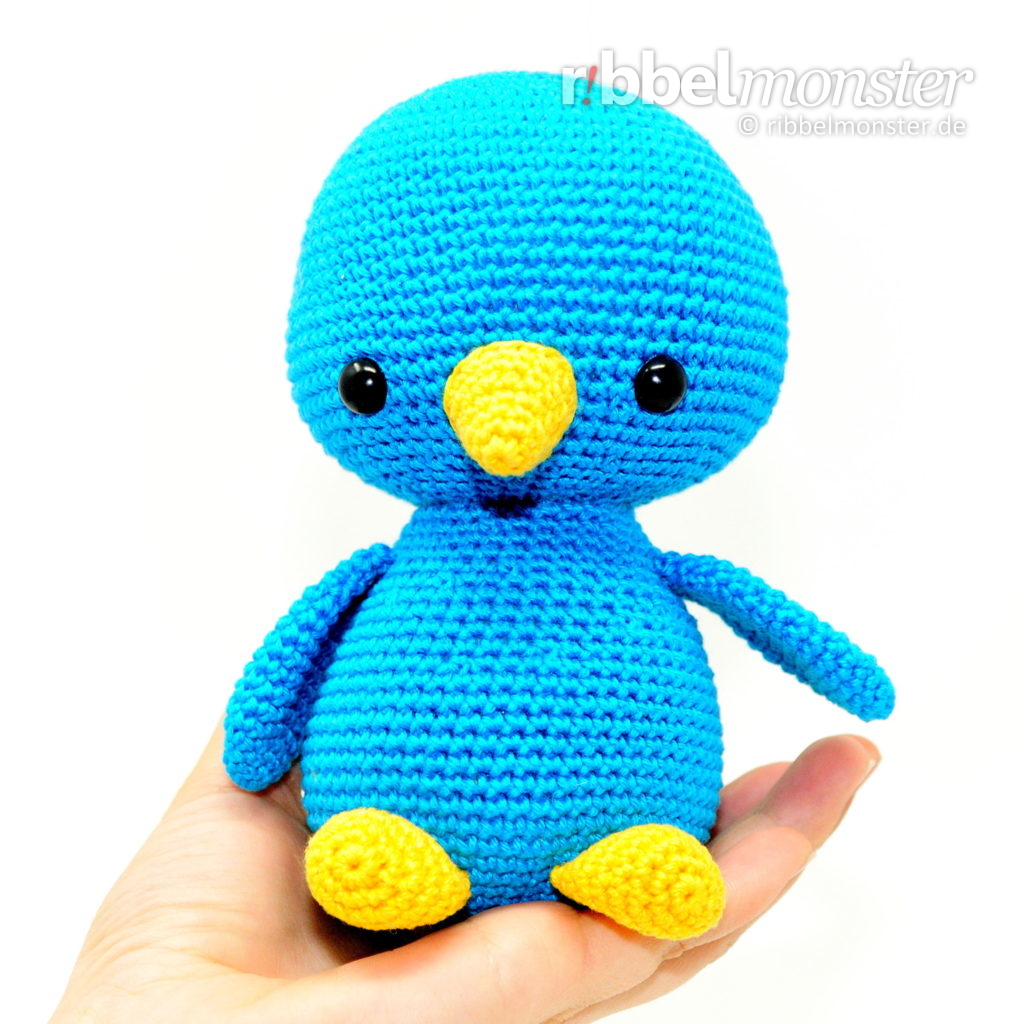
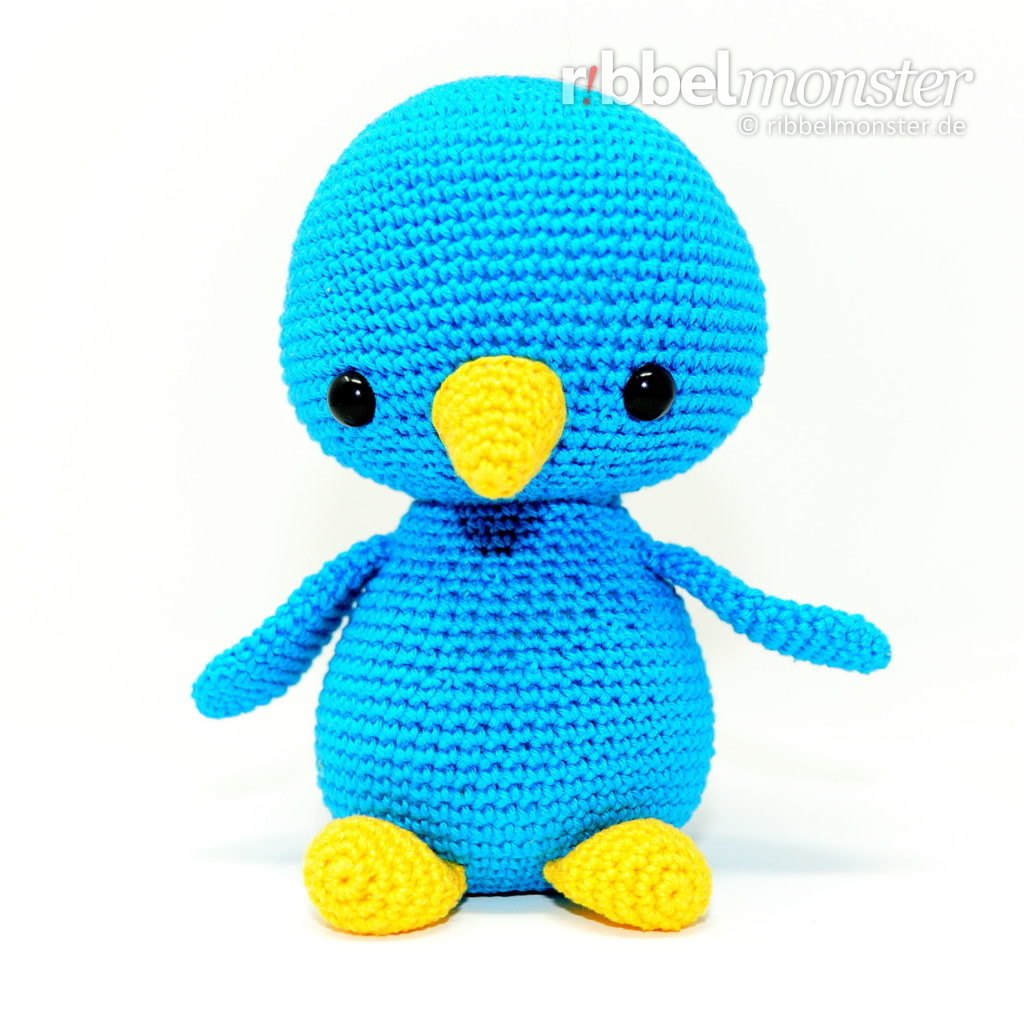
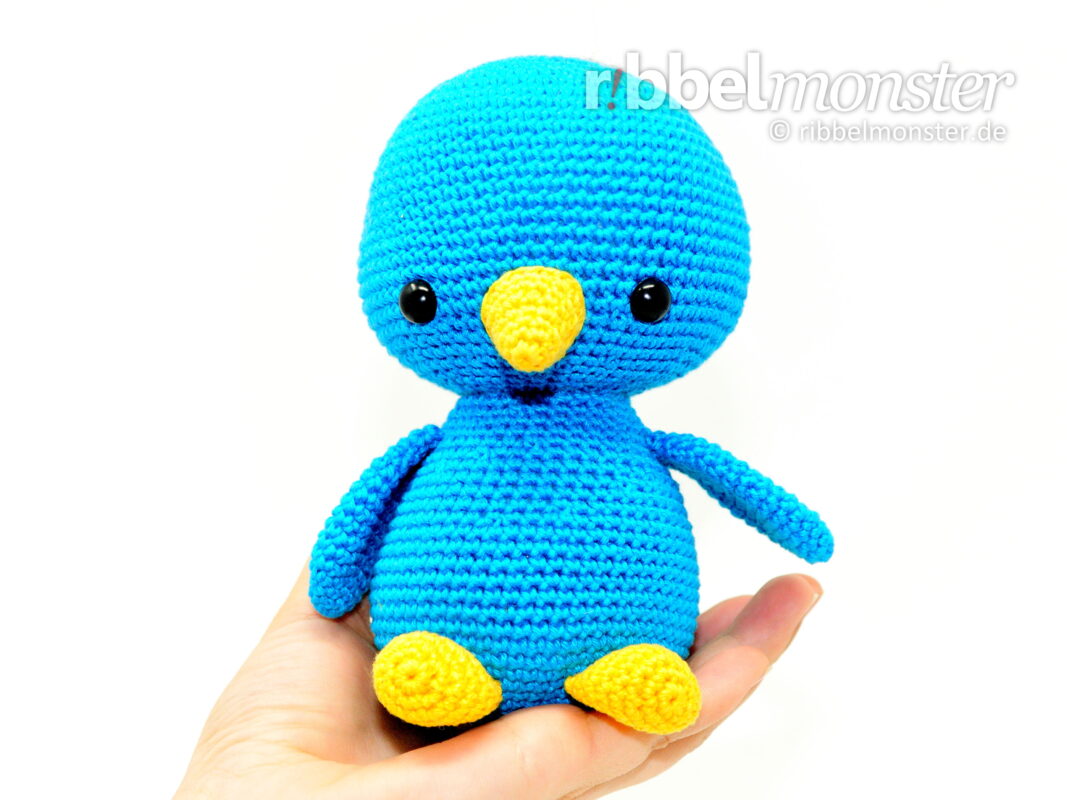
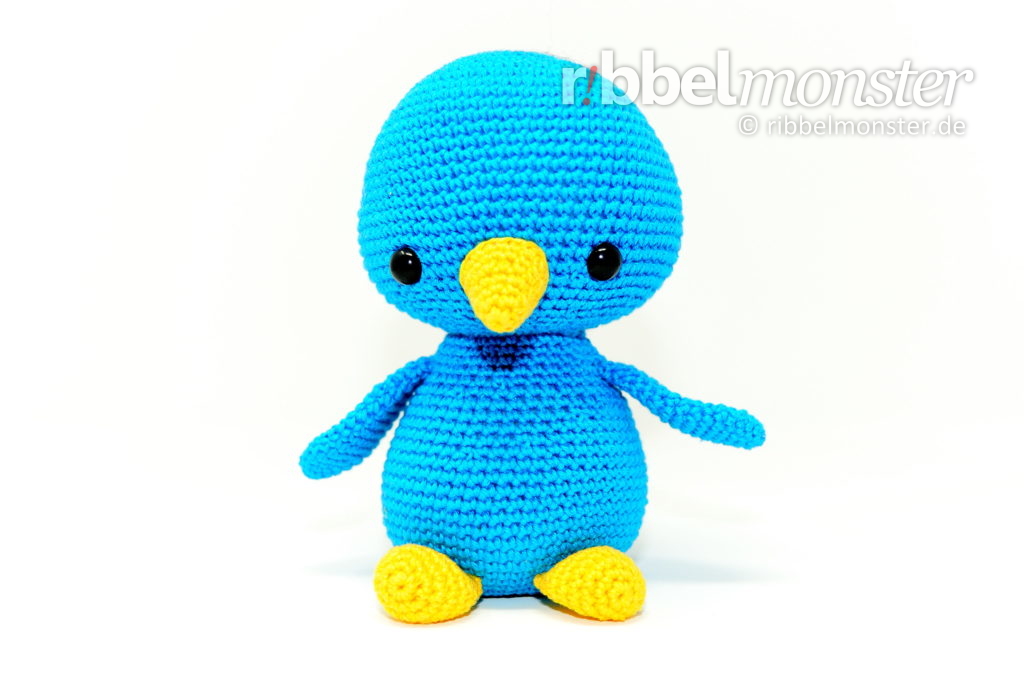
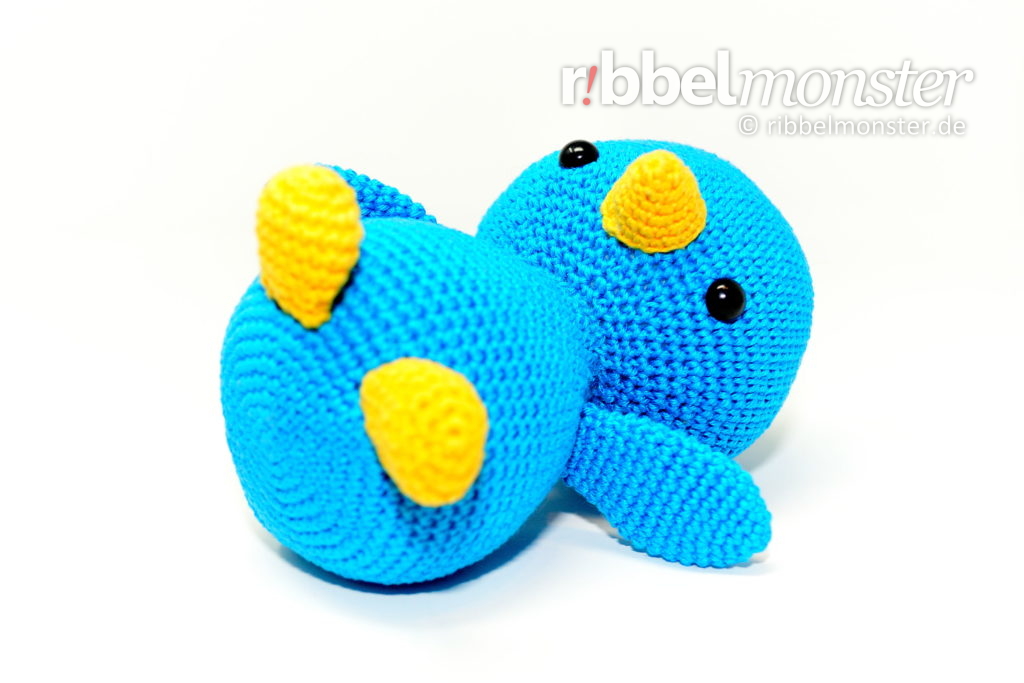
Crocheting an Amigurumi Crochet Sparrow is a breeze with this detailed crochet pattern. The crocheted sparrow “Tweepy” captivates with its compact and simple form. The large eyes invite cuddling and playing, and the Amigurumi Sparrow fills an adult’s hand completely.
Content
Introduction: Amigurumi – Crochet Sparrow “Tweepy”
To successfully crochet the Amigurumi Sparrow, it is essential to prepare in advance. Here you will find all necessary information about prerequisites, materials, and size. If you need help, you can follow the additional links.
Attention! Amigurumis are very cute and, therefore, not only popular among adults. Children often see them as toys, so you should be especially careful. Amigurumis that are not intended for play should be kept out of the reach of children. If an Amigurumi is meant to be played with by children, you should strictly adhere to the guidelines for toys. If you plan to give away or sell Amigurumis (license for sellers), you must strictly adhere to the legal requirements for toys and display the required CE marking.
Prerequisites
The successful implementation of this crochet pattern for the Amigurumi Sparrow assumes that you are familiar with the following crochet techniques. If this is not yet the case, you will find detailed tutorials here to learn them quickly.
- Crochet Magic Ring
- Decreases
- Half Double Crochet Stitches (US!)
- Increases
- Single Crochet Stitches (US!)
- spiral rounds
Note! By offsetting regular increases and decreases, they become almost invisible. You can recognize regular increases by the phrase “double every … stitch,” and regular decreases by the phrase “crochet together every … and … stitch”. The stitch chart for spheres and circles might also be helpful for you.
Note! Using a special technique for invisible decreases makes them nearly invisible. Although this technique requires a bit of practice, it’s worth giving it a try.
Supplies
The materials used for the depicted Amigurumi Sparrow are listed here. If you want to crochet the Amigurumi Sparrow with a different yarn, you must use a needle size that matches. To achieve an identical result, it is advisable to use the same materials as much as possible. In addition to the materials, you will find in the following list all the necessary tools and supplies.
Crochet Hook
You will need a crochet hook with a size of B or C (alphabetic) or 1 1/2 (numeric). For converting to other sizes, the crochet hook size converter will help you. I have selected some great crochet hooks for you here.
Filling
For filling, I used synthetic filling made of 100% polyester. However, there are numerous alternatives for filling material. If you’ve run out of filling, I’ve prepared a refill for you here.
Pins
You’ll also need a few pins. The more colorful your collection, the better. If you need more, I’ve found something for you.
Safety Eyes
Amount: 2 Colour: black Size: 3/8inch Alternatives? Amigurumi Eyes Help? View example
Scissors
You’ll need any scissors. It’s best to use your most beautiful scissors because it brings you joy. If you don’t have really nice scissors, I’ve picked out some lovely ones for you.
Wool Needle
You’ll need a wool needle with a blunt tip. The thickness of the wool needle should match the thickness of your yarn. You might like the set of wool needles I’ve picked out for you.
Yarn – Schachenmayr – Catania – blue – 146
Colour: blue Size: 137yds / 1.75oz Material: 100% cotton Help? View example
Yarn – Schachenmayr – Catania – yellow – 208
I used yarn in the shade Sun. The material is 100% cotton. The yardage is 137 yds / 1.75 oz. If you want to replenish your supply, I’ve already picked out the matching yarn for you here.
Note! The specified yarn was used for the example shown here. In principle, you can use any yarn and an appropriate needle size. However, the quality of the material also affects the quality of the result, so you should avoid cutting corners in the wrong place. Also, the thickness of the yarn and the needle will influence the size of the outcome, which you can, of course, intentionally take advantage of.
Note! I have used safety eyes here. If you have never attached safety eyes before, you can also find detailed instructions on how to attach safety eyes here. In addition to a wide selection of other safety eyes, there are also numerous alternatives for amigurumi eyes. Simply use the eyes that you like best.
Size
Here are the size specifications for the crocheted sparrow. The height was measured while sitting. Please note that the actual size depends on the yarn used, the size of the crochet hook, and individual crochet tension.
| Needle Size | Yardage | Size |
|---|---|---|
| Crochet Hook B, C or 1 1/2 | 137 yds / 1.75 oz | 6 inches |
| Crochet Hook C, D or 2 1/2 | 120 yds / 1.75 oz | ? |
| Crochet Hook E or 4 | 93 yds / 1.75 oz | ? |
Note! If you want to change the size, you can simply use a thicker or thinner yarn with a suitable needle size. Simply doubling the rounds, rows, and stitches, on the other hand, will only result in an uneven outcome.
Crochet Pattern: Amigurumi – Crochet Sparrow “Tweepy”
For the Amigurumi Crochet Sparrow, we first crochet the head, body, wings, beak, and legs. Afterward, all parts are sewn together, and then your crocheted sparrow is already finished.
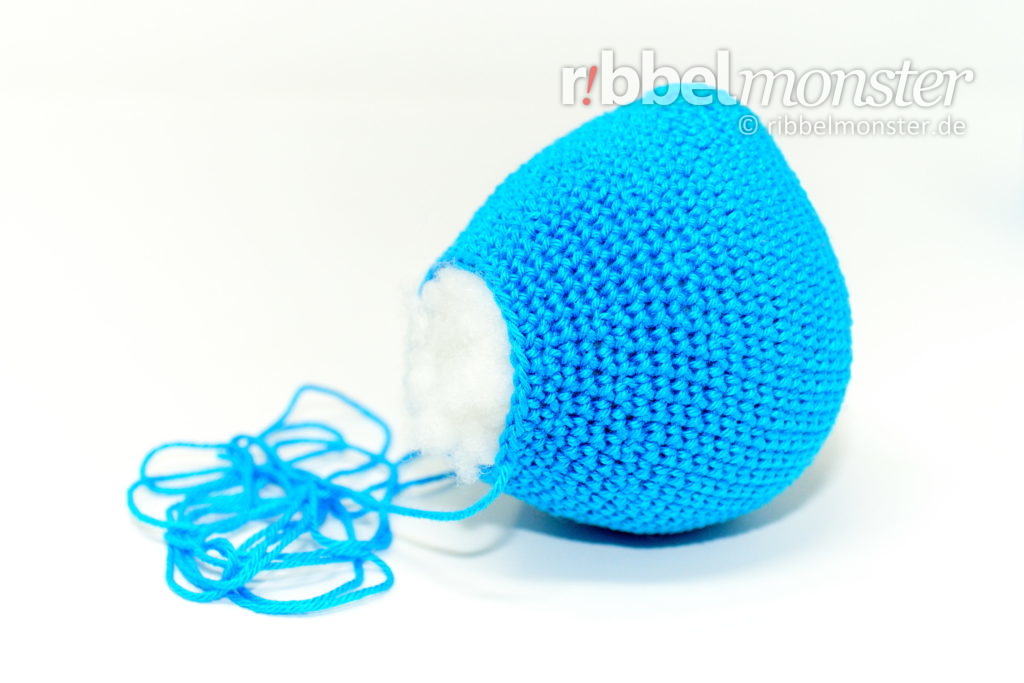
Crochet Sparrow Head (1x)
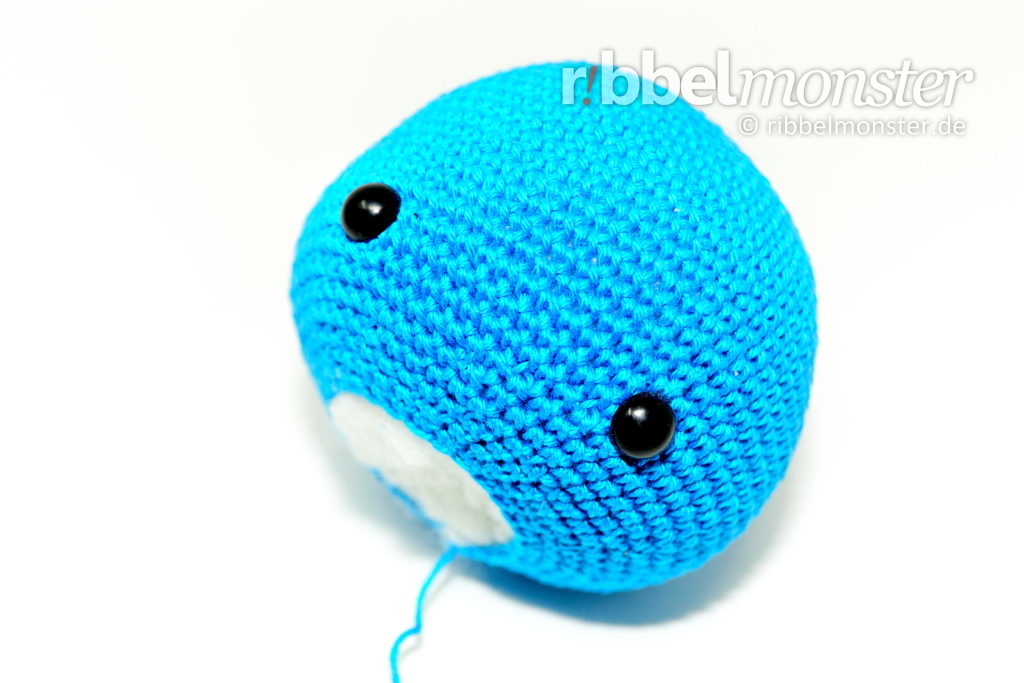
The head for the Crochet Sparrow is crocheted from top to bottom with single crochet stitches (US!) in spiral rounds. The head receives safety eyes, is filled and stuffed, but not completely closed.
Note! If you want to achieve a particularly beautiful result, you can hide regular increases and decreases by offsetting them a little. You can recognize regular increases by the phrase “double every … stitch,” and regular decreases by the phrase “crochet together every … and … stitch”. The stitch chart for spheres and circles might also be helpful for you. Additionally, you can apply a special crochet technique here for invisible decreases.
- blue:
- 1st round:
- magic ring
- into the magic ring:
- 6 single crochet stitches (US!)
- = 6 stitches
- 2nd round:
- double every stitch
- = 12 stitches
- 3rd round:
- double every 2nd stitch
- = 18 stitches
- 4th round:
- double every 3rd stitch
- = 24 stitches
- 5th round:
- double every 4th stitch
- = 30 stitches
- 6th round:
- double every 5th stitch
- = 36 stitches
- 7th round:
- double every 6th stitch
- = 42 stitches
- 8th round:
- double every 7th stitch
- = 48 stitches
- 9th round:
- double every 8th stitch
- = 54 stitches
- 10th round:
- double every 9th stitch
- = 60 stitches
- 11th round:
- double every 60th stitch
- = 61 stitches
- 12th round:
- double every 61st stitch
- = 62 stitches
- 13th round:
- double every 62nd stitch
- = 63 stitches
- 14th round:
- double every 63rd stitch
- = 64 stitches
- 15th round:
- double every 64th stitch
- = 65 stitches
- 16th round:
- double every 65th stitch
- = 66 stitches
- 17th round:
- double every 66th stitch
- = 67 stitches
- 18th round:
- double every 67th stitch
- = 68 stitches
- 19th round:
- double every 68th stitch
- = 69 stitches
- 20th round:
- double every 69th stitch
- = 70 stitches
- 21st round:
- double every 70th stitch
- = 71 stitches
- 22nd round:
- double every 71st stitch
- = 72 stitches
- 23rd – 25th round:
- (= 3 rounds)
- every stitch one stitch
- = 72 stitches
- attach safety eyes, position:
- after the 24th round
- 14 stitches distance
- 26th round:
- crochet together every 11th and 12th stitch
- = 66 stitches
- 27th round:
- crochet together every 10th and 11th stitch
- = 60 stitches
- 28th round:
- crochet together every 9th and 10th stitch
- = 54 stitches
- 29th round:
- crochet together every 8th and 9th stitch
- = 48 stitches
- 30th round:
- crochet together every 7th and 8th stitch
- = 42 stitches
- 31st round:
- crochet together every 6th and 7th stitch
- = 36 stitches
- 32nd round:
- crochet together every 5th and 6th stitch
- = 30 stitches
- fill and stuff completely
- cut the thread, pull off the loop
Crochet Sparrow Body (1x)
The body for the Crochet Sparrow is crocheted from bottom to top in spiral rounds with single crochet stitches (US!) and half double crochet stitches. The body is fully filled and stuffed, but not completely closed, and is later sewn to the head with the thread end and opening.
Note! If you want to achieve a particularly beautiful result, you can hide regular increases and decreases by offsetting them a little. You can recognize regular increases by the phrase “double every … stitch,” and regular decreases by the phrase “crochet together every … and … stitch”. The stitch chart for spheres and circles might also be helpful for you. Additionally, you can apply a special crochet technique here for invisible decreases.
- blue:
- 1st round:
- magic ring
- into the magic ring:
- 6 single crochet stitches (US!)
- = 6 stitches
- 2nd round:
- double every stitch
- = 12 stitches
- 3rd round:
- double every 2nd stitch
- = 18 stitches
- 4th round:
- double every 3rd stitch
- = 24 stitches
- 5th round:
- double every 4th stitch
- = 30 stitches
- 6th round:
- double every 5th stitch
- = 36 stitches
- 7th round:
- double every 6th stitch
- = 42 stitches
- 8th round:
- double every 7th stitch
- = 48 stitches
- 9th round:
- double every 8th stitch
- = 54 stitches
- 10th round:
- double every 9th stitch
- = 60 stitches
- 11th round:
- 45x one single crochet stitch (US!) into one stitch
- 1x two single crochet stitches (US!) into one stitch
- repeat 2x:
- 1x one half double crochet stitch (US!) into one stitch
- 1x two half double crochet stitches (US!) into one stitch
- repeat 2x:
- 1x two half double crochet stitches (US!) into one stitch
- 1x one half double crochet stitch (US!) into one stitch
- 1x two single crochet stitches (US!) into one stitch
- 5x one single crochet stitch (US!) into one stitch
- = 66 stitches
- 12th – 16th round:
- (= 5 rounds)
- every stitch one stitch
- = 66 stitches
- 17th round:
- 52x one single crochet stitch (US!) into one stitch
- 3x crochet together two stitches with one single crochet stitch (US!)
- 8x one single crochet stitch (US!) into one stitch
- = 63 stitches
- 18th round:
- 51x one single crochet stitch (US!) into one stitch
- 3x crochet together two stitches with one single crochet stitch (US!)
- 6x one single crochet stitch (US!) into one stitch
- = 60 stitches
- 19th + 20th round:
- (= 2 rounds)
- every stitch one stitch
- = 60 stitches
- 21st round:
- crochet together every 19th and 20th stitch
- = 57 stitches
- 22nd round:
- crochet together every 18th and 19th stitch
- = 54 stitches
- 23rd round:
- crochet together every 17th and 18th stitch
- = 51 stitches
- 24th round:
- crochet together every 16th and 17th stitch
- = 48 stitches
- 25th round:
- crochet together every 15th and 16th stitch
- = 45 stitches
- 26th round:
- crochet together every 14th and 15th stitch
- = 42 stitches
- 27th round:
- crochet together every 13th and 14th stitch
- = 39 stitches
- 28th round:
- crochet together every 12th and 13th stitch
- = 36 stitches
- 29th round:
- crochet together every 11th and 12th stitch
- = 33 stitches
- 30th round:
- crochet together every 10th and 11th stitch
- = 30 stitches
- 31st round:
- every stitch one stitch
- = 30 stitches
- fill and stuff completely
- cut yarn generously, pull through loop, do NOT cut the yarn end, it will be used later for sewing
Crochet Sparrow Wings (2x)
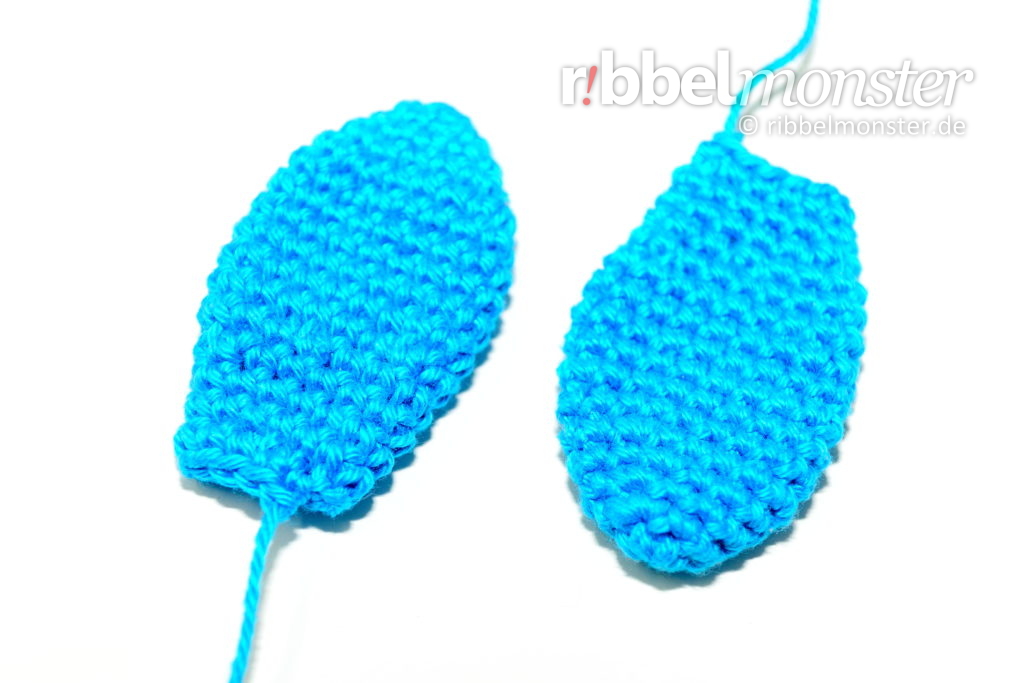
The wings for the Crochet Sparrow are crocheted from tip to base in spiral rounds with single crochet stitches (US!). The wings are not filled but only folded flat and later sewn to the body with the remaining thread end.
Note! If you want to achieve a particularly beautiful result, you can hide regular increases and decreases by offsetting them a little. You can recognize regular increases by the phrase “double every … stitch,” and regular decreases by the phrase “crochet together every … and … stitch”. The stitch chart for spheres and circles might also be helpful for you. Additionally, you can apply a special crochet technique here for invisible decreases.
Note! If you want to create several nearly identical parts, it’s advisable to work on them consecutively on the same day. For larger parts, it’s even recommended to work on them simultaneously in stages. Our tension and tightness can vary from day to day, leading to visible differences.
- blue:
- 1st round:
- magic ring
- into the magic ring:
- 6 single crochet stitches (US!)
- = 6 stitches
- 2nd round:
- double every 2nd stitch
- = 9 stitches
- 3rd round:
- double every 3rd stitch
- = 12 stitches
- 4th round:
- double every 4th stitch
- = 15 stitches
- 5th round:
- double every 5th stitch
- = 18 stitches
- 6th – 10th round:
- (= 5 rounds)
- every stitch one stitch
- = 18 stitches
- 11th round:
- crochet together every 17th and 18th stitch
- = 17 stitches
- 12th round:
- crochet together every 16th and 17th stitch
- = 16 stitches
- 13th round:
- crochet together every 15th and 16th stitch
- = 15 stitches
- 14th round:
- crochet together every 14th and 15th stitch
- = 14 stitches
- 15th round:
- crochet together every 13th and 14th stitch
- = 13 stitches
- 16th round:
- crochet together every 12th and 13th stitch
- = 12 stitches
- cut yarn generously, pull through loop, do NOT cut the yarn end, it will be used later for sewing
Crochet Sparrow Beak (1x)
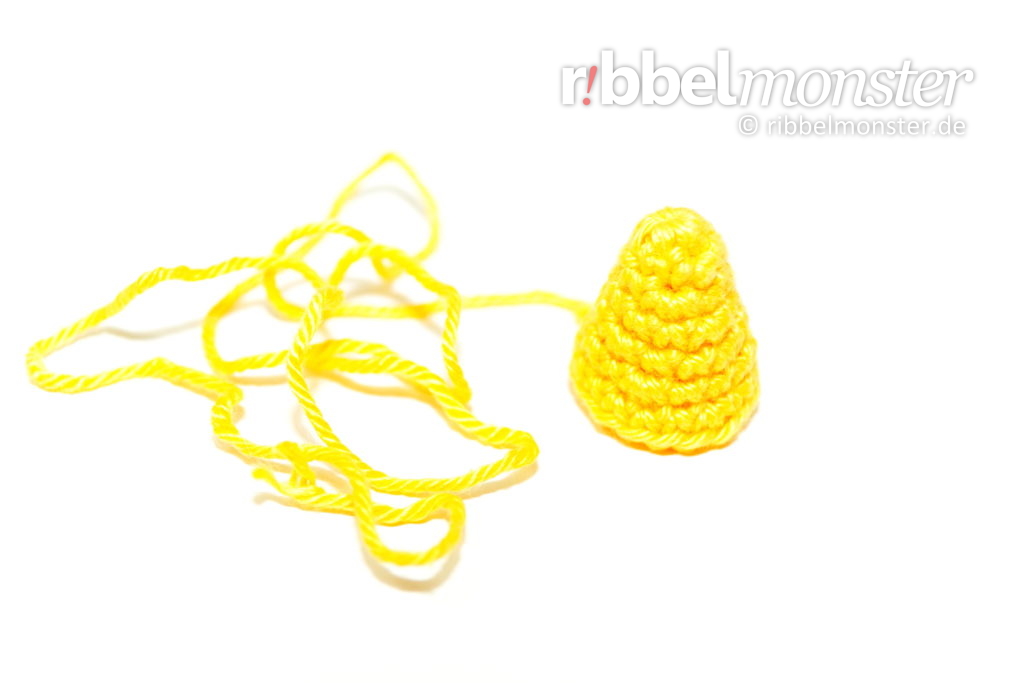
The beak for the Crochet Sparrow is crocheted from tip to base in spiral rounds with single crochet stitches (US!). The beak is fully filled and later sewn to the head with the remaining thread end.
Tip: Wenn du ein besonders schönes Ergebnis erhalten möchtest, kannst du die regelmäßigen Zunahmen durch Versetzen ein wenig verstecken. Dazu verwendest du einfach die Maschentabelle für Kugeln und Kreise.
(Redaktion: Block ersetzen)
- yellow:
- 1st round:
- magic ring
- into the magic ring:
- 6 single crochet stitches (US!)
- = 6 stitches
- 2nd round:
- double every 3rd stitch
- = 8 stitches
- 3rd round:
- double every 4th stitch
- = 10 stitches
- 4th round:
- double every 5th stitch
- = 12 stitches
- 5th round:
- double every 6th stitch
- = 14 stitches
- 6th round:
- double every 7th stitch
- = 16 stitches
- 7th round:
- double every 8th stitch
- = 18 stitches
- fill and stuff completely
- cut yarn generously, pull through loop, do NOT cut the yarn end, it will be used later for sewing
Crochet Sparrow Legs (2x)
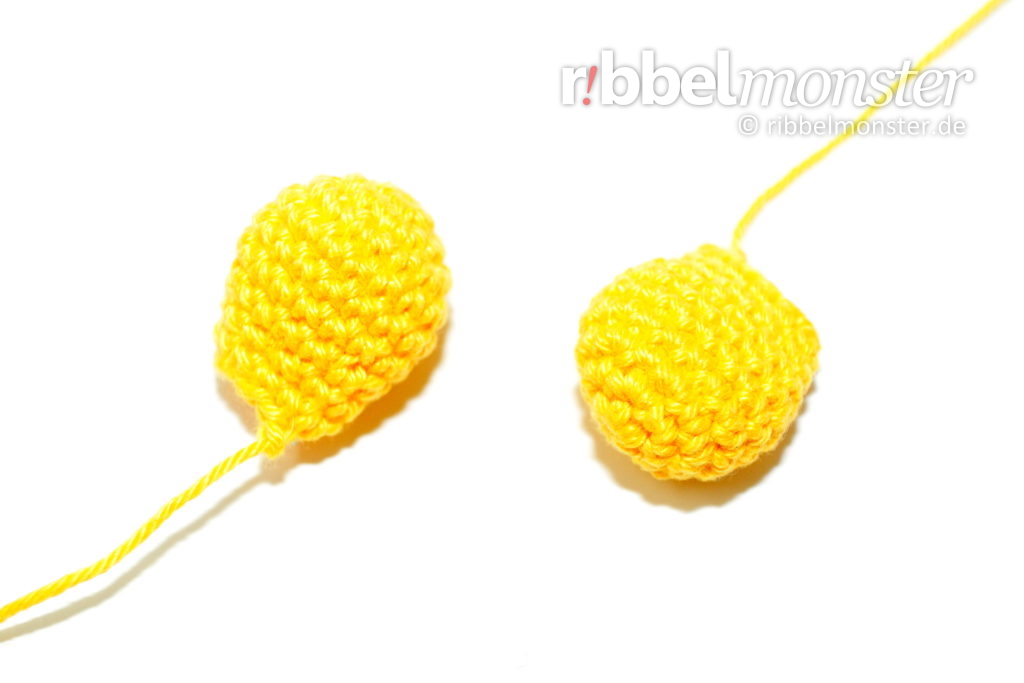
The legs for the Crochet Sparrow are crocheted from toe to hip with single crochet stitches (US!) in spiral rounds. The legs are filled and later sewn to the body with the remaining thread end.
Note! If you want to achieve a particularly beautiful result, you can hide regular increases and decreases by offsetting them a little. You can recognize regular increases by the phrase “double every … stitch,” and regular decreases by the phrase “crochet together every … and … stitch”. The stitch chart for spheres and circles might also be helpful for you. Additionally, you can apply a special crochet technique here for invisible decreases.
Note! If you want to create several nearly identical parts, it’s advisable to work on them consecutively on the same day. For larger parts, it’s even recommended to work on them simultaneously in stages. Our tension and tightness can vary from day to day, leading to visible differences.
- yellow:
- 1st round:
- magic ring
- into the magic ring:
- 6 single crochet stitches (US!)
- = 6 stitches
- 2nd round:
- double every stitch
- = 12 stitches
- 3rd round:
- double every 2nd stitch
- = 18 stitches
- 4th – 6th round:
- (= 3 rounds)
- every stitch one stitch
- = 18 stitches
- 7th round:
- crochet together every 5th and 6th stitch
- = 15 stitches
- 8th round:
- crochet together every 4th and 5th stitch
- = 12 stitches
- 9th round:
- every stitch one stitch
- = 12 stitches
- cut yarn generously, pull through loop, do NOT cut the yarn end, it will be used later for sewing
Finish Amigurumi Sparrow
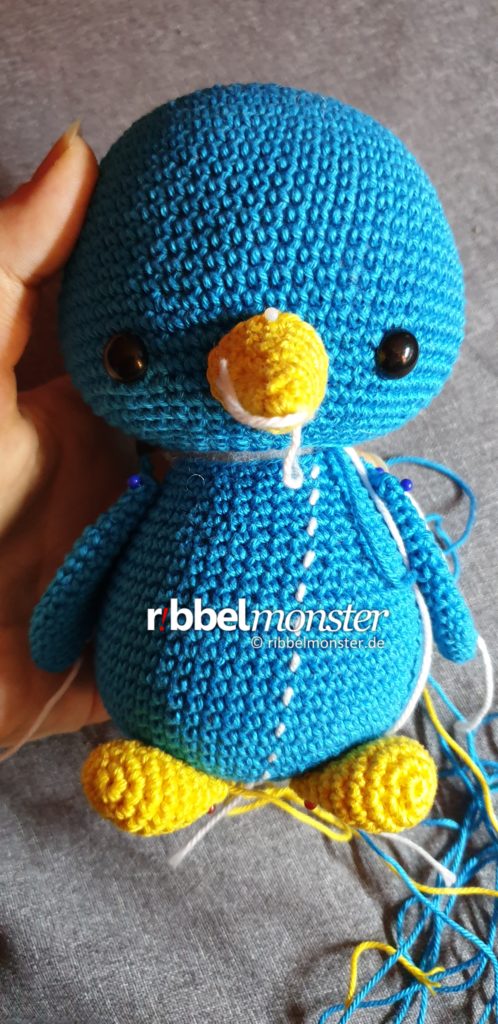
Once all parts are finished crocheting, you can sew your Amigurumi Sparrow together. However, it is helpful to put the items together with pins. So you see if the positions are correct and can still easily make changes.
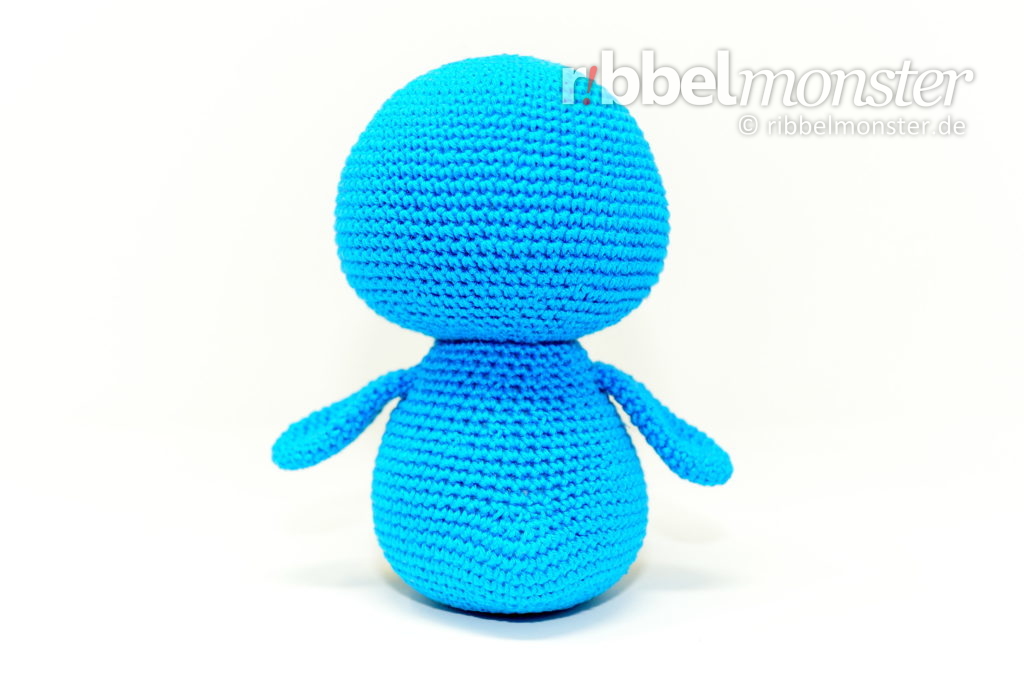
Sew Head to Body
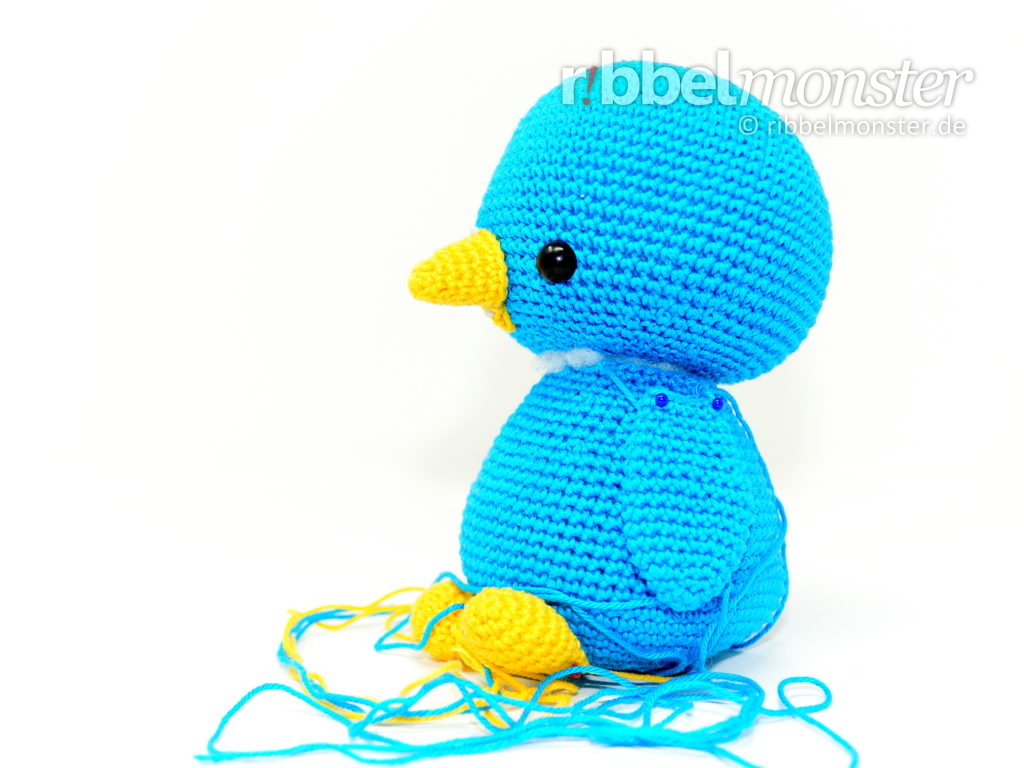
First, we sew the head all around to the body. Both openings face each other. The pointed side of the body is the center of the back, and the midpoint between the eyes is on the front. You can orient yourself using the pattern for sewing open parts together.
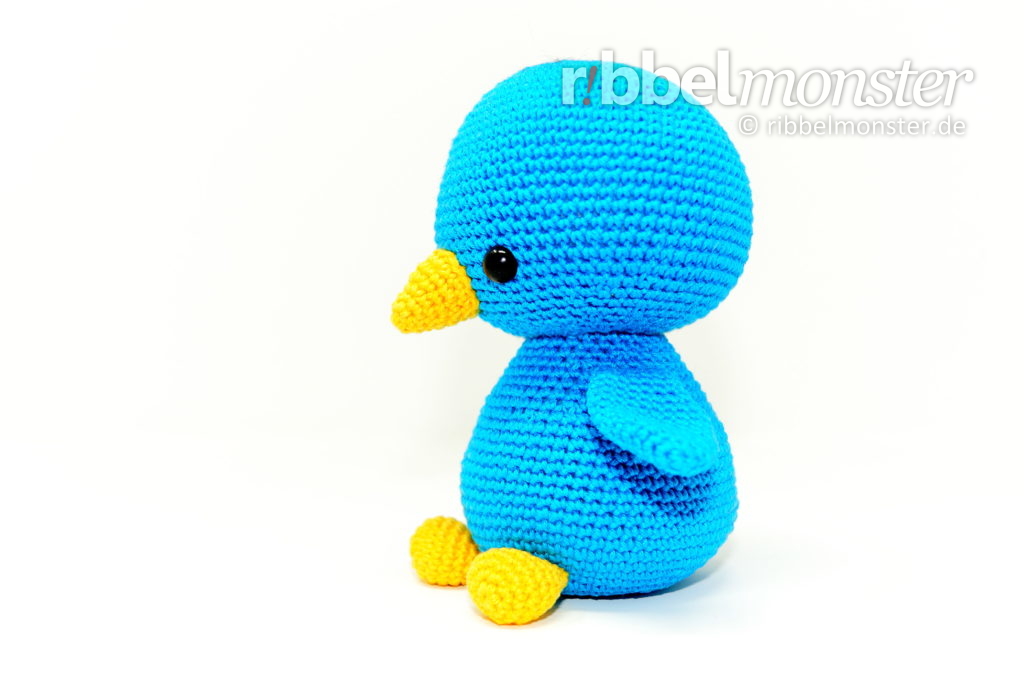
Sew Beak to Head
Then we sew the beak with the thread end around to the head. For this, you put it around once with pins. It sits exactly in the middle between the eyes, with the upper edge sitting at a height with the upper edge of the eyes. Now you can sew the beak piece by piece. Shortly before closing, the beak is filled and stuffed again. Finally, you secure the thread end inside.
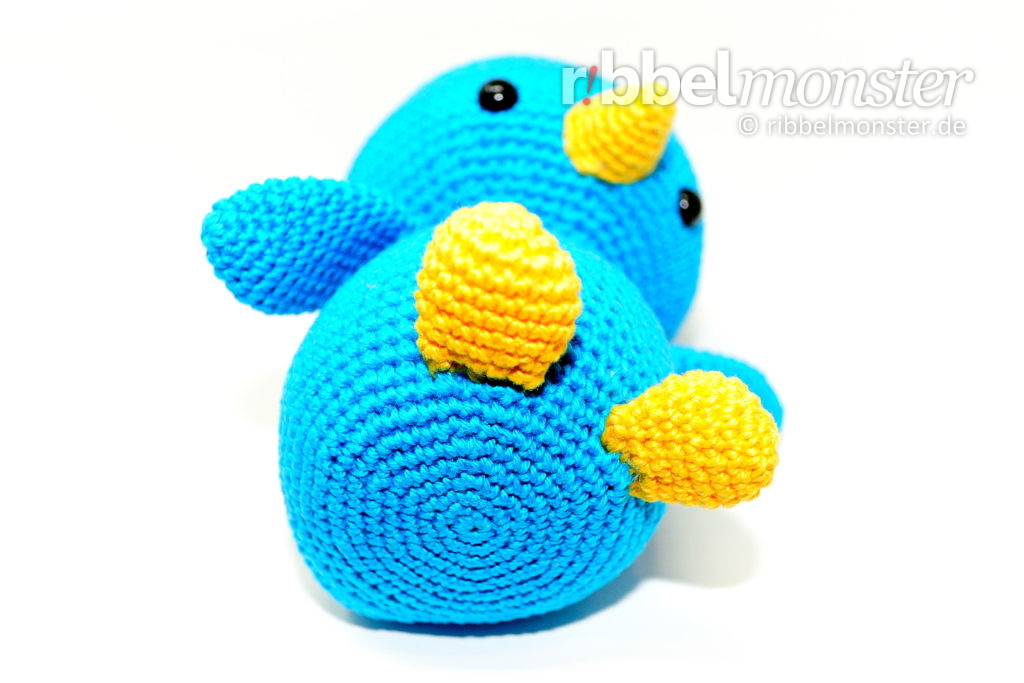
Sew Wings to Body
Next, fold the wings flat and sew them to the body with the openings using the thread ends. They sit horizontally around the 27th round and have a distance of 14 stitches on the front. Once the wings are securely sewn, secure the thread ends inside the body.
Sew Legs to Body
Now we sew the legs with the flat-folded opening to the underside of the body. Use the thread ends for sewing and secure them later inside the legs. The legs sit around the 9th round with a distance of 4 stitches in the middle.
Done!
Well done! Your Amigurumi Sparrow looks surely great, and we would be happy if you leave us a comment with a photo of your work.
Wenn dir diese Anleitung Freude bereitet hat, dann gefallen dir vielleicht auch die anderen Amigurumis der Onafu Serie. Schau dir doch mal die folgenden Anleitungen an!
Wenn du gern die neusten Neuigkeiten erfahren möchtest, kannst du unseren niedlichen Amigurumi Spatz Tweepy fragen.
Wusstest du eigentlich, dass manchmal die kleine Rudolphina den Schlitten vom Weihnachtsmann zieht? Du kannst das Amigurumi Rentier einfach selbst häkeln.
Hast du schon das niedlich Amigurumi Entenküken gehäkelt. Nakinaknak plappert immer fröhlich vor sich hin und würde gern jemanden mit seinem geschnatter genauso fröhlich machen.
Unser prächtiger Amigrumi Erpel Darius wartet nur darauf, dich mit seinem prächtigen Federkleid beeindrucken zu dürfen.