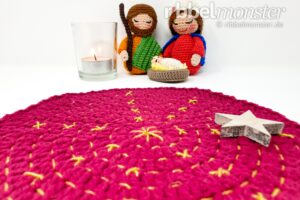
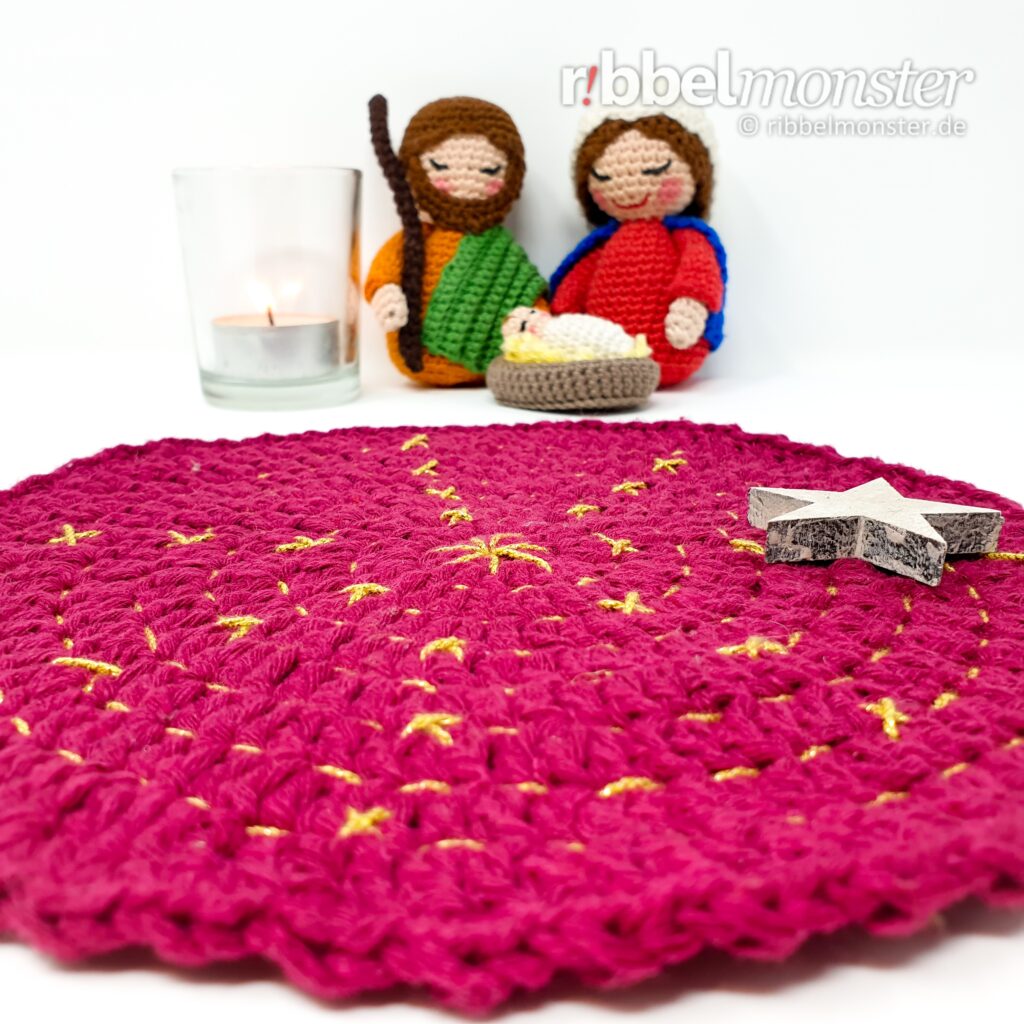
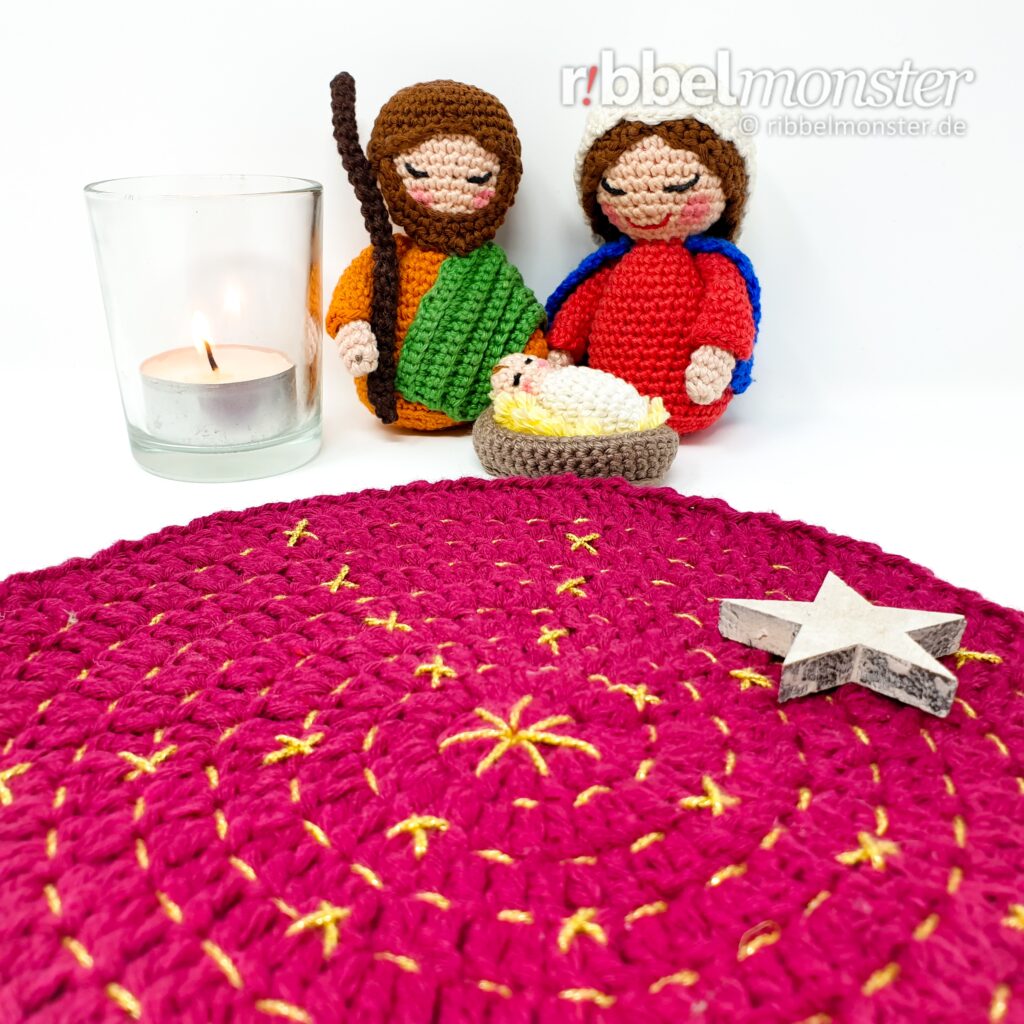
I’ll show you how to crochet an Advent Spiral with this easy crochet pattern. The crocheted Advent Spiral will accompany you through the pre-Christmas season, bringing Christmas Eve a little closer every day. The Advent Spiral is a lovely decoration, and you can also delight someone else with it.
Content
Introduction: Crochet Advent Spiral
Before we start crocheting the Advent Spiral, it’s essential to prepare well. In this section, all relevant information about the required prerequisites, materials, and size is listed. In addition, you will find help through the respective additional links.
Prerequisites
You should already be familiar with the following techniques so that you can easily follow this crochet pattern for an Advent Spiral. If this is not yet the case, you will find detailed tutorials here to learn them quickly.
- Crochet Chain Stitches
- Crochet Double Crochet Stitches (US!)
- Crochet Magic Ring
- Crochet Slip Stitches
- Half Double Crochet Stitches (US!)
- Increases
- Single Crochet Stitches (US!)
- spiral rounds
- Turning Chain Stitches
Note! By offsetting regular increases and decreases, they become almost invisible. You can recognize regular increases by the phrase “double every … stitch,” and regular decreases by the phrase “crochet together every … and … stitch”. The stitch chart for spheres and circles might also be helpful for you.
Note! Using a special technique for invisible decreases makes them nearly invisible. Although this technique requires a bit of practice, it’s worth giving it a try.
Supplies
The listed materials were used to crochet the Advent Spiral. In general, you can crochet the Advent Spiral with any yarn and an appropriately sized crochet hook. To achieve an authentic result, you should use exactly the listed materials. In addition to the materials, you will find the necessary tools and supplies listed below.
Crochet Hook
Alphabethic: G Numeric: 5 or 6 Help? Needle Size Translator Help? View example
Scissors
You’ll need any scissors. It’s best to use your most beautiful scissors because it brings you joy. If you don’t have really nice scissors, I’ve picked out some lovely ones for you.
Wool Needle
You’ll need a wool needle with a blunt tip. The thickness of the wool needle should match the thickness of your yarn. You might like the set of wool needles I’ve picked out for you.
Yarn
I used yarn in the shade Gold. The material is 80% viscose and 20% polyester. The yardage is 110 yds / 0.9 oz. If you want to replenish your supply, I’ve already picked out the matching yarn for you here.
Note! The specified yarn was used for the example shown here. In principle, you can use any yarn and an appropriate needle size. However, the quality of the material also affects the quality of the result, so you should avoid cutting corners in the wrong place. Also, the thickness of the yarn and the needle will influence the size of the outcome, which you can, of course, intentionally take advantage of.
Size
Here are the size specifications for the crocheted Advent Spiral. The diameter was measured. Please note that the actual size depends on the yarn used, the size of the crochet hook, and individual crochet tension.
| Needle Size | Yardage | Size |
|---|---|---|
| Crochet Hook E or 4 | 137 yds / 1.75 oz | ? |
| Crochet Hook G, 5 or 6 | 120 yds / 1.75 oz | 8 inches |
| Crochet Hook G, H or 7 | 93 yds / 1.75 oz | ? |
Note! If you want to change the size, you can simply use a thicker or thinner yarn with a suitable needle size. Simply doubling the rounds, rows, and stitches, on the other hand, will only result in an uneven outcome.
Crochet Pattern: Crochet Advent Spiral
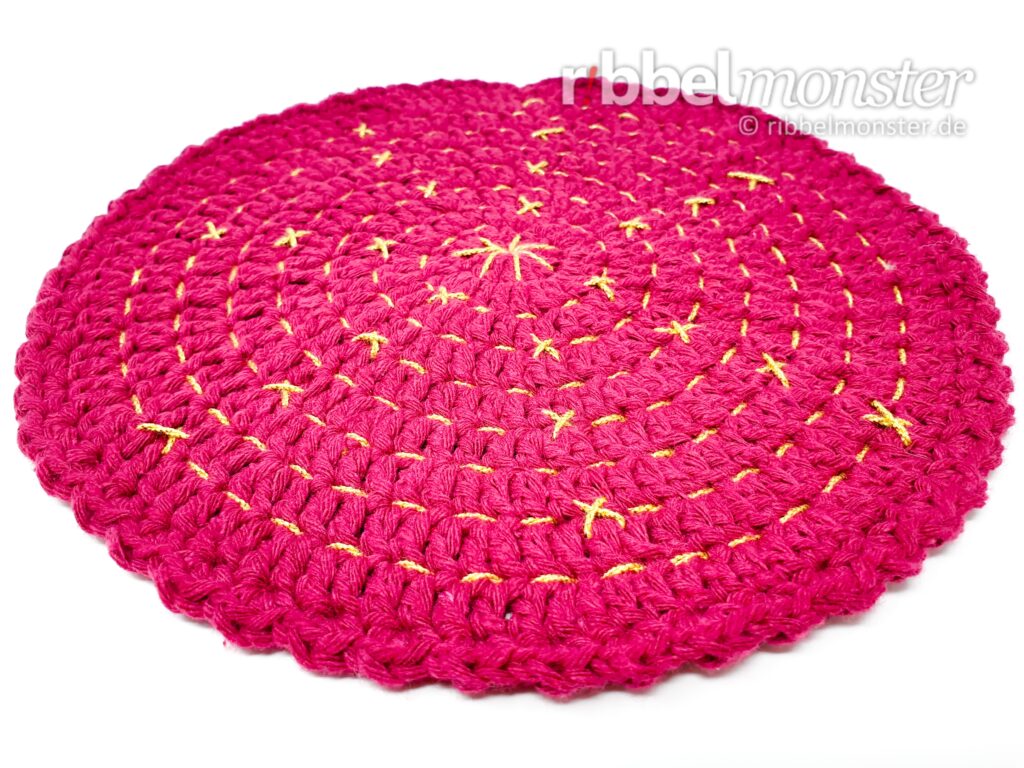
For the Crochet Advent Spiral, we’ll start with the spiral itself, then add a beautiful border, and finally, the crocheted Advent Spiral will be embroidered.
Crochet the Spiral for Advent Spiral (1x)
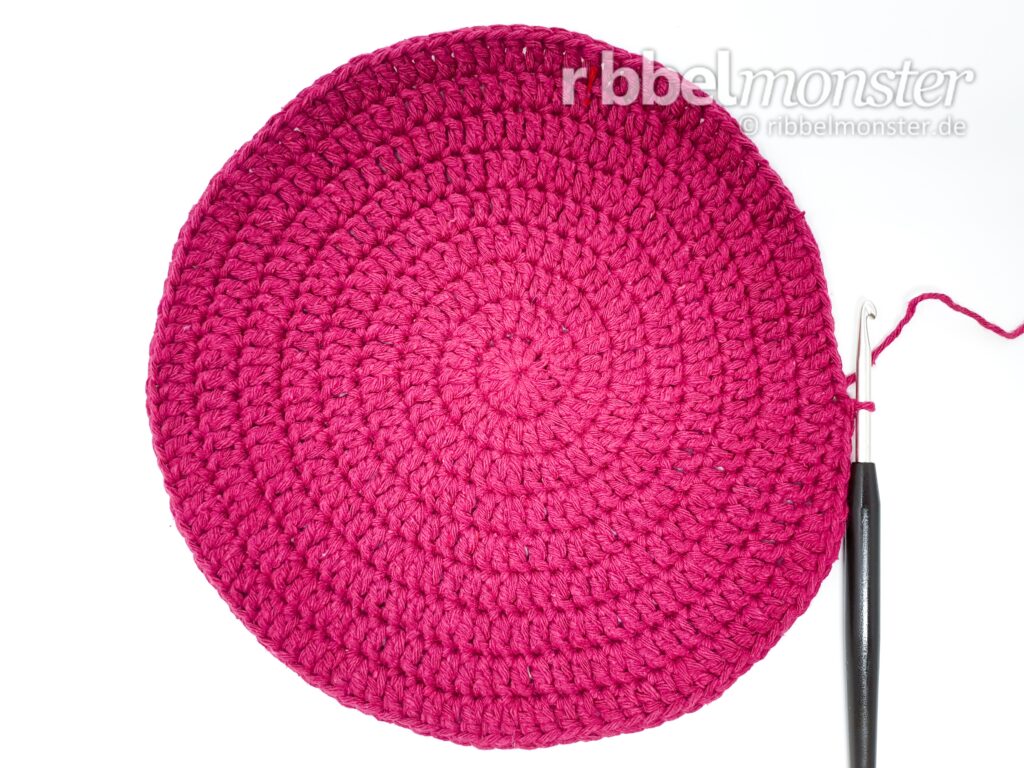
We’ll crochet the Advent Spiral from the inside out, mainly using double crochet stitches in spiral rounds.
Tip: Wenn du ein besonders schönes Ergebnis erhalten möchtest, kannst du die regelmäßigen Zunahmen durch Versetzen ein wenig verstecken. Dazu verwendest du einfach die Maschentabelle für Kugeln und Kreise.
(Redaktion: Block ersetzen)
- burgundy:
- 1st round:
- magic ring
- into the magic ring:
- 1 single crochet stitch (US!)
- 1 half double crochet stitch (US!)
- 10 double crochet stitches (US!)
- = 12 stitches
- 2nd round:
- double every stitch
- = 24 stitches
- 3rd round:
- double every 2nd stitch
- = 36 stitches
- 4th round:
- double every 3rd stitch
- = 48 stitches
- 5th round:
- double every 4th stitch
- = 60 stitches
- 6th round:
- double every 5th stitch
- = 72 stitches
- 7th round:
- double every 6th stitch
- = 84 stitches
- 8th round:
- double every 8th stitch
- = 96 stitches
- 9th round:
- double every 9th stitch
- = 108 stitches
- beyond the end of the round:
- 3x one half double crochet stitch (US!) into one stitch
- 2x one single crochet stitch (US!) into one stitch
- 1x one slip stitch into one stitch
- do NOT cut yarn, continue with:
- Border
Crochet Border for Advent Spiral (1x)
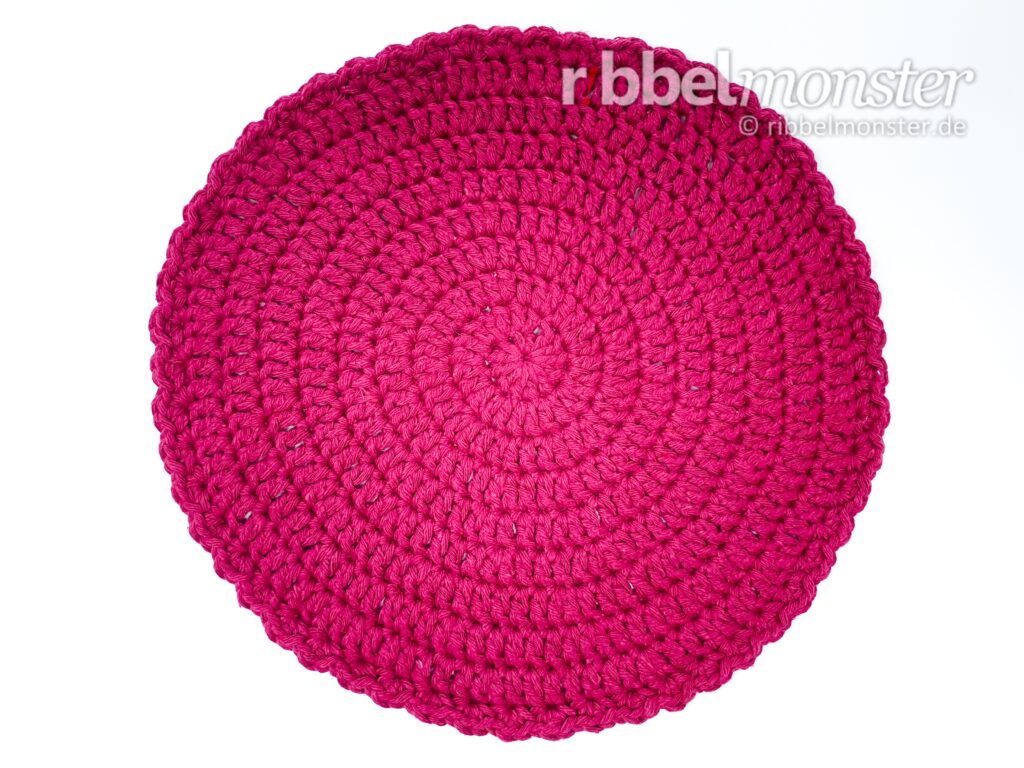
Now, we want to crochet a beautiful border around the Advent Spiral, using single crochet stitches (US!) and half-double crochet stitches.
- 2 turning chain stitches
- repeat 54x:
- skip 1 stitch
- into one stitch:
- 1 single crochet stitch (US!)
- 1 half double crochet stitch (US!)
- 1 single crochet stitch (US!)
- close with 1 slip stitch to form a round
- cut the thread, pull off the loop, secure and weave in the ends
Finishing the Advent Spiral
Your Advent Spiral is already crocheted. However, a few finishing touches are needed to make it usable. Therefore, we’ll embroider the crocheted Advent Spiral.
Embroidering the Advent Spiral
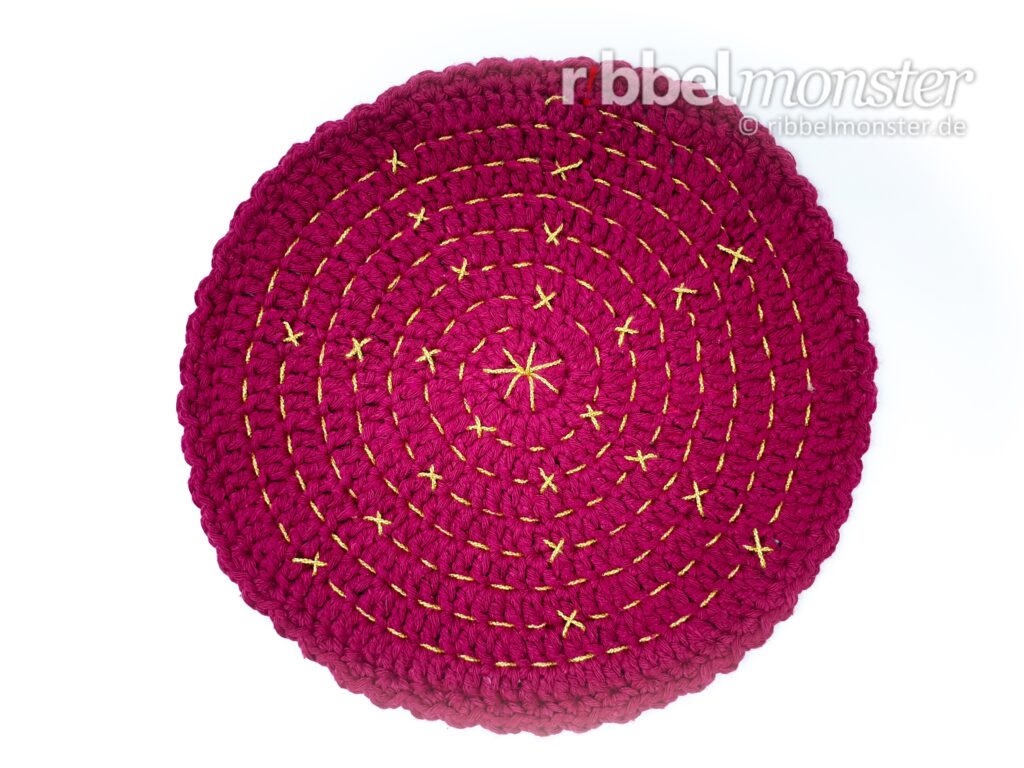
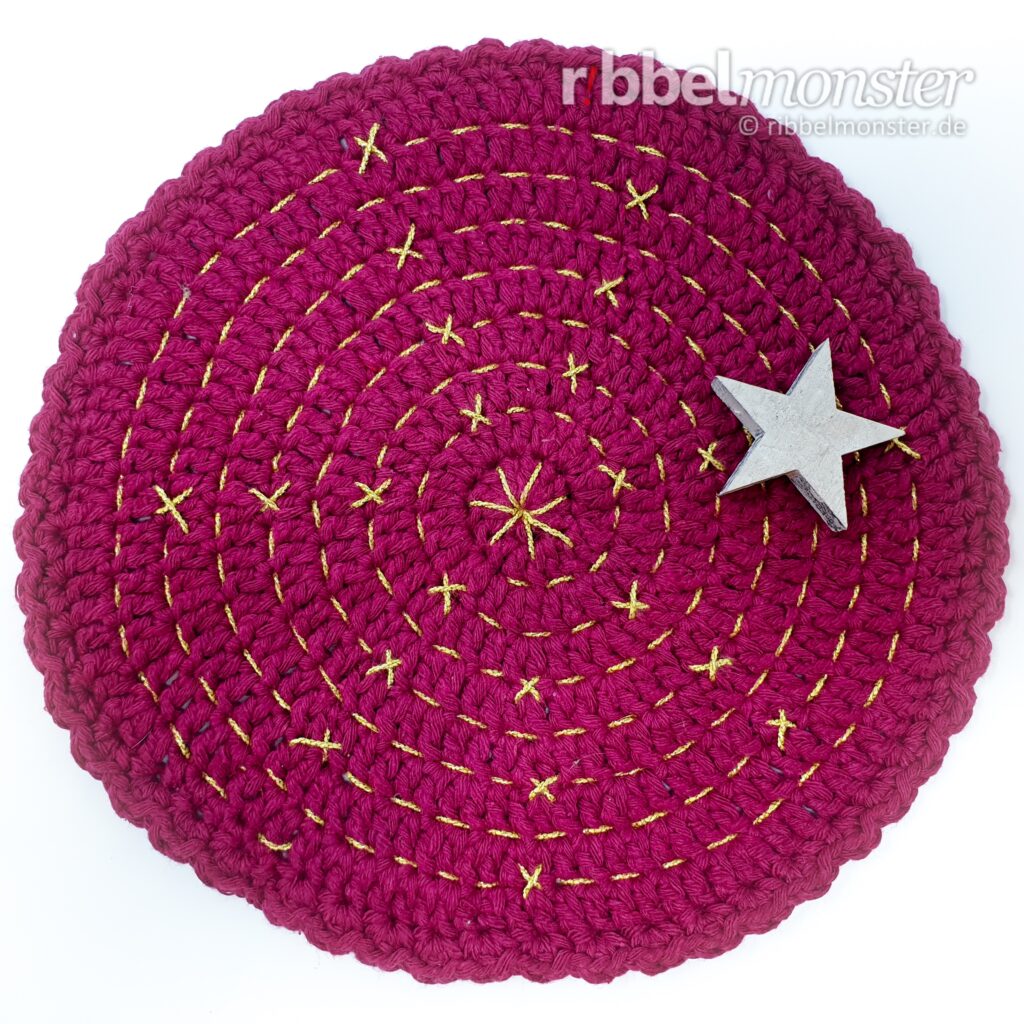
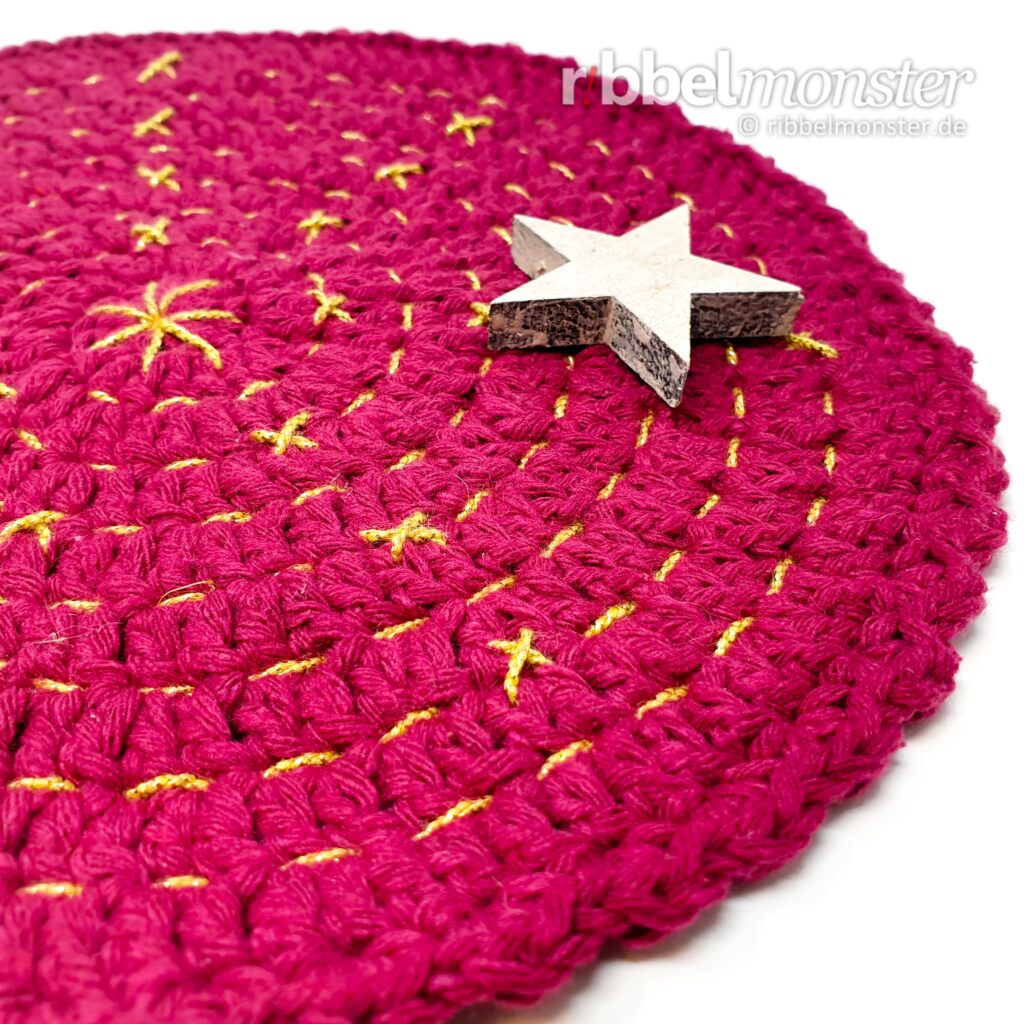
To begin, we’ll create a 7-pointed star in the center.

Next, we’ll work our way around with a dashed line between the rounds. Every time we reach the height of every 2nd arm of the 7-pointed star, we’ll embroider a small cross.
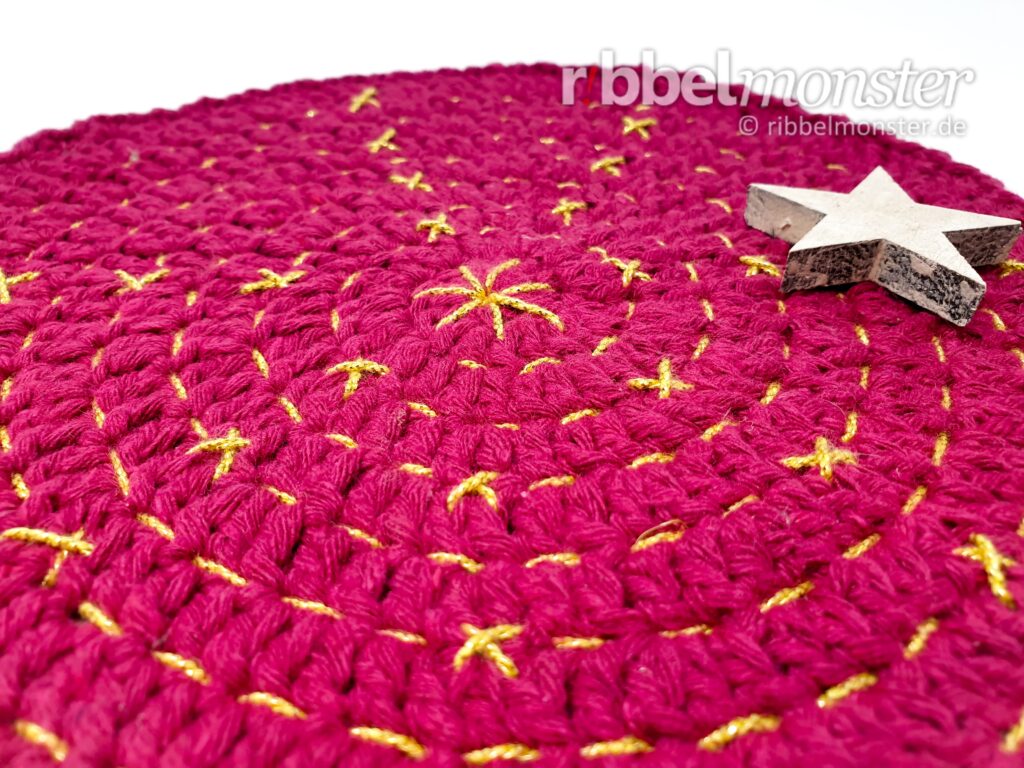
This way, we’ll progress from the inside out, ending up with 23 small stars in addition to the 7-pointed star in the middle for each day of the Advent season. Now, all that’s left is to weave in the threads.
Done!
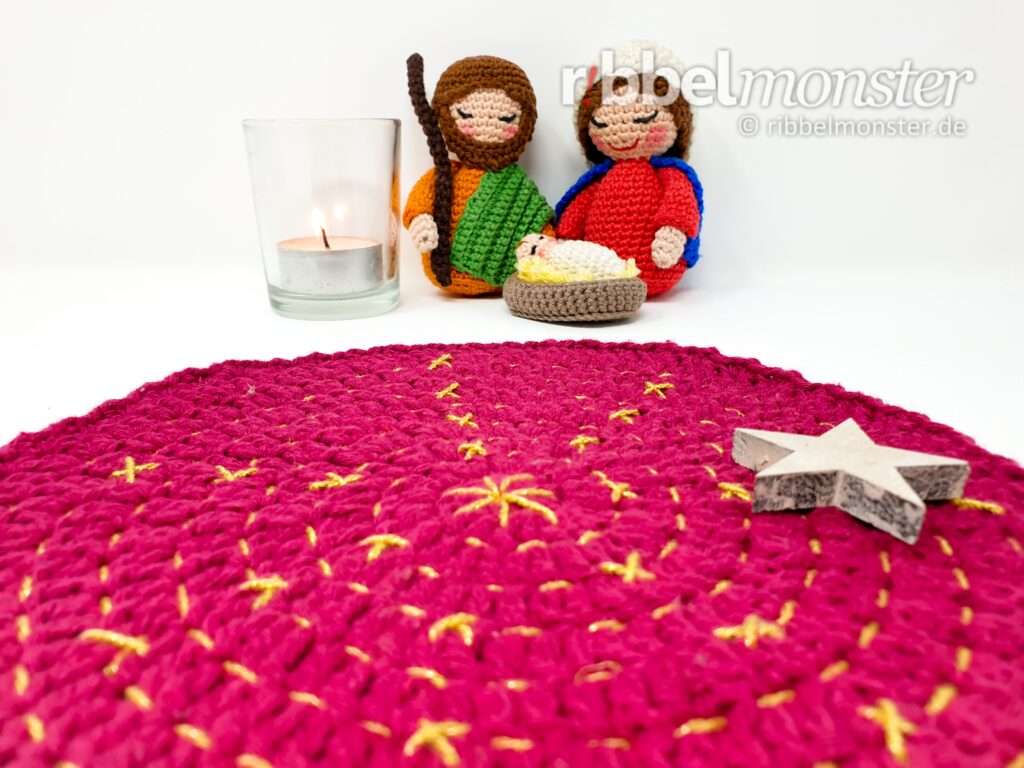
Now you can let a figure, a light, or a stone wander around the Advent Spiral. During the pre-Christmas season, we’ll move from the outside in, from star to star, until we reach the center on Christmas Eve.
Wenn dir die Krippenspielfiguren aus der Kokeshi Serie gut gefallen, kannst du sie auch einfach nachhäkeln. Ich habe dir hier einmal alle Anleitungen für die Krippenspielfiguren herausgesucht.
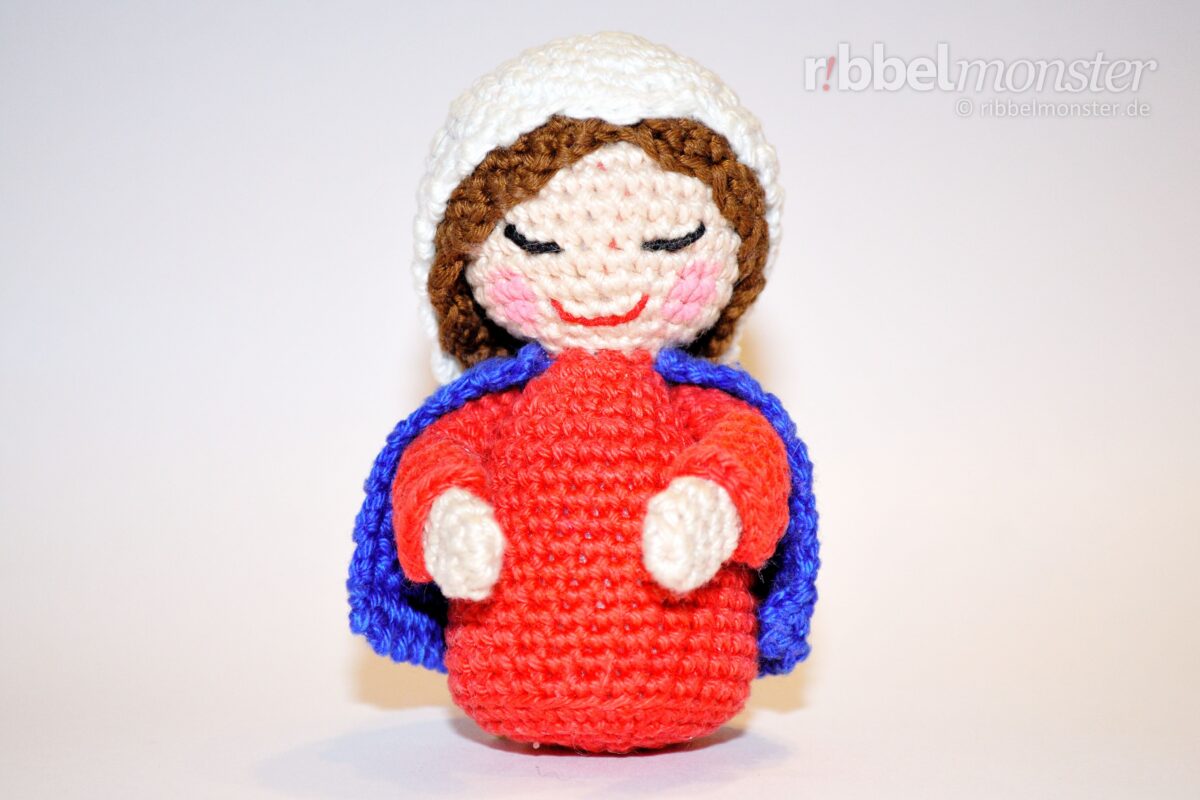
Unsere heilige Maria trägt das gewohnte blaue Gewandt, einen blauen Umhang und ein weißes Tuch auf dem Kopf. Du kannst sie einfach mit der Anleitung für die Amigurumi Maria häkeln.
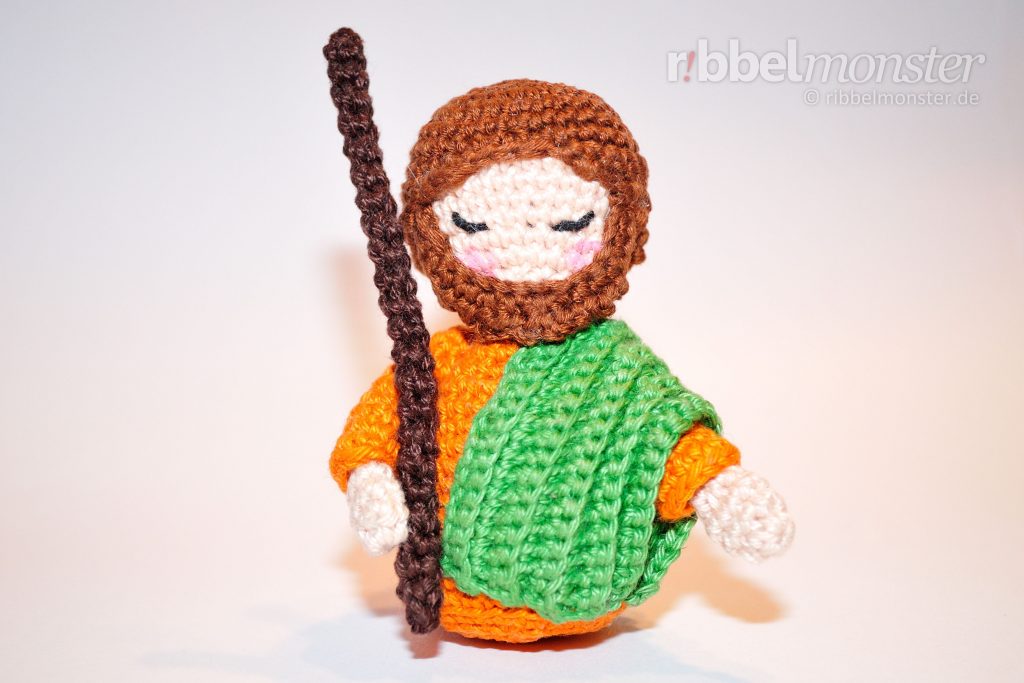
Unser Josef trägt das einfache naturfarbene Gewandt eines Hirten und den passenden Hirtenstab. Du kannst ihn einfach mit der Anleitung für den Amigurumi Josef häkeln.
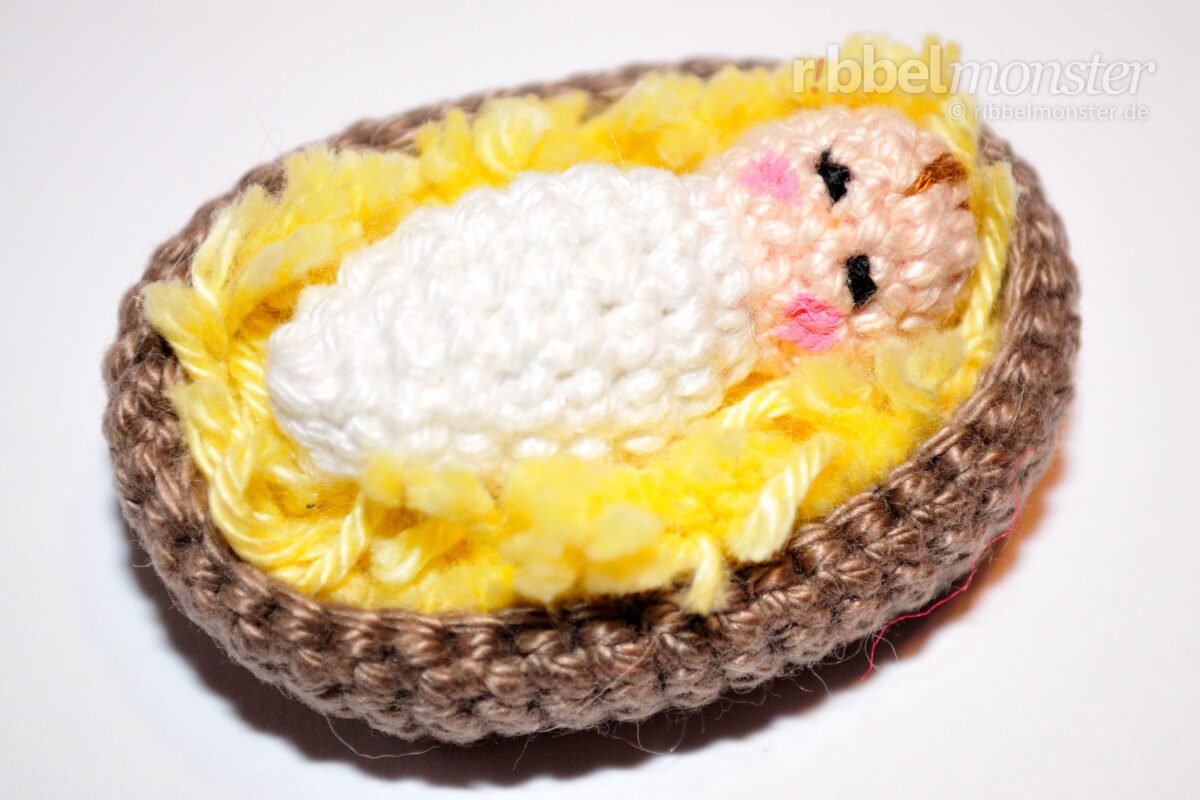
Unser frisch geborenes Jesus Baby liegt in weißes Tuch eingepuckt in einem einfachen Korb voll Stroh. Du kannst es einfach mit der Anleitung für das Amigurumi Jesus Baby häkeln.
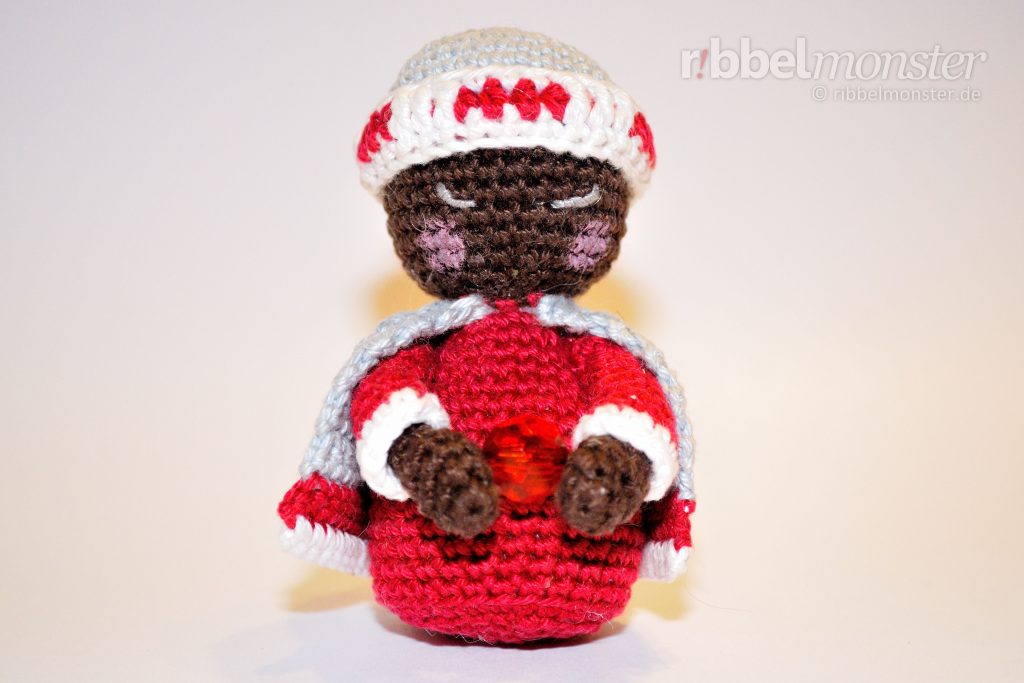
Unser weiser Gelehrter Balthasar bringt seine Gaben in einem festlichen dunkelroten Gewand mit Umhang und Turban. Du kannst ihn mit der Anleitung für den Amigurumi Balthasar häkeln.
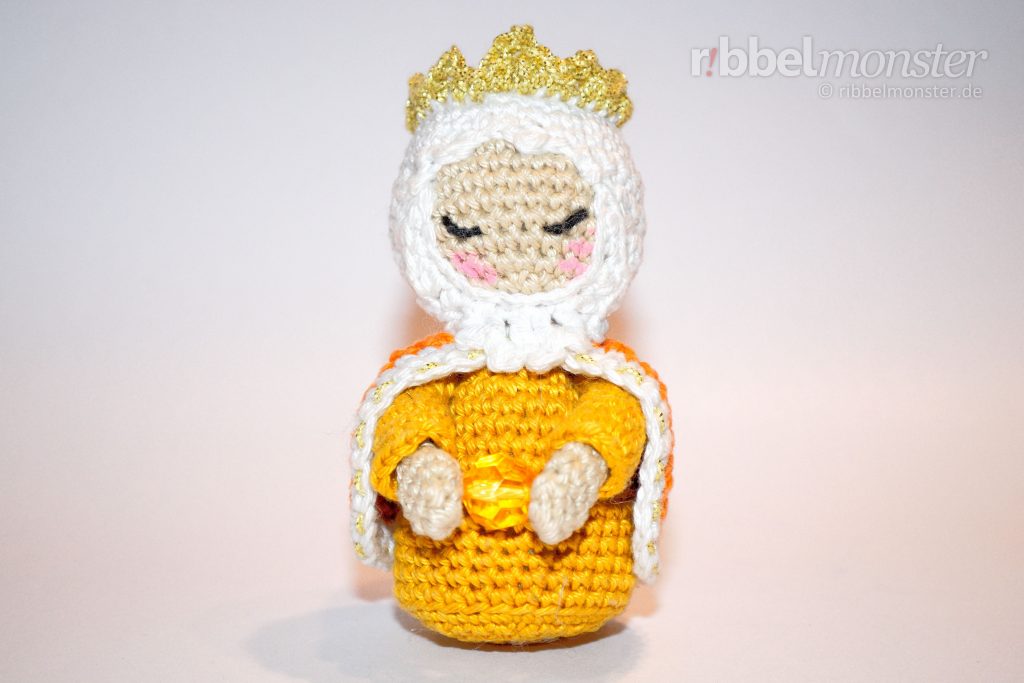
Unser weiser Gelehrter Melchior bringt seine Gaben in einem festlichen goldenen Gewand mit Umhang und Krone. Du kannst ihn mit der Anleitung für den Amigurumi Melchior häkeln.
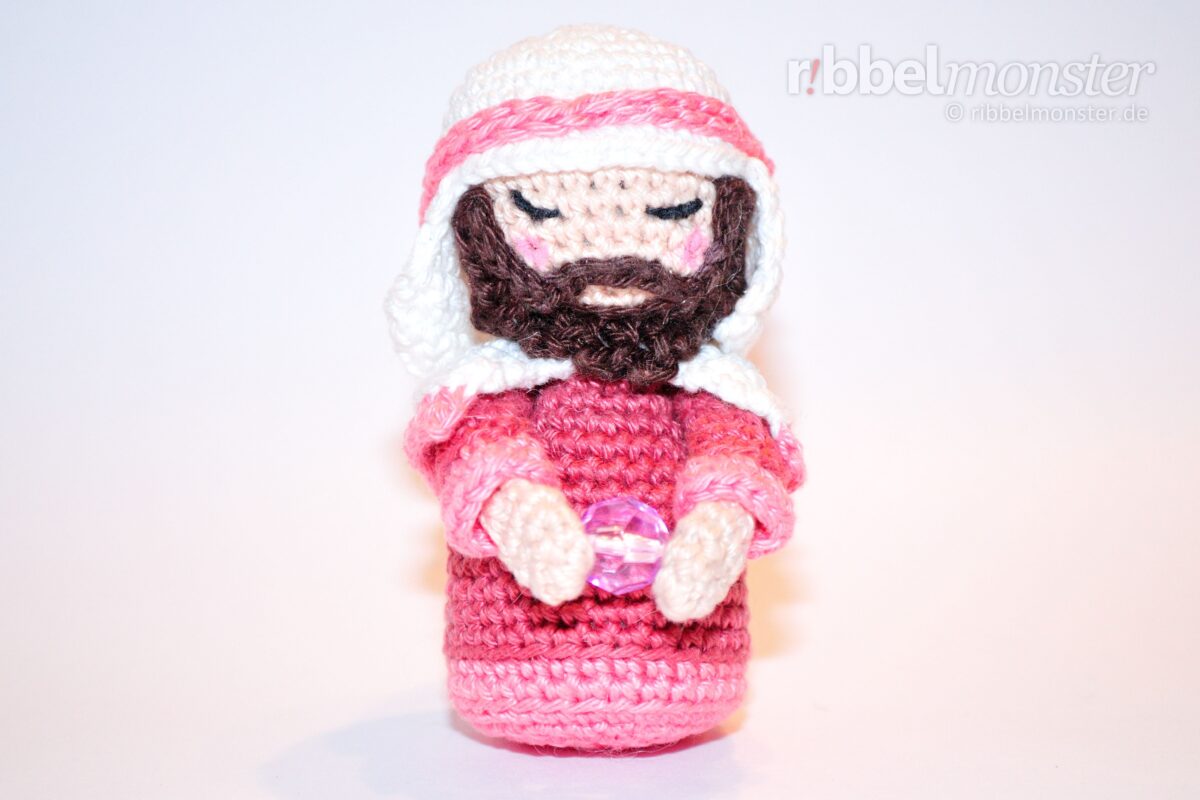
Unser weiser Gelehrter Caspar bringt seine Gaben in einem festlichen purpurroten Gewand mit Umhang und Tuch. Du kannst ihn mit der Anleitung für den Amigurumi Caspar häkeln.

