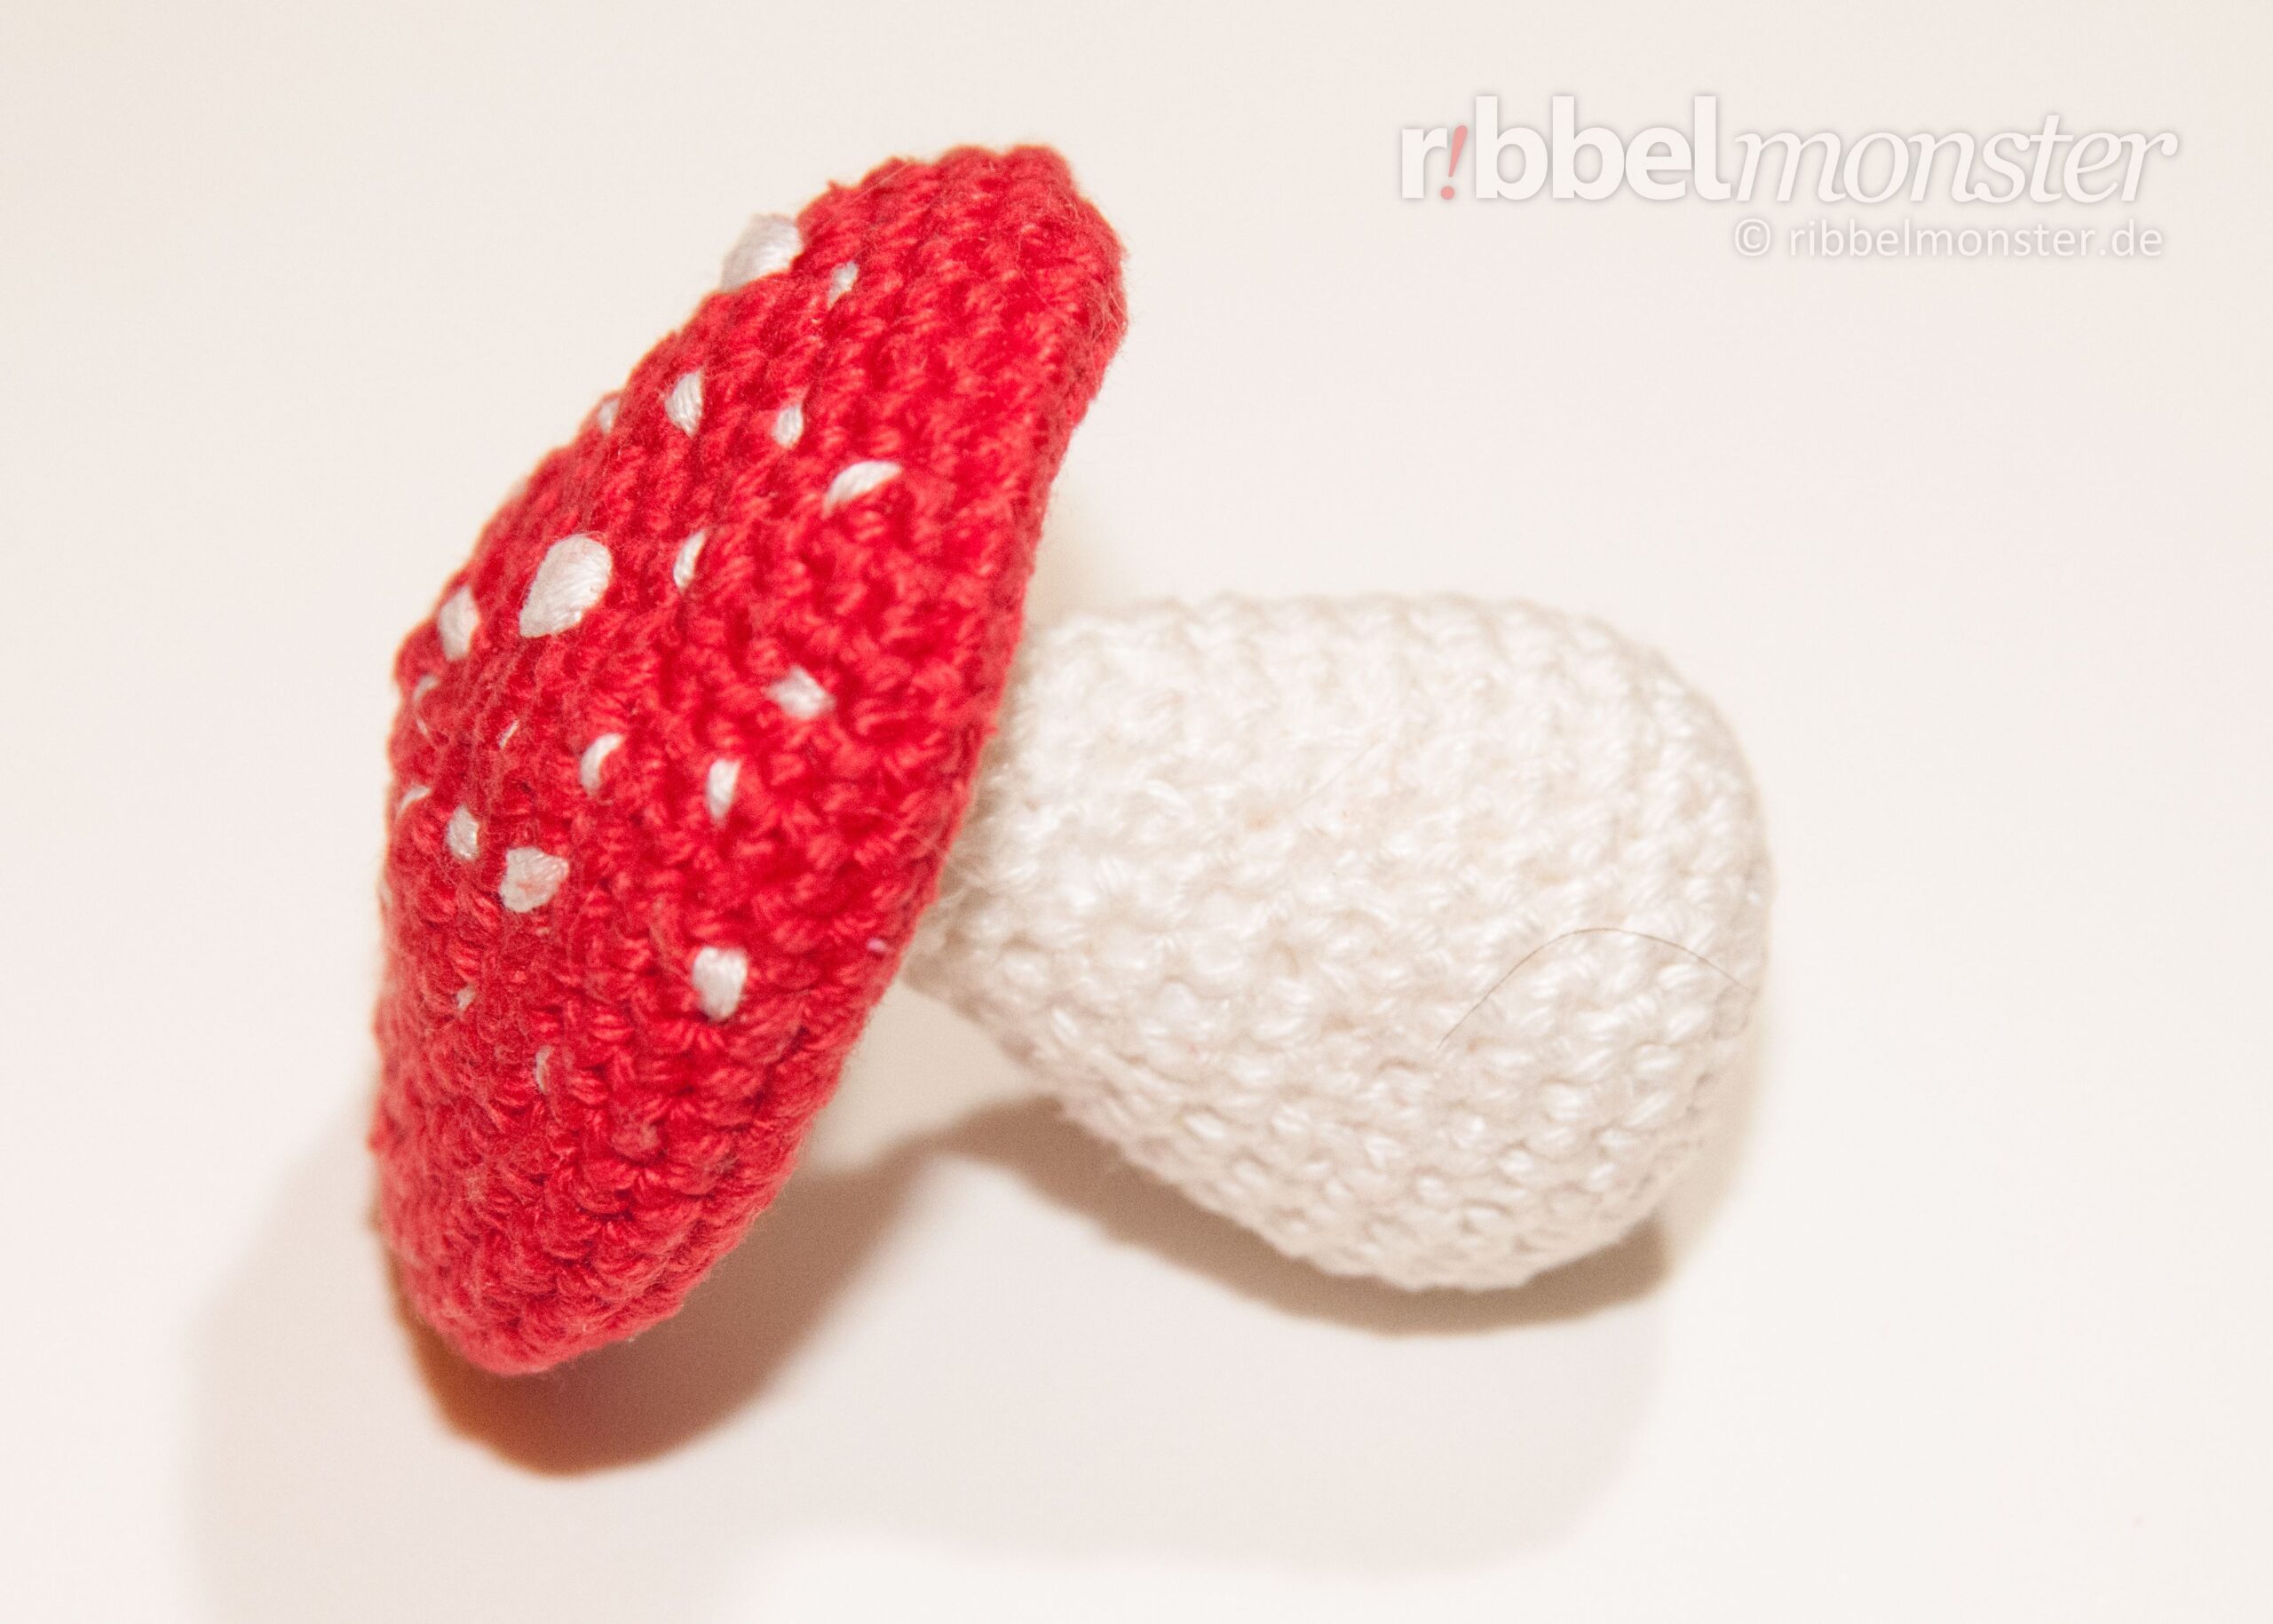
Heute wollen wir einen großen Fliegenpilz crochet. Der Fliegenpilz hat eine flache Haube und ist eine tolle Dekoration für den Herbst. In dieser kostenlosen Anleitung findest du alles, um auch einen großen Fliegenpilz zu crochet, selbst wenn du Anfänger bist.
Knowledge: Amigurumi – großen Fliegenpilz crochet “Flage”
Supplies: Amigurumi – großen Fliegenpilz crochet “Flage”
- Crochet Yarn:
- Colors: white, red
- Size: ca. 125m / 50g
- Example: Schachenmayr Catania
- Crochet Hook:
- Metric: 2,5 mm
- Help? Needle Size Translator
- Wool Needle
- Scissors
- Filling:
- Example: Wadding (100% Viscose)
- Alternatives? Amigurumi Filling
- für Verzierungen:
- Example: whitees Darning Yarn
Crochet Pattern: Amigurumi – großen Fliegenpilz crochet “Flage”
 Den großen Fliegenpilz crochet wir in zwei Teilen. Zuerst das Häubchen und anschließend den Stiel. Das ist wichtig, damit die Füllung aus dem Stiel nicht in die Haube rutscht und damit die ganze Form zerstört.
Haube für großen Fliegenpilz crochet
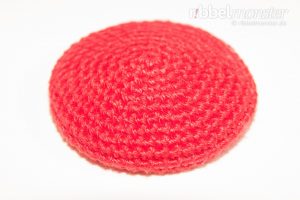 Die Haube für den großen Fliegenpilz crochet wir von oben nach unten in spiral rounds mit ausschließlich single crochet stitches (US!).
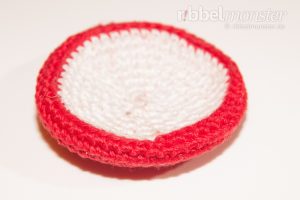 Die Haube für den Fliegenpilz wird nicht gefüllt, sondern nur flach gefaltet.
- red:
- 1st round: magic ring + 6 single crochet stitches (US!) = 6 stitches
- 2nd round: double every stitch = 12 stitches
- 3rd round: double every 2nd stitch = 18 stitches
- 4th round: double every 3rd stitch = 24 stitches
- 5th round: double every 4th stitch = 30 stitches
- 6th round: double every 5th stitch = 36 stitches
- 7th round: double every 6th stitch = 42 stitches
- 8th round: double every 7th stitch = 48 stitches
- 9th – 12th round: (= 4 rounds) each stitch one stitch = 48 stitches
- white:
- 13th round: stitch into back loop only, each stitch one stitch = 48 stitches
- 14th round: crochet together every 7th and 8th stitch = 42 stitches
- 15th round: crochet together every 6th and 7th stitch = 36 stitches
- 16th round: crochet together every 5th and 6th stitch = 30 stitches
- 17th round: crochet together every 4th and 5th stitch = 24 stitches
- 18th round: crochet together every 3rd and 4th stitch = 18 stitches
- 19th round: crochet together every 2nd and 3rd stitch = 12 stitches
- 20th round: crochet together every 1st and 2nd stitch = 6 stitches
- cut the thread generous, pull off the loop, close remaining opening, secure and weave in the thread end
Stiel für großen Fliegenpilz crochet
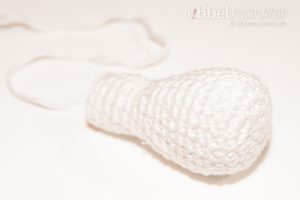 Den Stiel für den großen Fliegenpilz crochet wir von unten nach oben in spiral rounds. Anschließend wird der Stiel bis zur oberen Kante gefüllt und bleibt offen.
- white:
- 1st round: magic ring + 6 single crochet stitches (US!) = 6 stitches
- 2nd round: double every stitch = 12 stitches
- 3rd round: double every 2nd stitch = 18 stitches
- 4th round: double every 3rd stitch = 24 stitches
- 5th – 8th round: (= 4 rounds) each stitch one stitch = 24 stitches
- 9th round: crochet together every 11th and 12th stitch = 22 stitches
- 10th round: crochet together every 10th and 11th stitch = 20 stitches
- 11th round: crochet together every 9th and 10th stitch = 18 stitches
- 12th round: crochet together every 8th and 9th stitch = 16 stitches
- 13th round: crochet together every 7th and 8th stitch = 14 stitches
- 14th round: crochet together every 6th and 7th stitch = 12 stitches
- 15th – 20th round: (= 6 rounds) each stitch one stitch = 12 stitches
- Stiel fill and stuff completely
- cut the thread generous, pull off the loop, DONT cut the thread end, will be needed for sewing later
Fliegenpilz fertig stellen
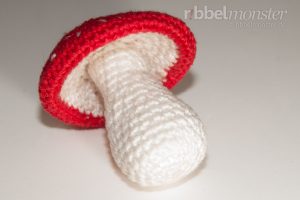 Nachdem du alle Teile fertig gehäkelt hast, wollen wir den Fliegenpilz zusammen nähen. Dazu wird der Stiel mit der offenen Seite mittig unter die Haube genäht. Am einfachsten geht das, wenn du den Stiel zuerst mit Stecknadeln befestigst. Anschließend kannst du die Haube leicht nach oben krempeln und den Stiel mit dem verbliebenen Fadenende ringsherum annähen.
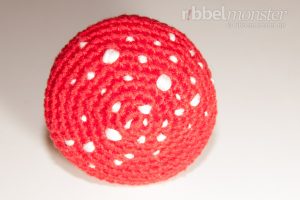 Als nächstes verwendest du whitees Darning Yarn oder Embroidery thread und stickst die Punkte auf. Du erhältst unterschiedlich große und dicke Punkte, indem du häufiger oder seltener um eine oder mehrere stitches stichst.
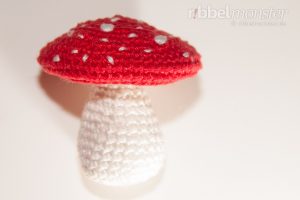 Am schönsten sieht es aus, wenn der Fliegenpilz eine schöne Mischung aus kleineren und größeren Punkten bekommt, die mal mehr und mal weniger werden. Alternativ kannst du für die Punkte auch beads, sequins, Felt, Fabric oder Paint verturn.
Nun ist der gehäkelte Fliegenpilz auch schon fertig. Ich hoffe es hat dir Spaß gemacht! Aber denke bitte daran: Fliegenpilze sind nicht zum Verzehr geeignet!

