
Here is Part 8 of the Amigurumi Mystery CAL – „Hibernation“. So please wake up that we can go on! If you have no idea what this is about, you can read it in the Editorial for the Amigurumi Mystery CAL – „Hibernation“.
Amigurumi Mystery CAL – “Hybernation” – Part 8
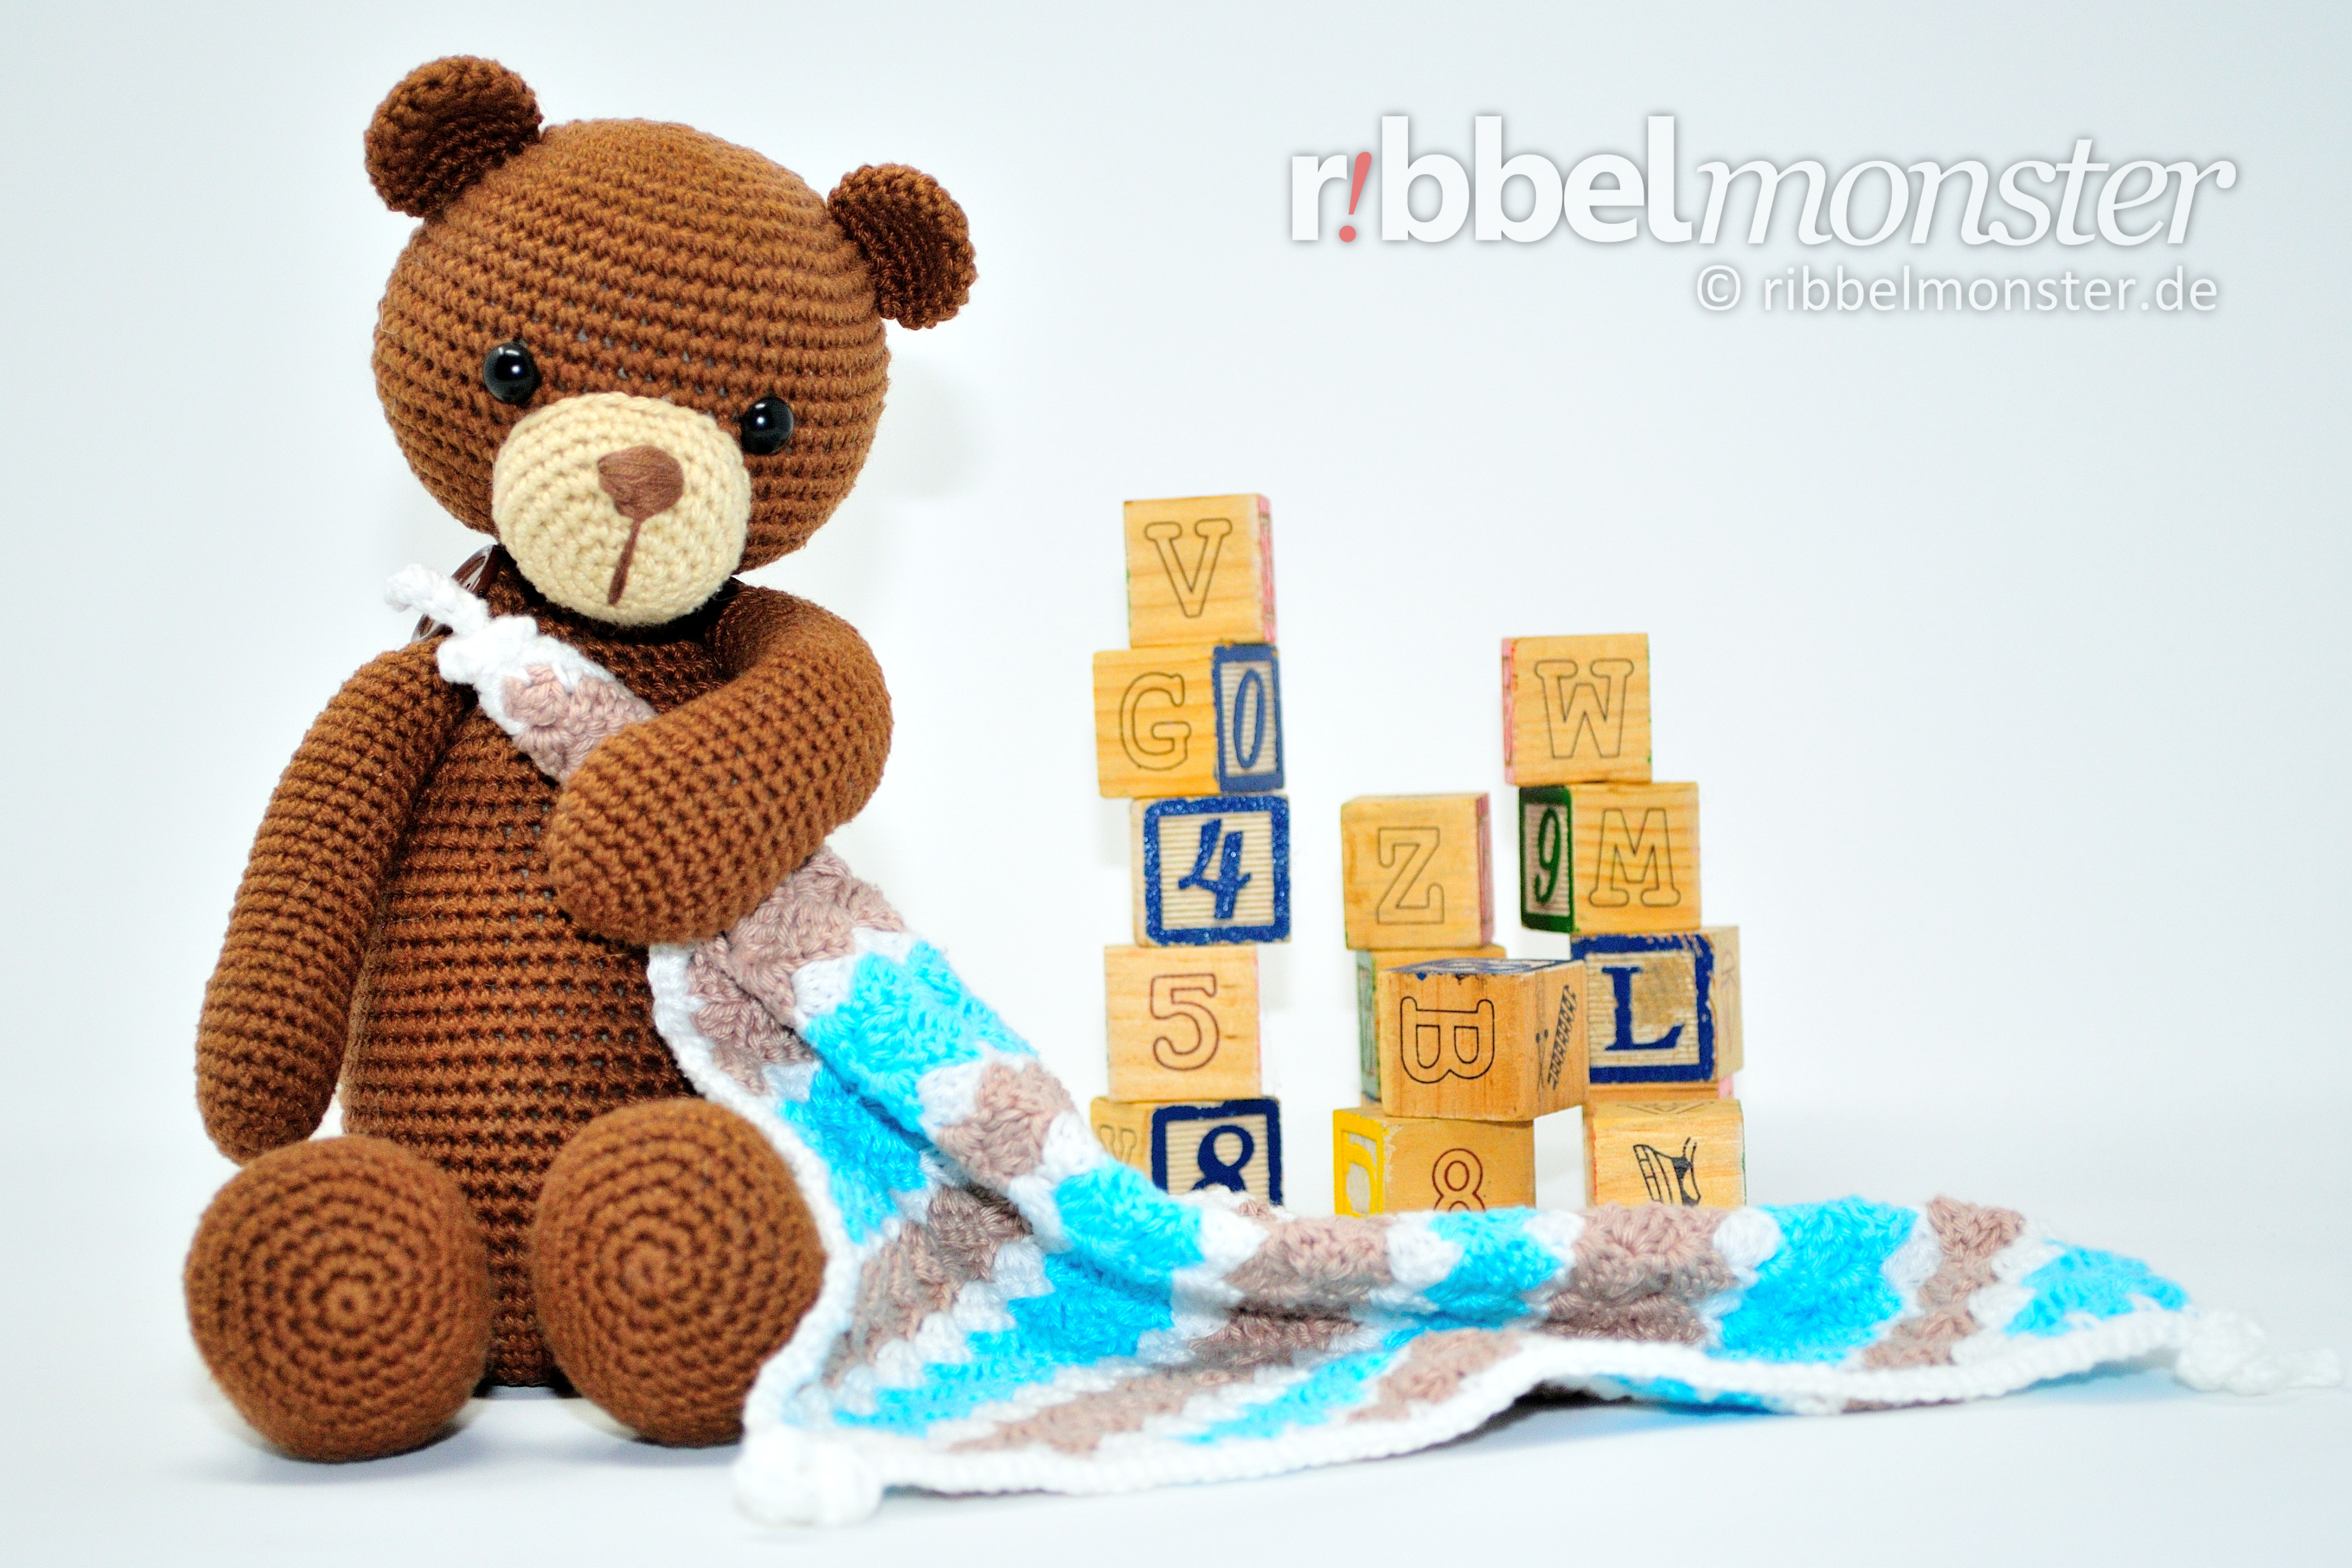
Now you should have finished crocheting all the pieces and maybe you already know what is preparing for hibernation here. By the way the cute bear is called Bruno and of course he has to be sewn together to be complete.
There for you can go to the complete Crochet Pattern for Bruno the Bear or just follow the instructions below:
After you’ve finished crocheting all the pieces you can sew your bear together. To do this you put all parts together with pins. So you can see if the positions are correct and can still change them easily.
First we sew the head around to the body. Both openings point to each other. The middle between the 6 double crochet stitches (US!) at the neck sits at the back and the middle between the eyes at the front. You can orient yourself to the Tutorial to sew together open parts.
Then we sew the snout with the thread end around to the head. For this you attach it first once around with pins. It sits exactly in the middle between the eyes with the upper edge touching the middel of the eyes. Now you can sew the snout step by step. Shortly before closing the snout is filled and stuffed. Finally you secure and weave in the thread end inside.
Then the ears are folded flat and sewn with the thread ends with the opening to the head. They sit in a line parallel to the eyes on top of the head. They start after the 8th and end after the 12th round. When the ears are finished the thread ends are secured and weaved in inside the head.
Now mark the middle over the front of the body to place the arms and the legs at the same distance right and left of it.
Without button joints: The arms and legs are sewn to the body with the flat folded opening and the respective thread ends. Fold the top of the arms so that the break line runs in a line to the palms. The legs are fold the other way so that the break line runs through the middle of the foot tips. It is best to attach the arms and legs first with pins to check the positions. The arms are sewn with the flat-folded opening horizontally around the 39th round and have 14 stitches distance on the front. The legs on the other hand, are sewn with the flat-folded opening perpendicular to the center of the 13th round with 29 stitches at the front, while the toes point upwards. Finally, the thread ends are secured and weaved in inside the body.
With button joints: The arms and legs are attached paired with button joints to the body using a separate thread and buttons. It is best to first mark the respective entry holes with pins in order to hit the positions exactly. The entry holes of the arms sit after the 39th round and have 14 stitches distance on the front. The entry holes of the legs sit after the 13th round with a distance of 29 stitches on the front, while the toes point forward and up. If you have no idea how to make button joints, the Tutorial for Button Joints will help you
Finally you sew the tail with the flat-folded opening to the back of the bear. The tail sits around the 12th round in the middle on the back of the body. Use the end of the thread from the tail to sew it and finally secure and weave it in inside.
 Tip: By the way the cuddly soft blanket of Bruno is the diagonally striped C2C comforter, which of course you can rework. This creates a great set to give away to big and little bear lovers!

Conclusion
Now I want to thank you for your active participation. It was fun! This time everything did not go very smoothly, there were a few mistakes and somehow I wasted myself on consumption. But I’m sure you have another project for the surplus and hope you can forgive me. I would be glad, if you tell me your suggestions and criticism in the comments and of course I’m looking forward to the photos of your works!
Hands-on-task!
Here comes the next Hands-on-task! Write a comment with your progress and attach a picture! If you are not ready yet, you can do that anytime!
Attention! Please use the comment function for your report, so that the project remains for posterity. In social networks, things are disappearing so fast! Of course you are allowed to add your stuff there as well. We are publishing new posts on social networks like Facebook and Twitter. For urgent questions and personal exchange you can also find the Ribbelmonster groups on Facebook!
I would love to see you joining us and sharing your progress!